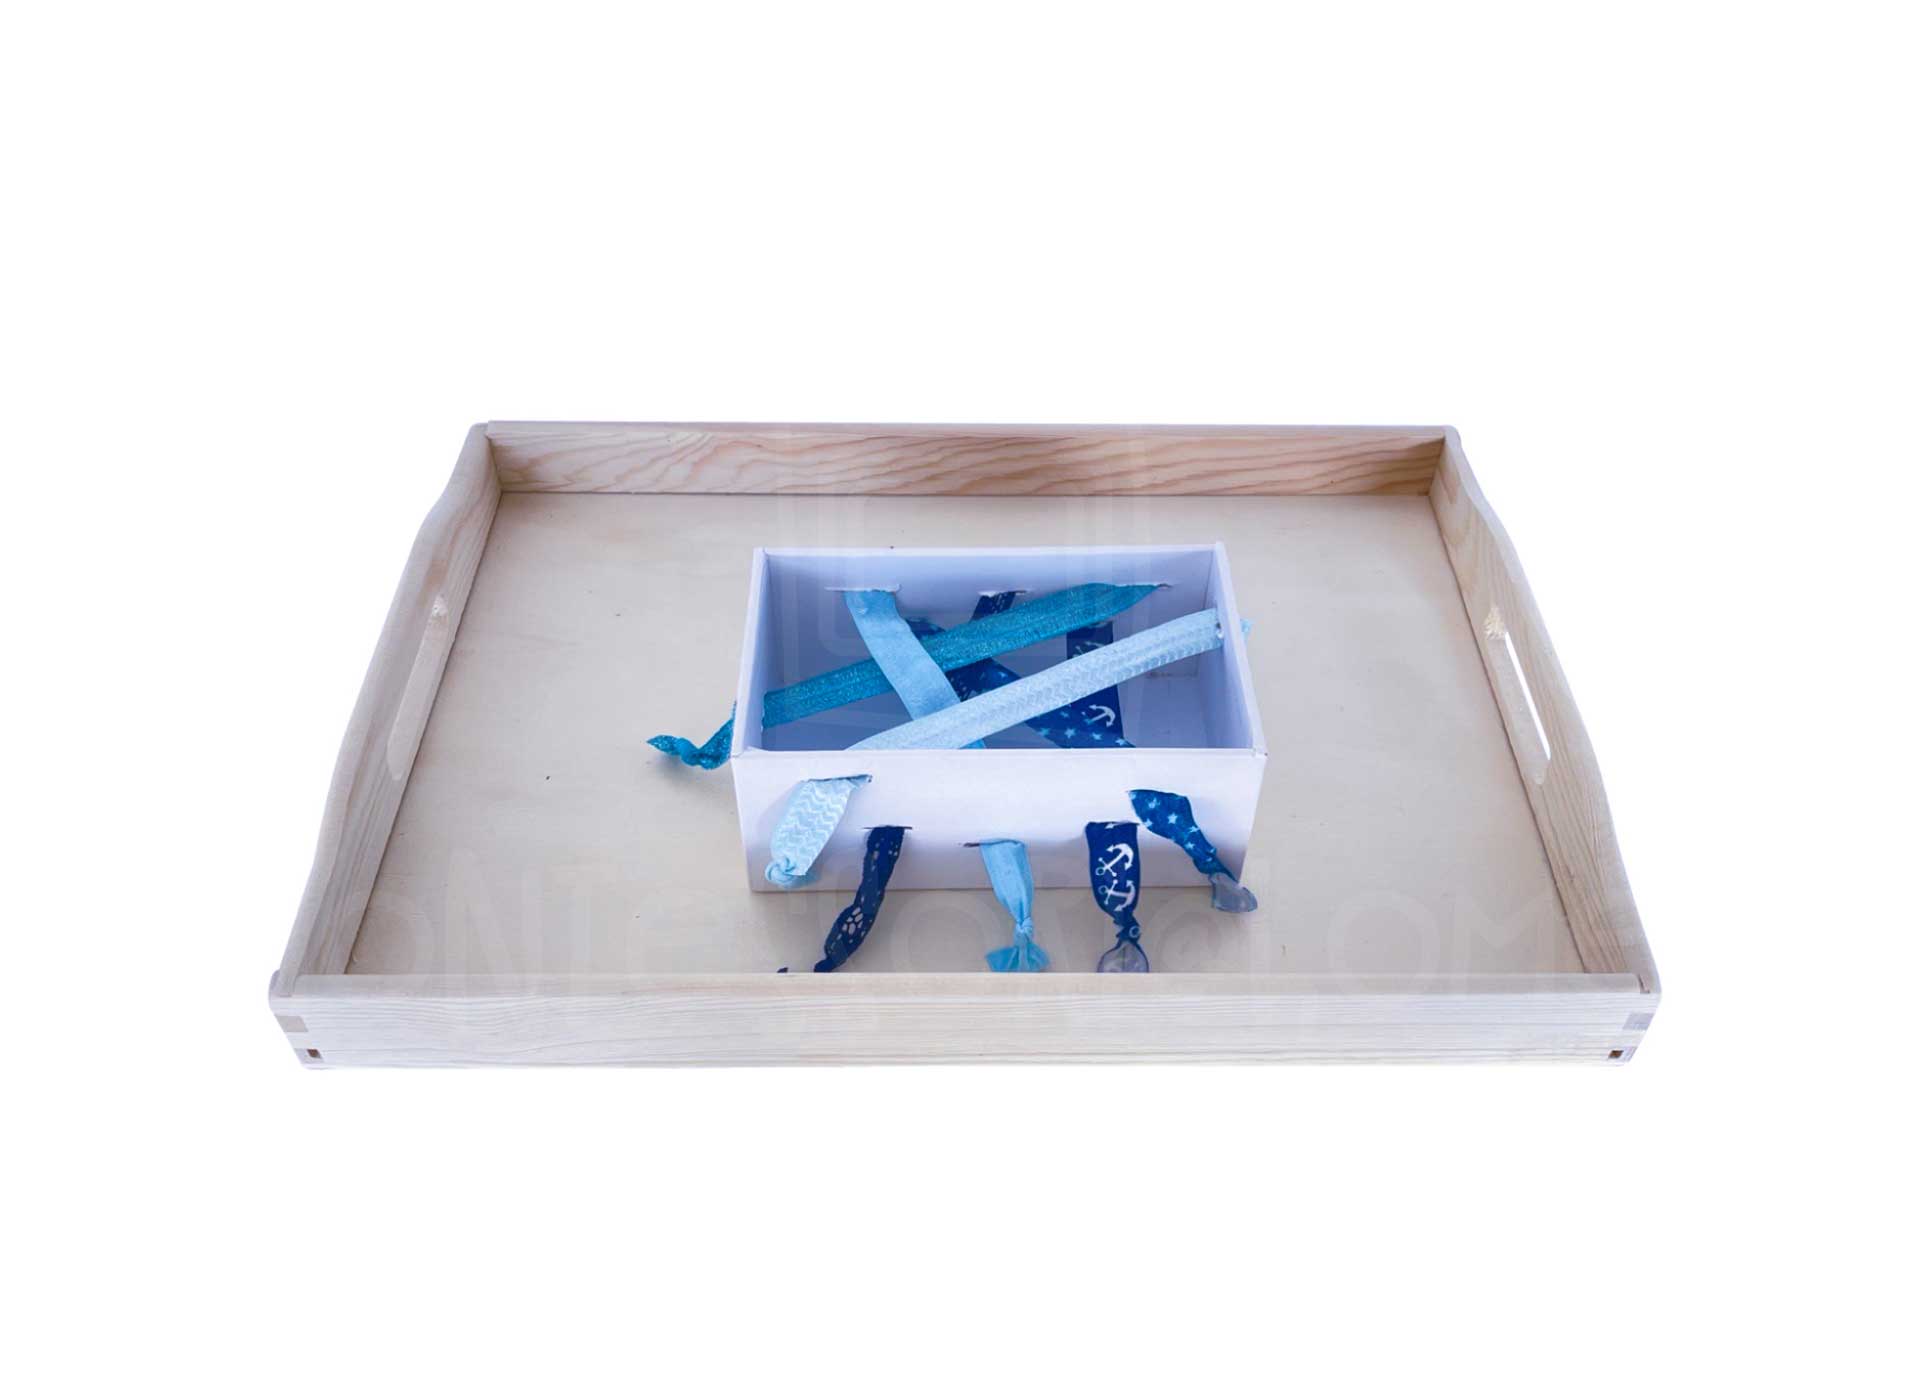
Pull ribbons
Objective: Promote eye-hand coordination, tweezer grip
Material: Box, ribbons or elastics
Preparation: Slits are cut in the box and ribbons are pulled through across the box. Knots are tied at the ends so that the ribbons do not slip out.
Execution: The child can pull in all directions on the ribbons of the box.
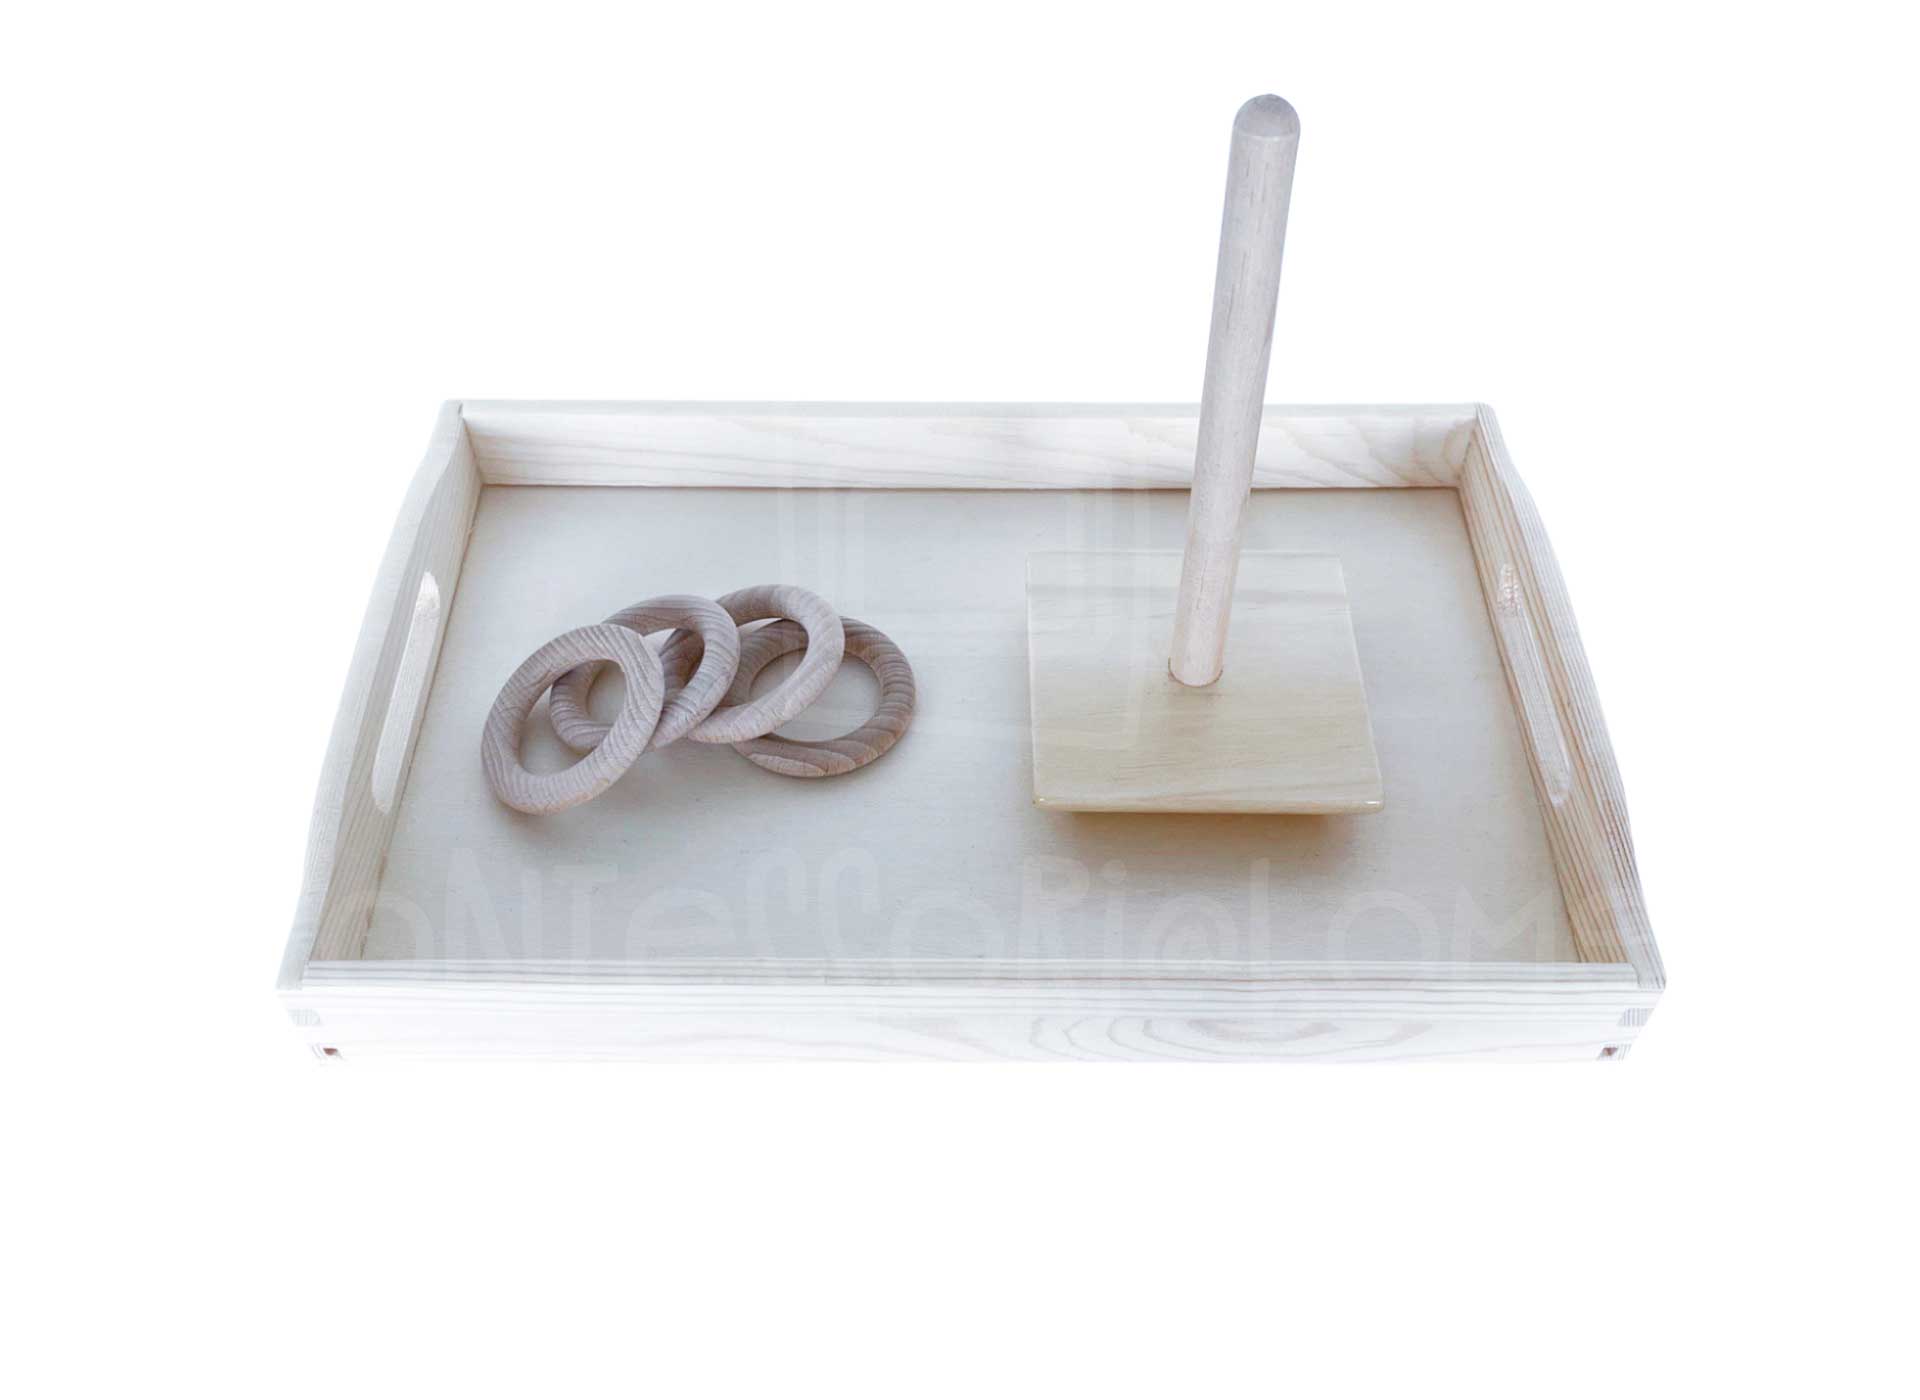
Rings stick
Objective: Eye-hand coordination
Material: Wooden rings, round stick
Preparation: The rings are placed on the left side of the tray, the stick on the right. If necessary, the rings can also be placed in a basket.
Execution: The child puts the rings on the round stick. When all the rings are on the round stick, it is turned over and the rings are placed back on the tray or in the basket.
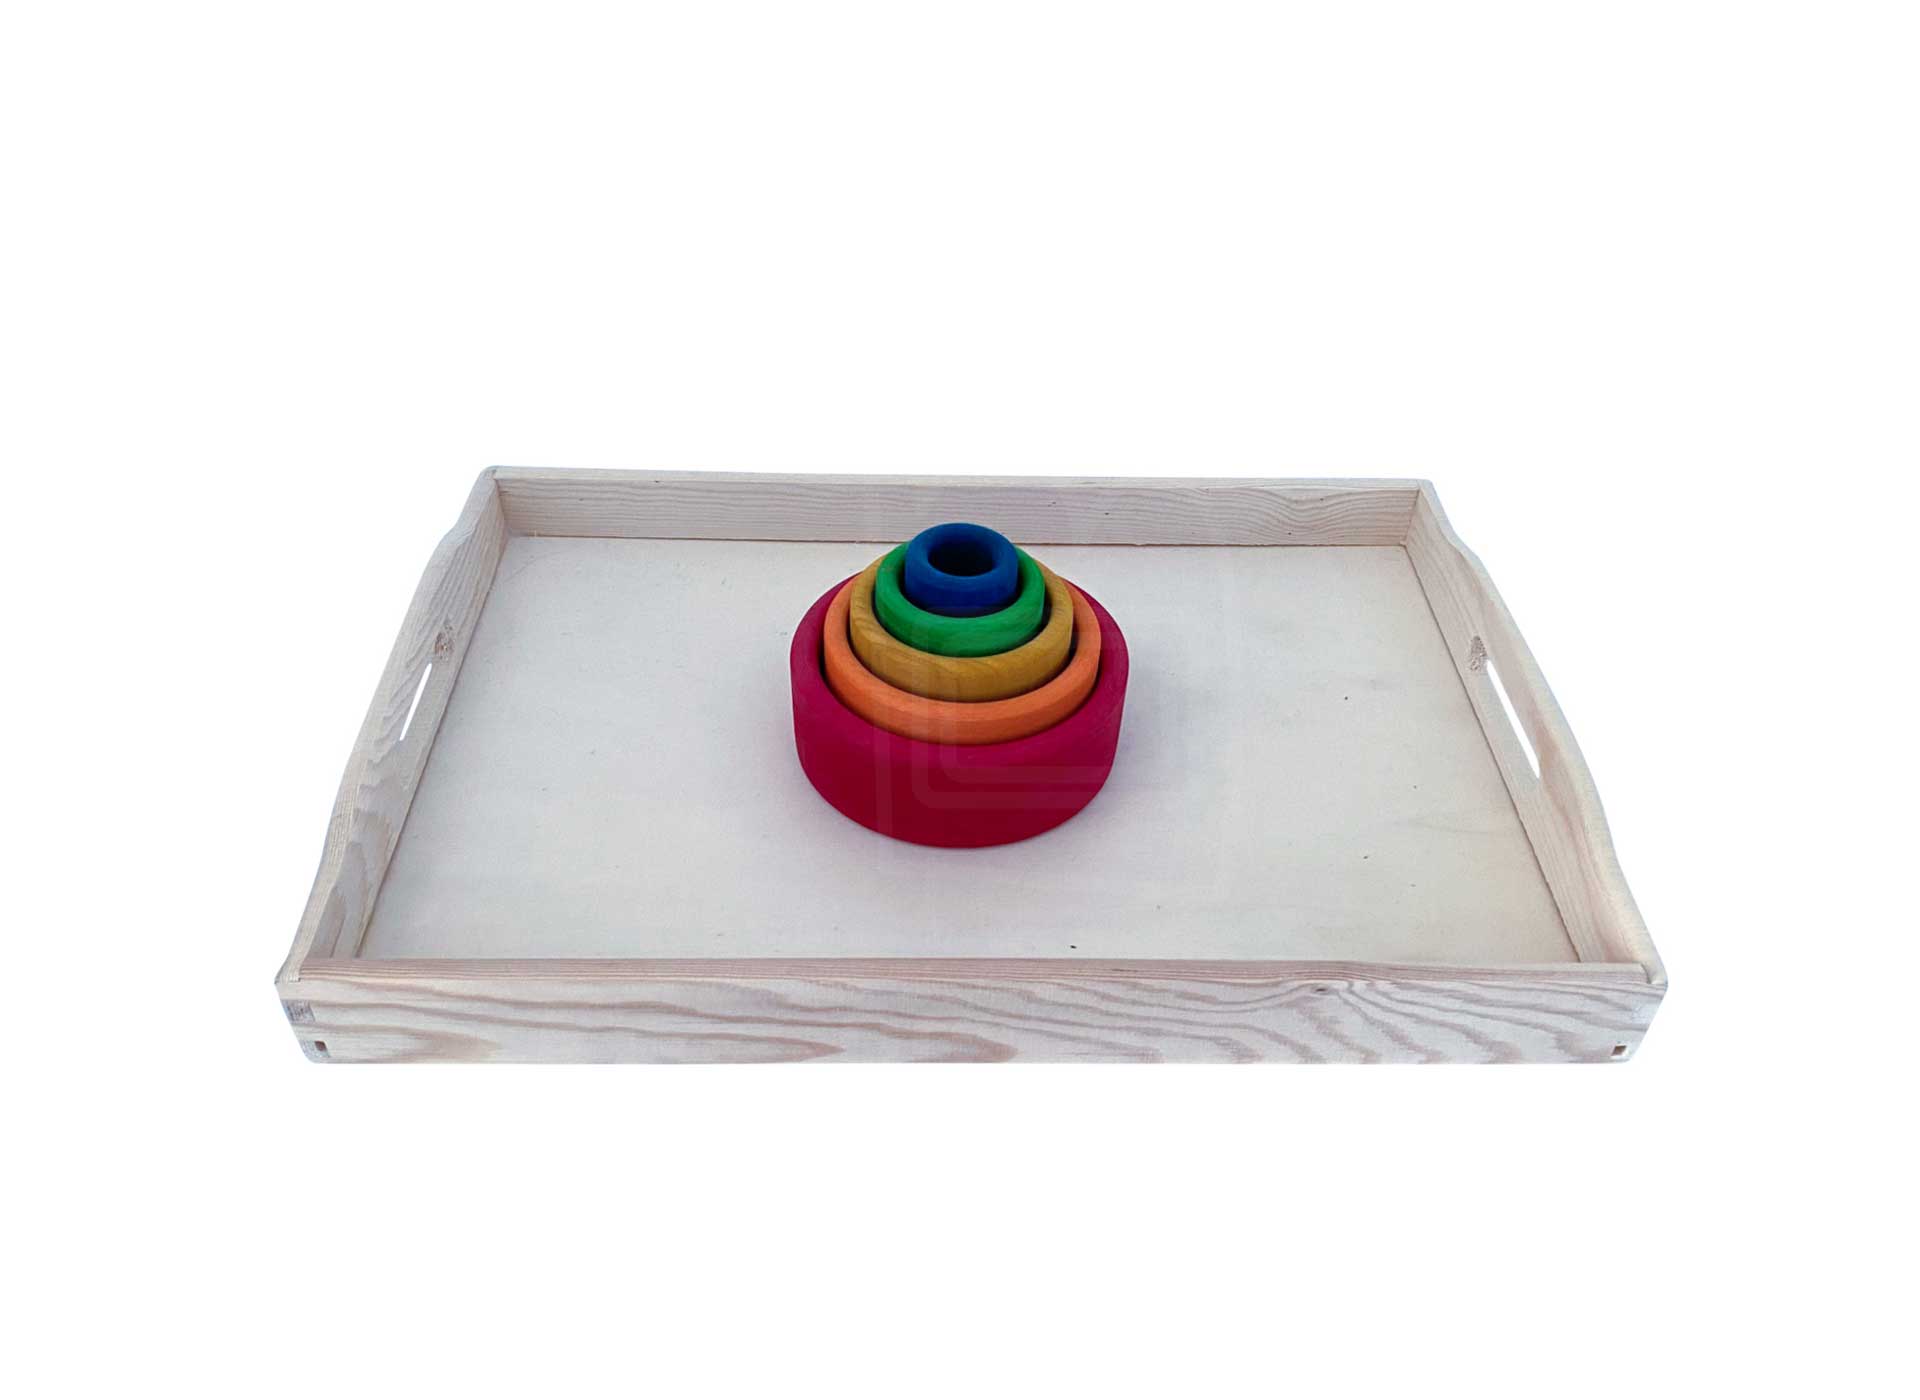
Grimm’s bowls
Objective: Eye-hand coordination
Material: Grimm’s small bowls*
Preparation: The bowls are placed one inside the other according to size and placed on the tray or directly in the cupboard.
Execution: The child can take the bowls apart and put them back together. They can also turn the bowls upside down and place them on top of each other. This promotes not only the eye-hand coordination, but also the perception of size, what fits into each other, or on top of each other. In addition, these bowls feel particularly great.
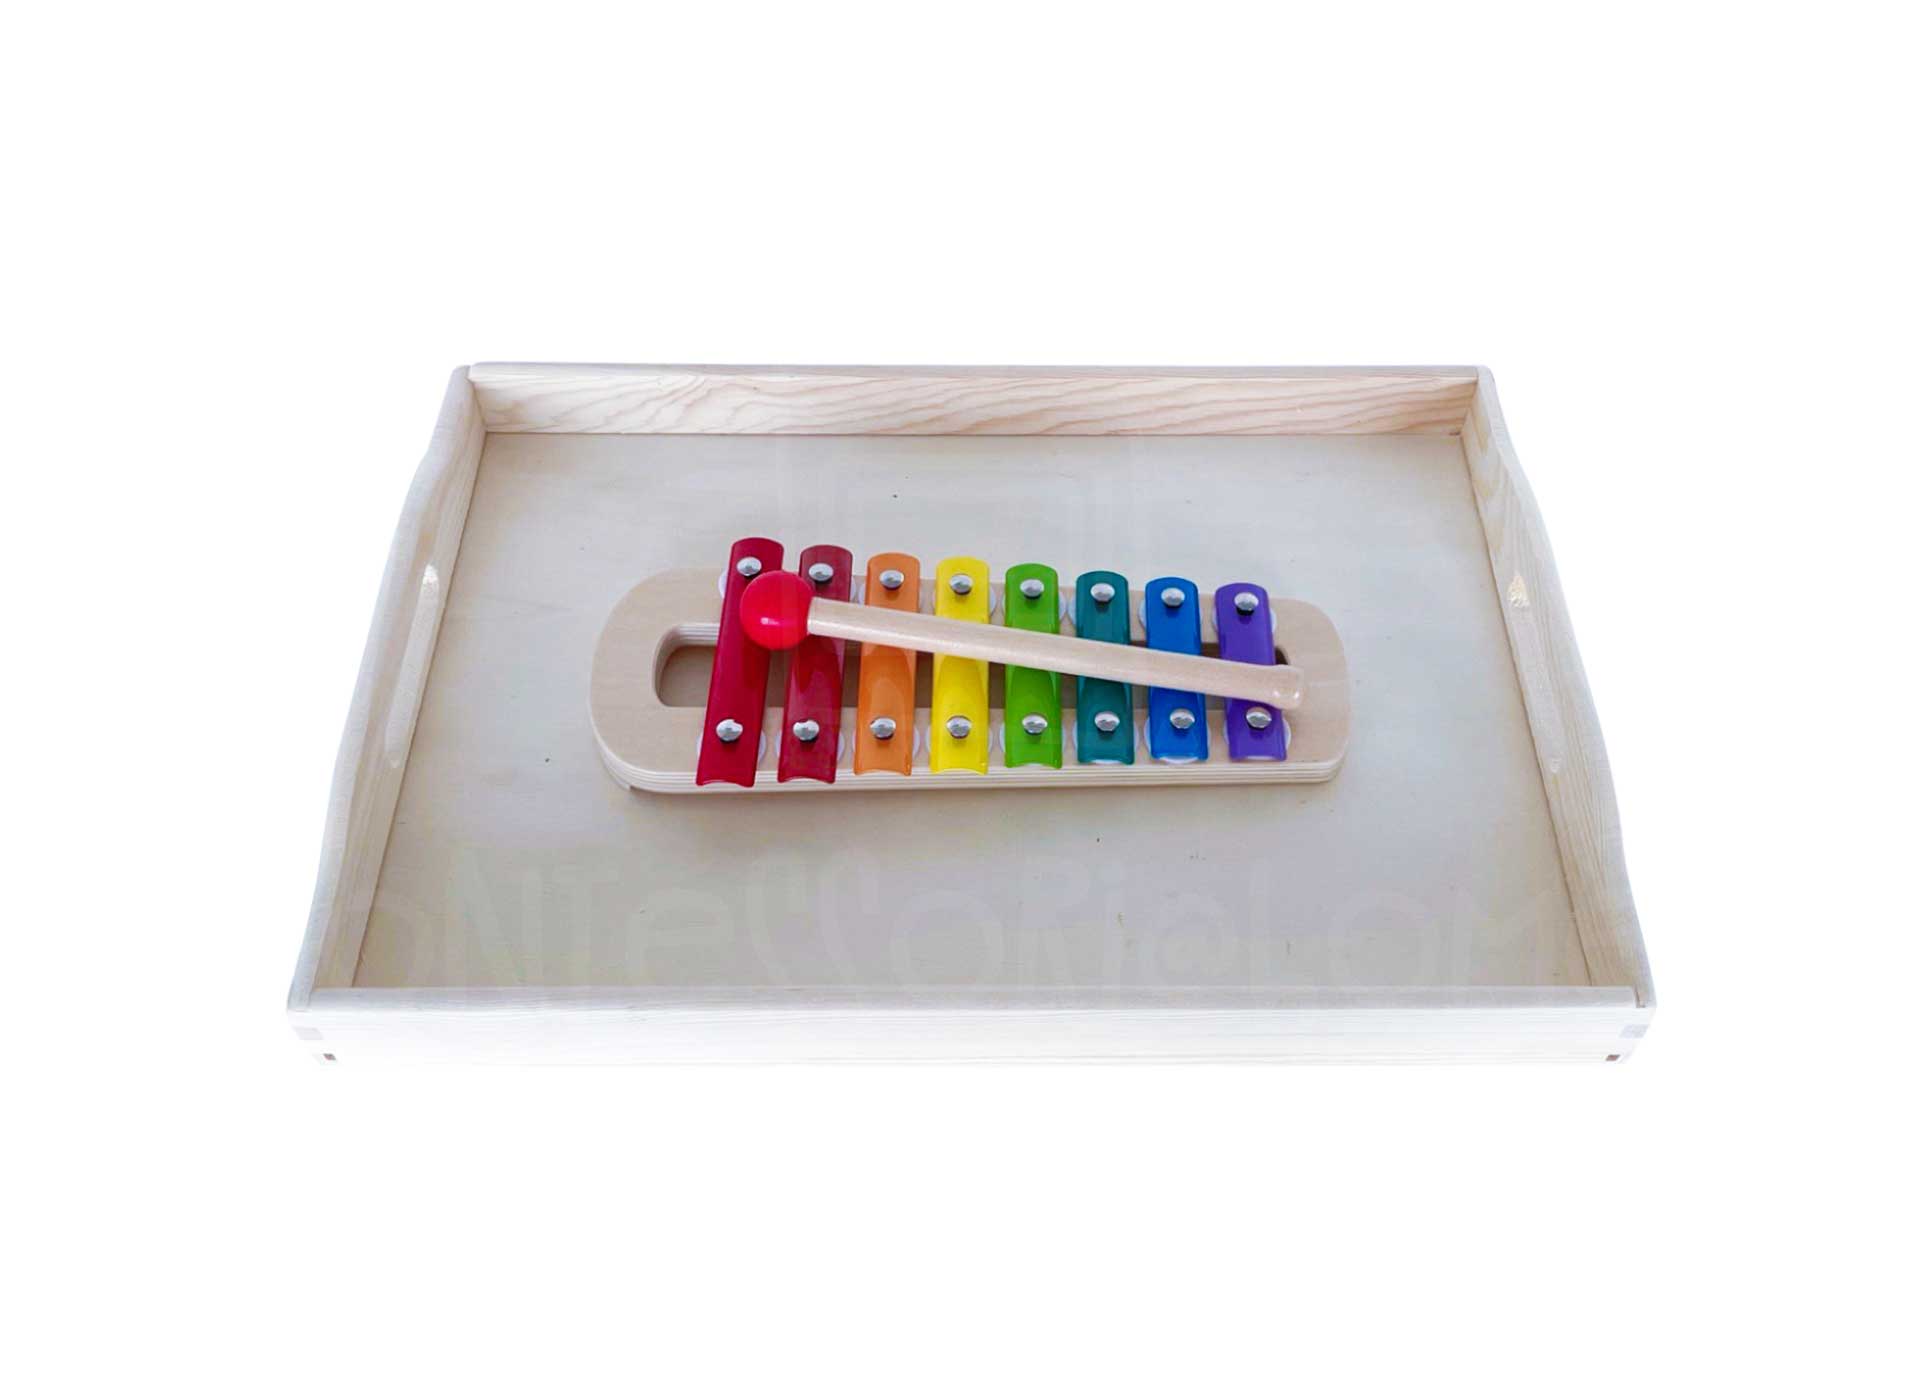
Playing the xylophone
Objective: Promote auditory attention and eye-hand coordination
Material: Xylophone with clapper*
Preparation: The xylophone with clapper is placed either directly in the cupboard or on a tray.
Execution: The child may tap on the xylophone with the clapper. This produces harmonic sounds and contributes to the positive development of the child’s auditory perception. In addition, the child trains his/her eye-hand coordination when he/she has to concentrate on hitting the notes with the clapper.
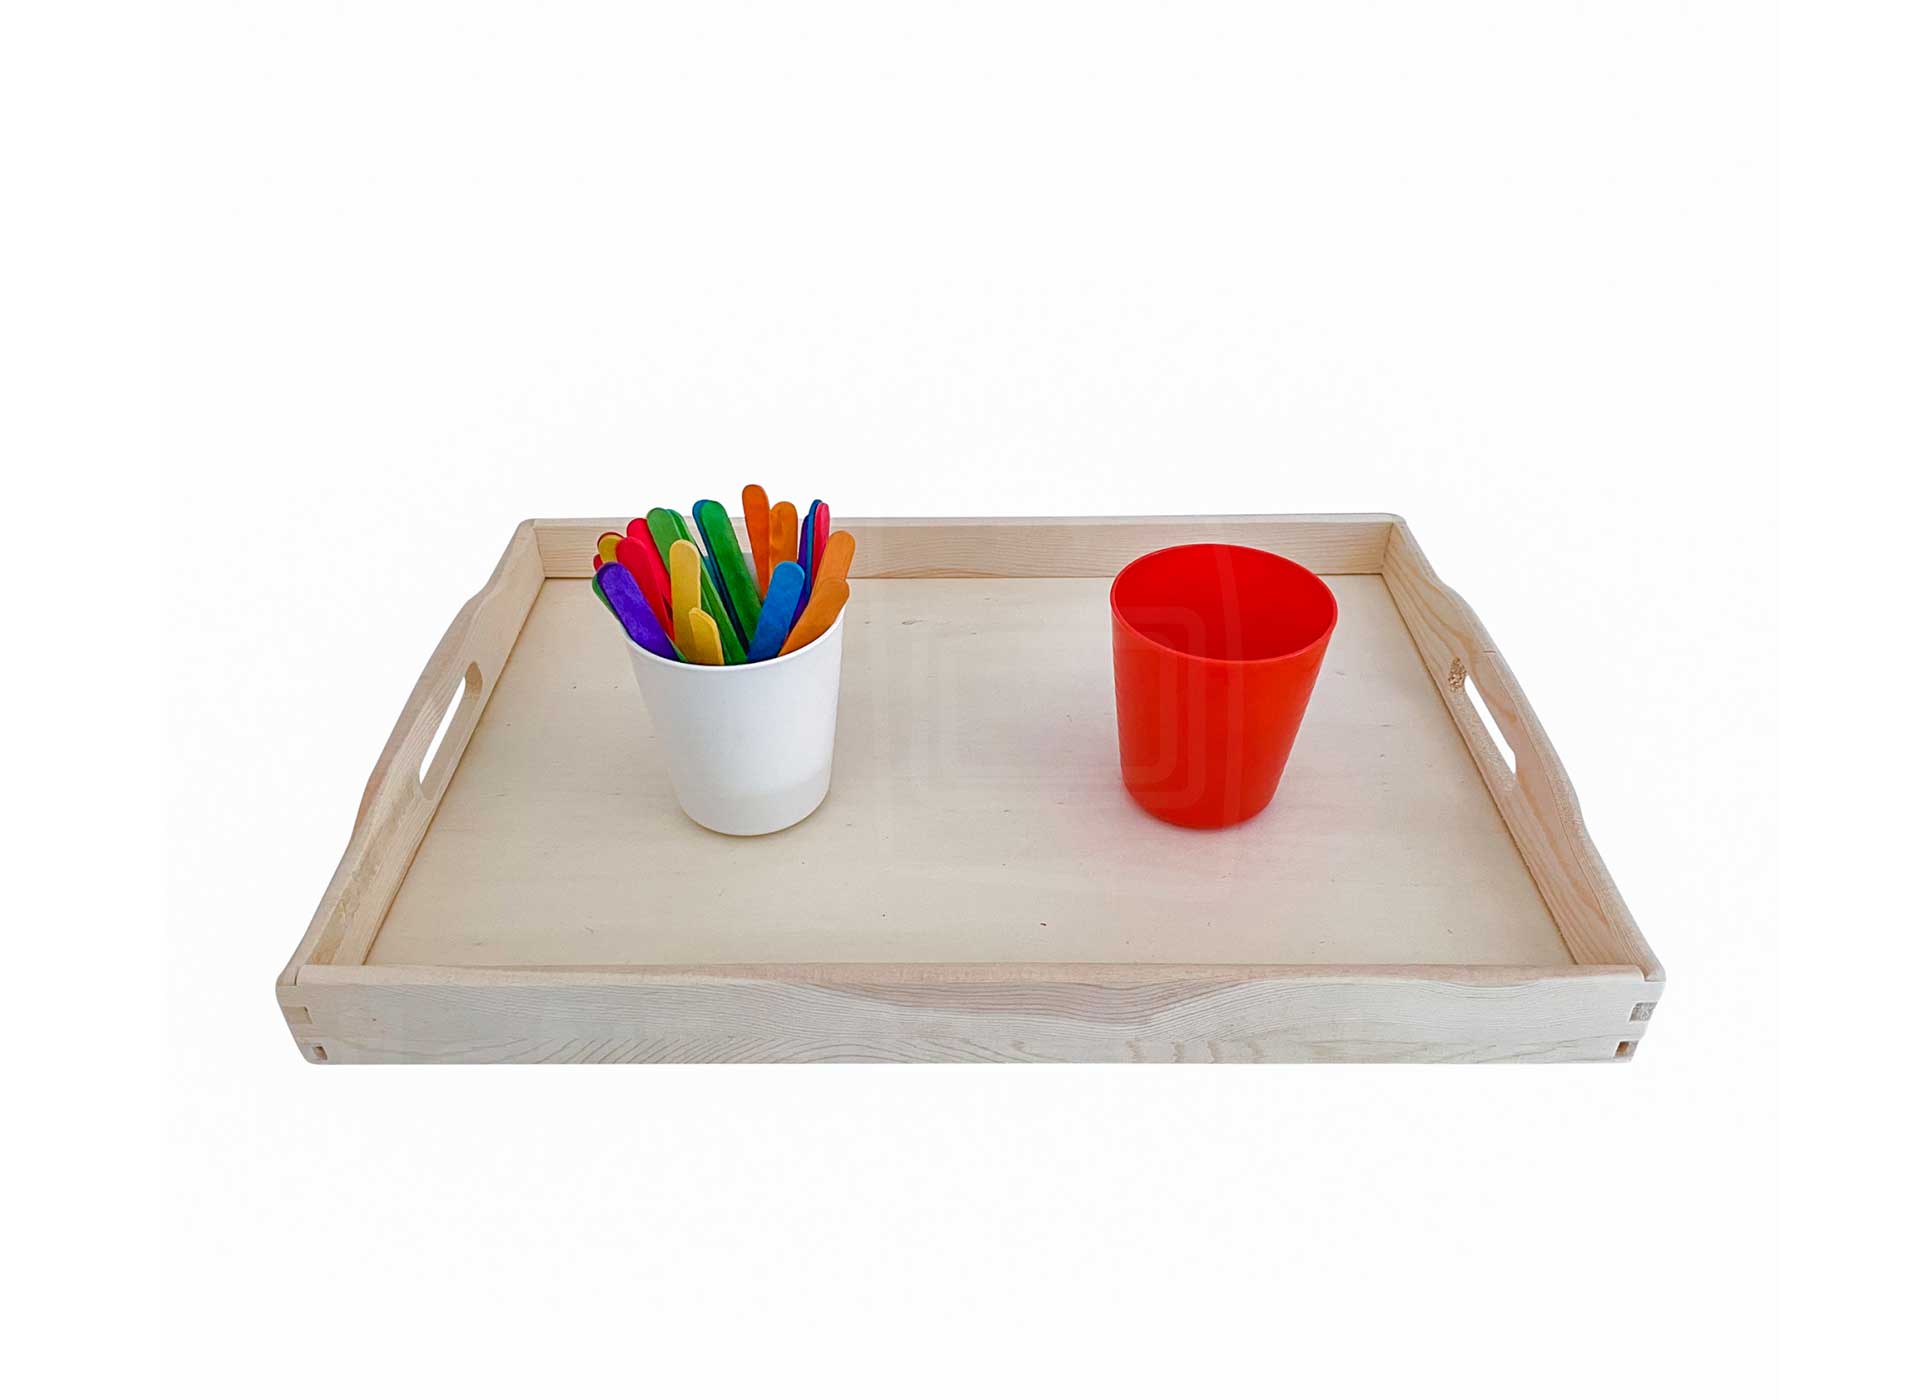
Colorful popsicle stick mix
Objective: Promote eye-hand coordination
Material: Colorful popsicle stick mix*, two cups
Preparation: a handful of colorful wooden popsicle sticks are placed in a cup and this is placed on the left side of the tray. Another cup is placed on the right side of the tray, here red.
Execution: The child takes a popsicle stick from the left cup and puts it into the right cup. This process is repeated until all the popsicle sticks are in the right cup. Then the cups are swapped so that all the popsicle sticks are back in the left cup.
Note: The wooden popsicle sticks suggested here are sticks that can discolor. Therefore, make sure that the child does not put them in his or her mouth. Alternatively, wooden sticks can be colored with food coloring.
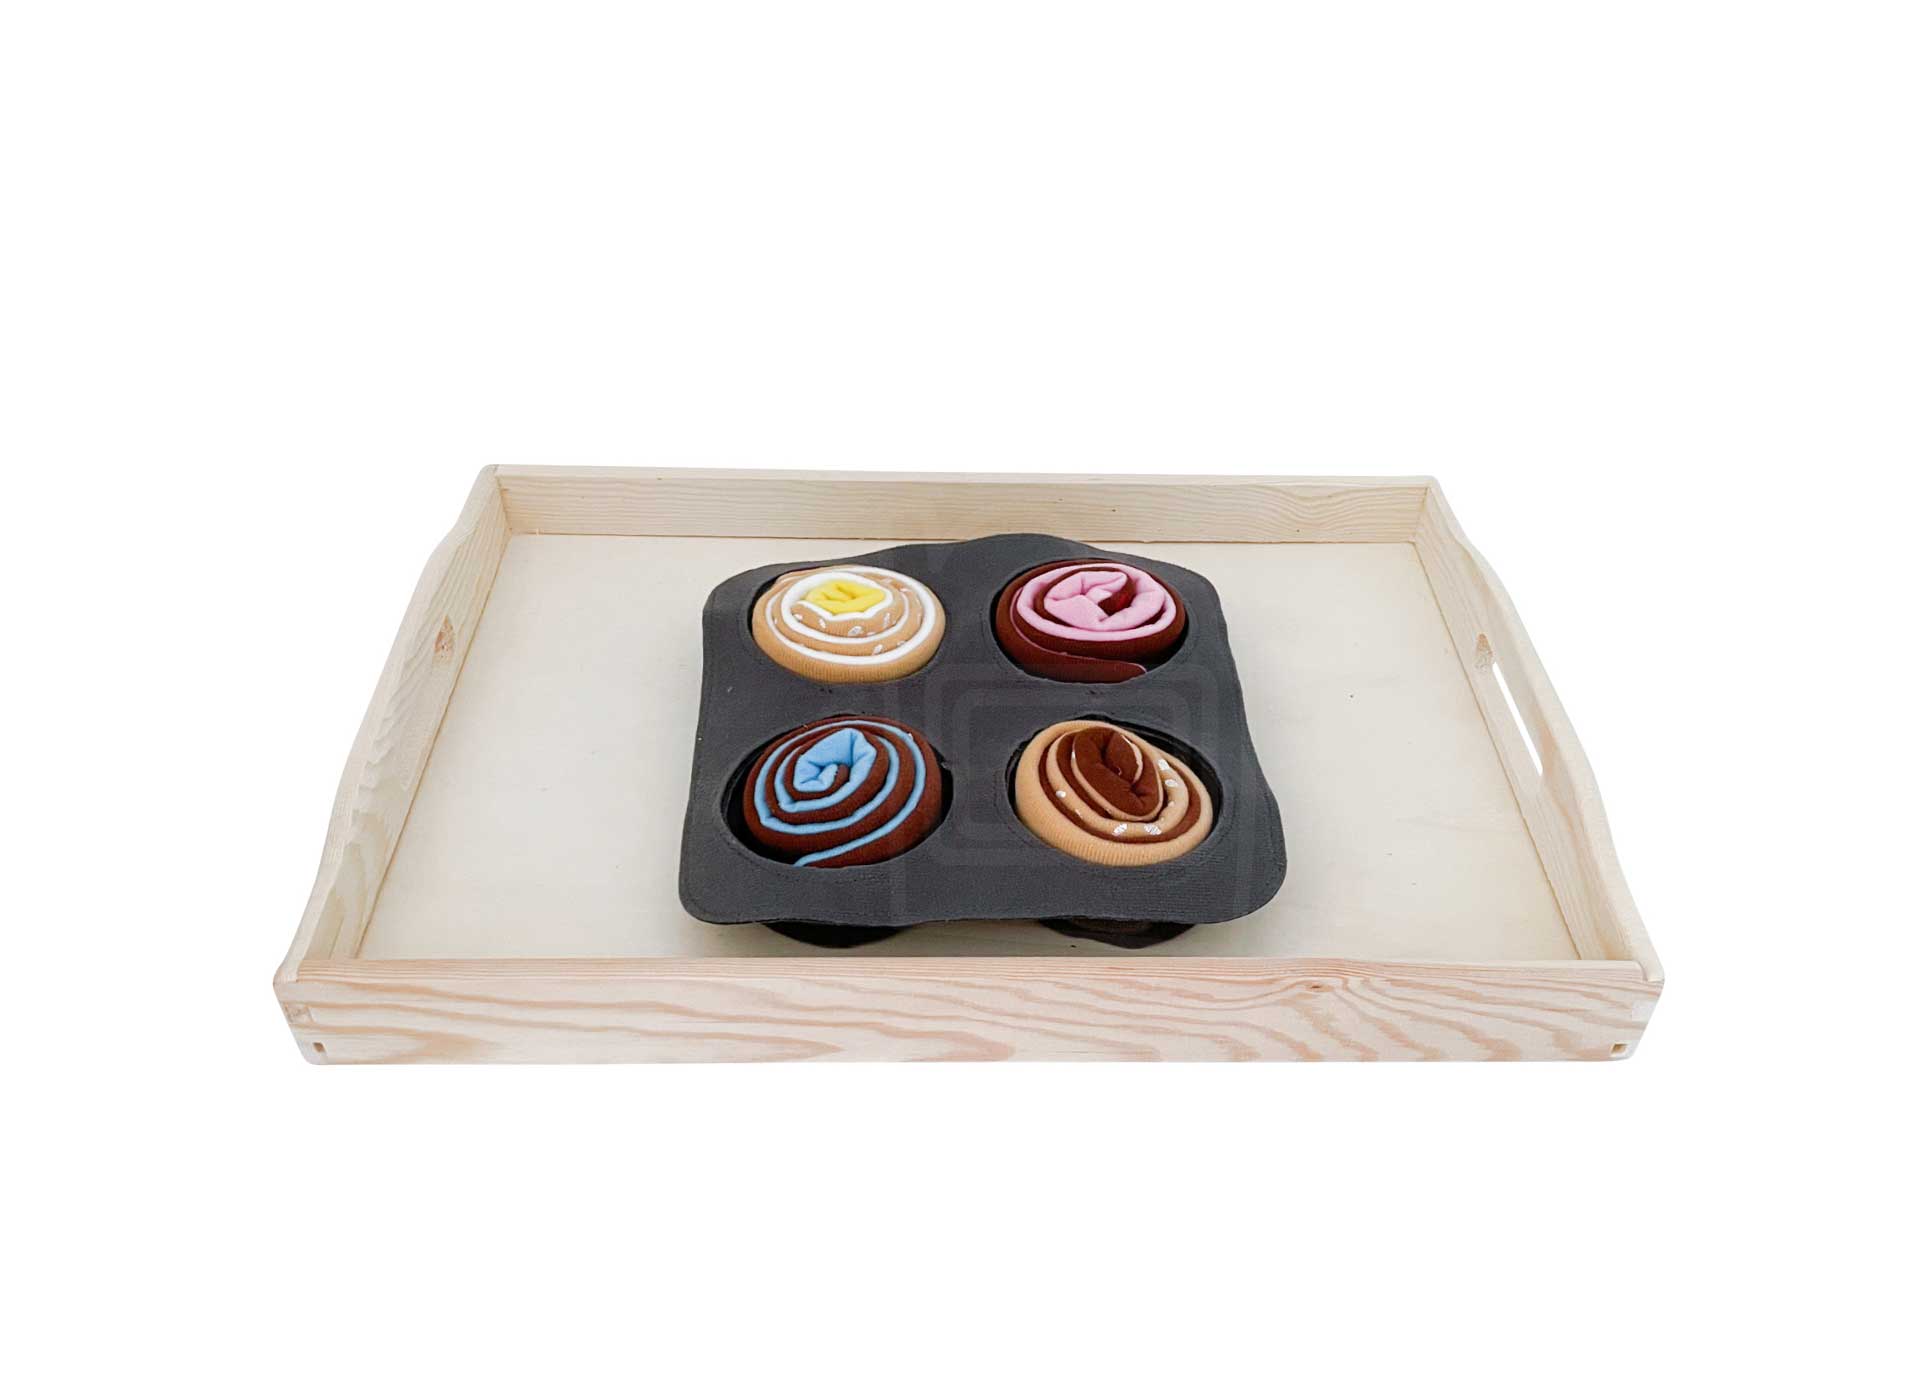
Split cinnamon buns
Objective: Promote eye-hand coordination and pincer grasp
Material: Cinnamon buns for children’s kitchen IKEA
Preparation: The cinnamon buns are placed in their mold and on the tray or in the cupboard.
Execution: the child takes the cinnamon buns out of the mold, opens the Velcro and rolls them up. The buns are then rolled up again by an adult and placed in the mold.
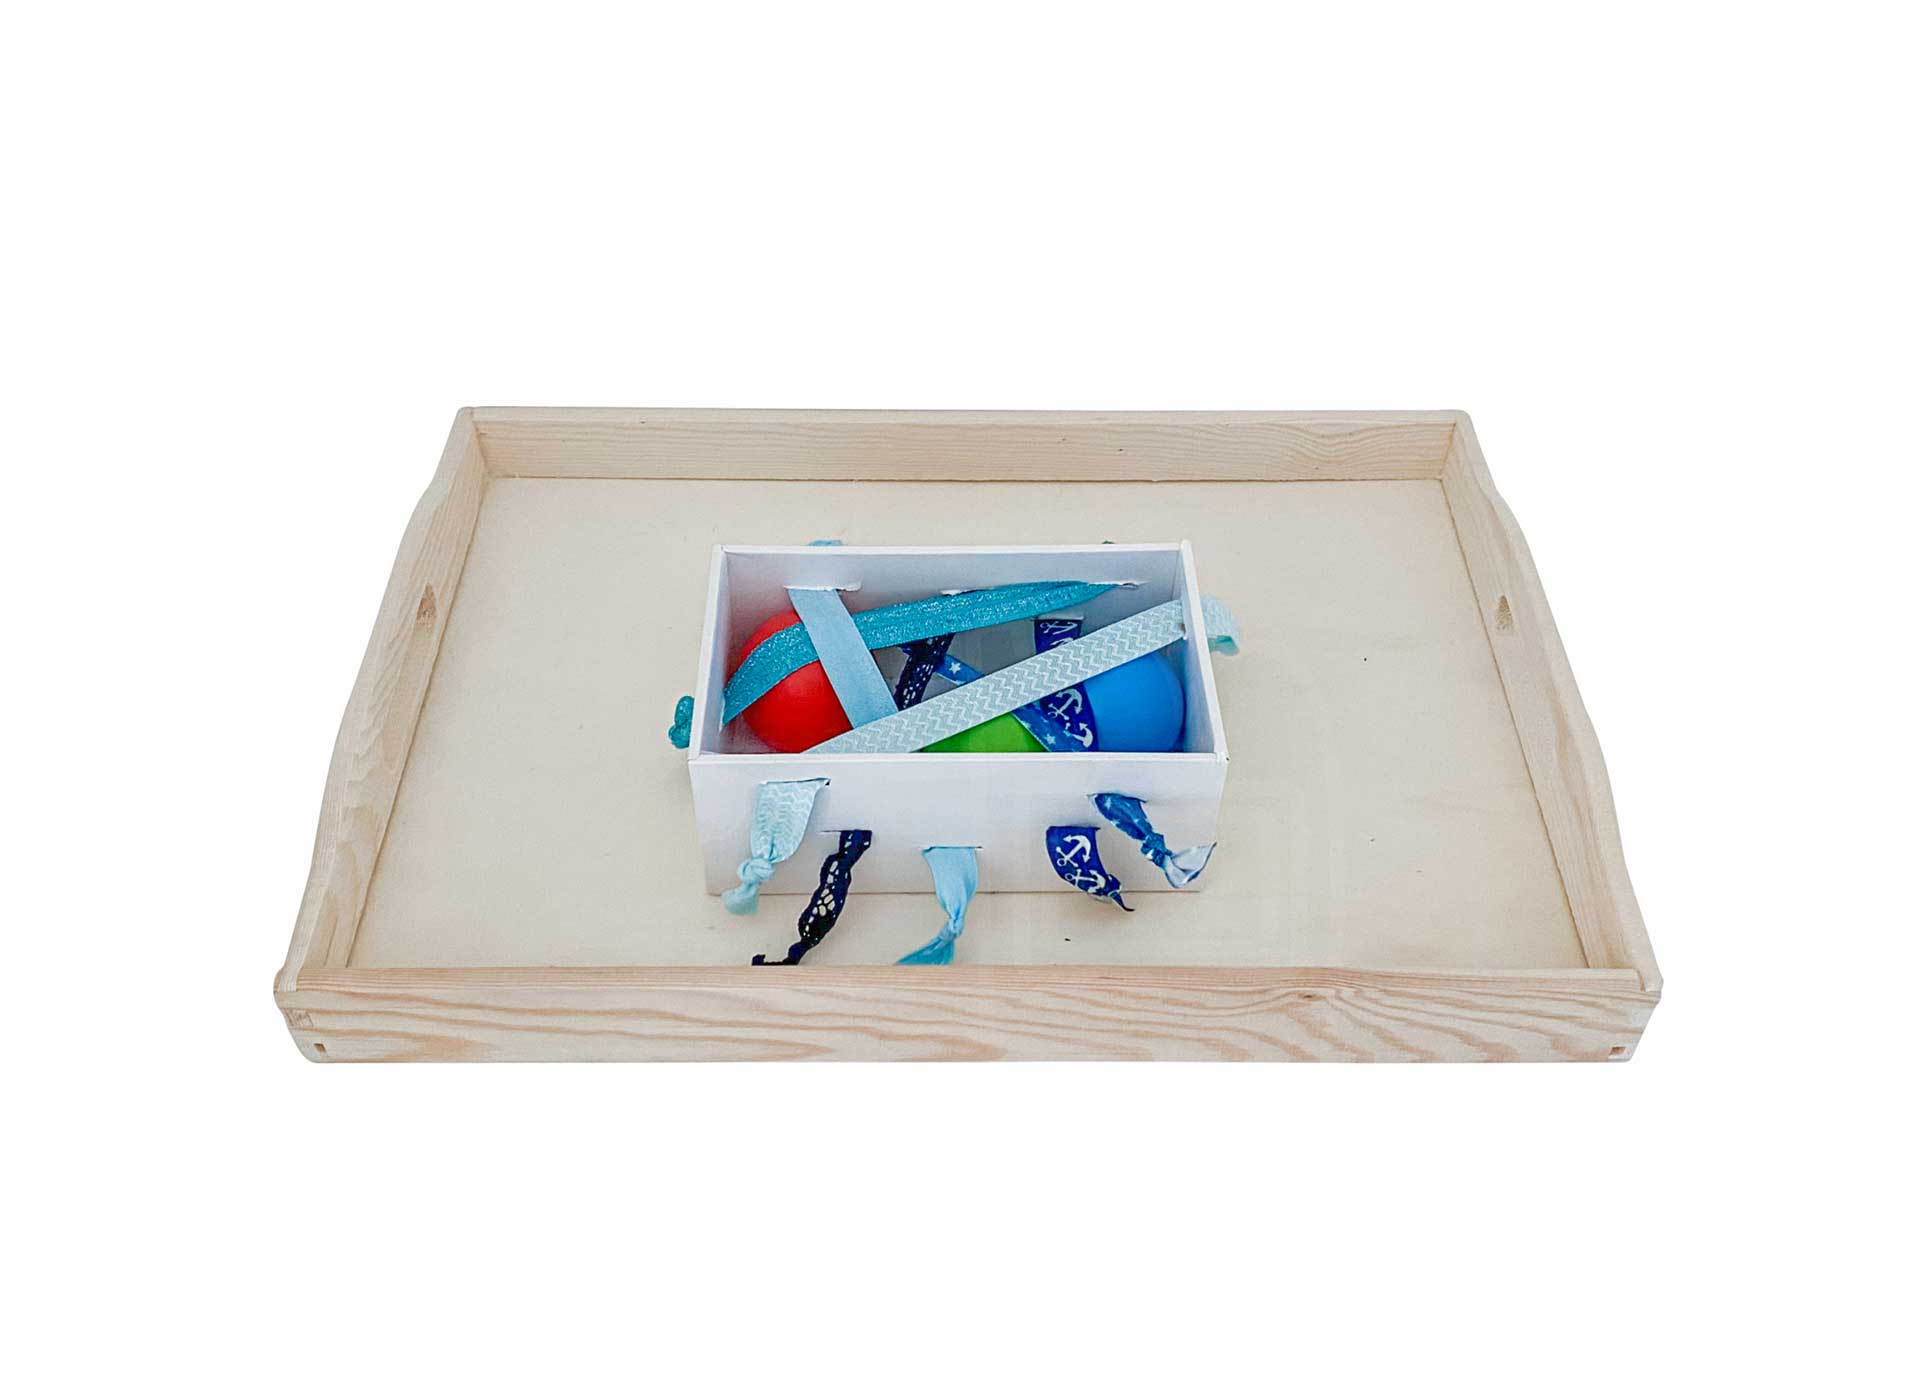
Free balls
Objective: Promote eye-hand coordination and pincer grasp
Material: colorful balls, box, rubber bands, scissors
Preparation: Slits are cut in the box and rubber bands are pulled through them and knotted at both ends so that the bands can no longer slip out. Then the balls, or wooden balls or other objects are packed under the bands.
Execution: The child tries to wriggle the balls out from under the ribbons. As soon as the child has freed all the balls, an adult helps to put them back under the ribbons.
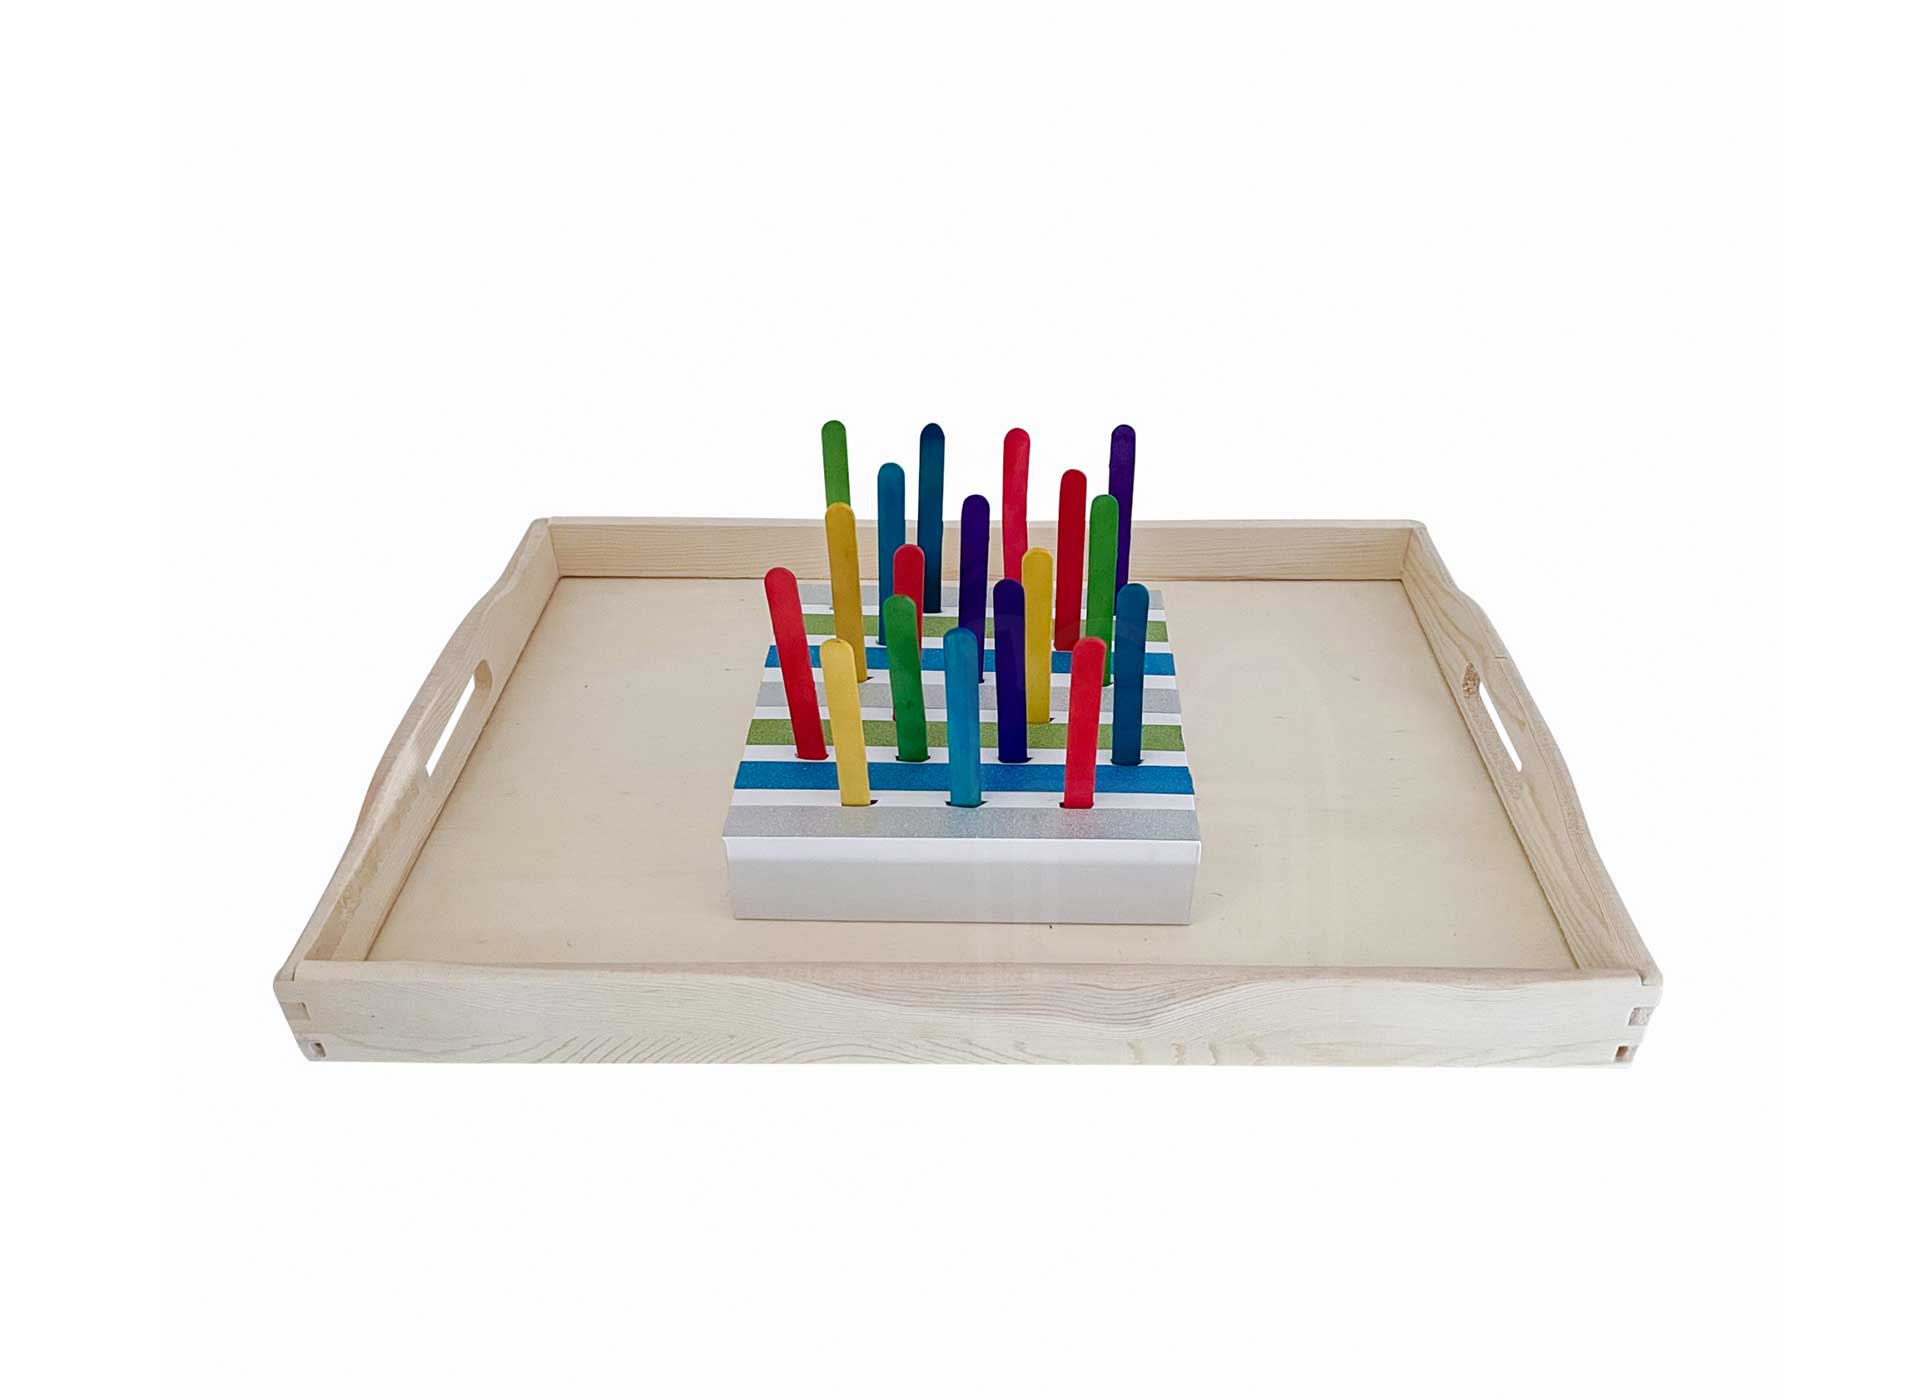
Pull wooden sticks
Objective: Promote eye-hand coordination and pincer grasp
Material: Colorful wooden popsicle sticks*, flat box, Washi Tape*, craft knife*
Preparation: The box is colorfully covered with Washi Tape, for example. Then use the box cutter to cut slits in the box, large enough for the wooden sticks to be inserted. Now a wooden stick is inserted into each slot and the finished box is placed on a tray or directly in the cupboard.
Execution: The child pulls one wooden stick after the other out of the box. When all the wooden sticks have been pulled, an adult puts them back in.
Note: The wooden sticks suggested here are sticks that can discolor. Therefore, make sure that the child does not put them in his or her mouth. Alternatively, wooden handles can be colored with food coloring.
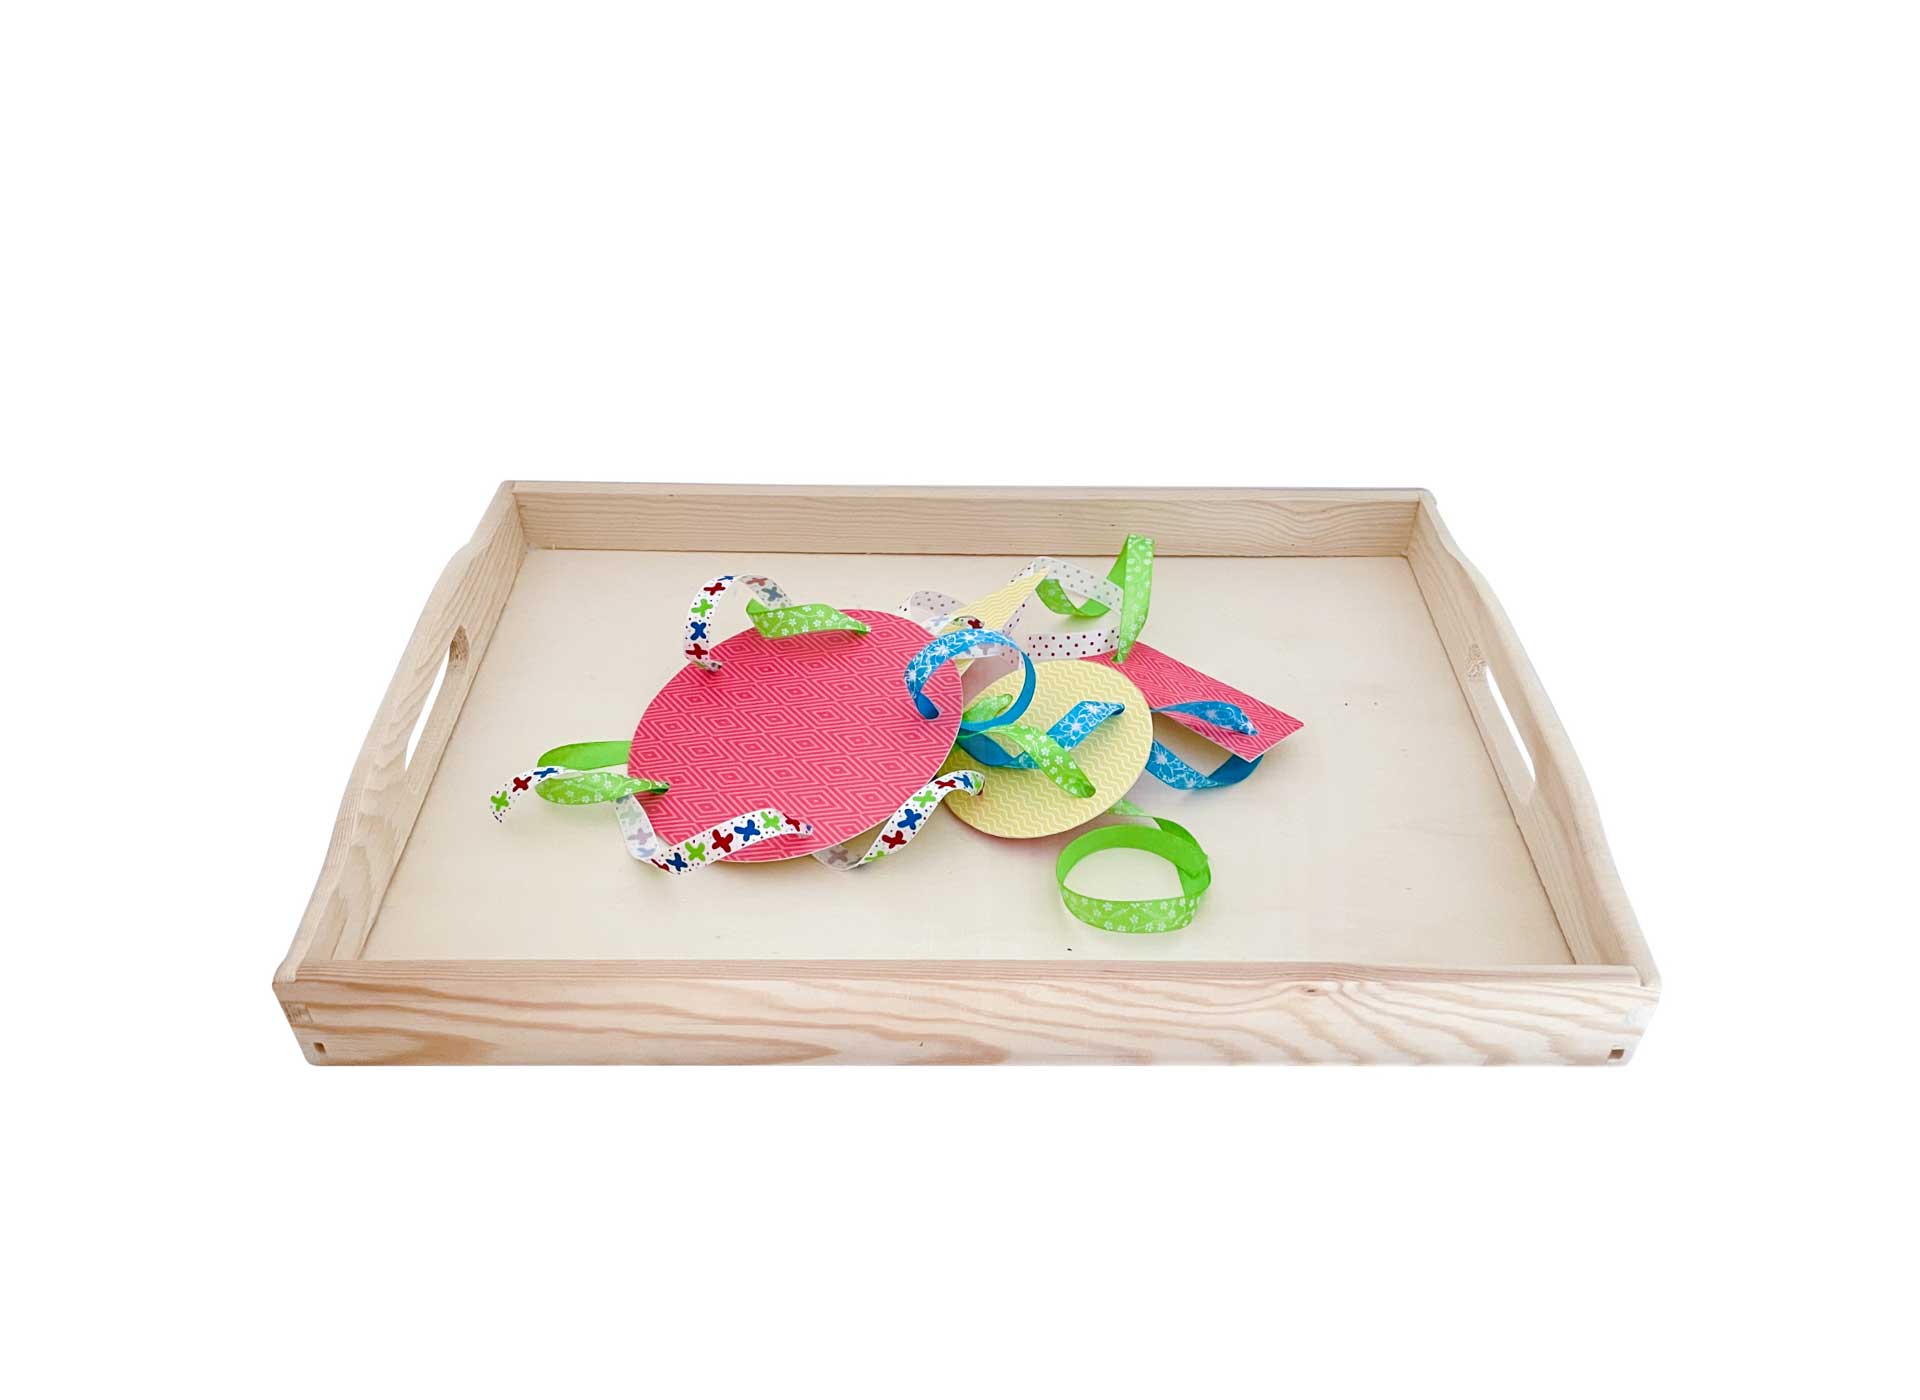
Separate tangles
Objective: Promote eye-hand coordination and pincer grasp
Material: colorful ribbons, colorful cardboard or thick paper, scissors, glue, hole puncher
Preparation: geometric shapes are cut out of the colored paper and two are glued together in the same way so that the top and bottom are colorful. Cut pieces of the ribbons about 30 cm long. Then holes are made in the geometric figures with the hole punch and the ribbons are pulled through randomly. The finished tangle is placed on a tray.
Execution: The child pulls on the ribbons and tries to disassemble the construct. When all parts are “freed”, an adult reassembles the tangle and puts it back on the tray.
Caution: since this is paper, care should be taken that this is not eaten by the child. If a laminator is available, it makes sense to laminate the paper pieces before use. Also, the tapes should not be too long so that the child can not strangle him/herself.
* Links, welche mit einem Sternchen (*) versehen sind, stellen Amazon Partnerlinks dar (Affiliate-Links / Provisionslinks). Wenn du über diese Links etwas kaufst, erhalten wir eine kleine Provision, denn von etwas müssen wir ja auch leben. Dir entstehen dabei aber keinerlei zusätzlichen Kosten.
