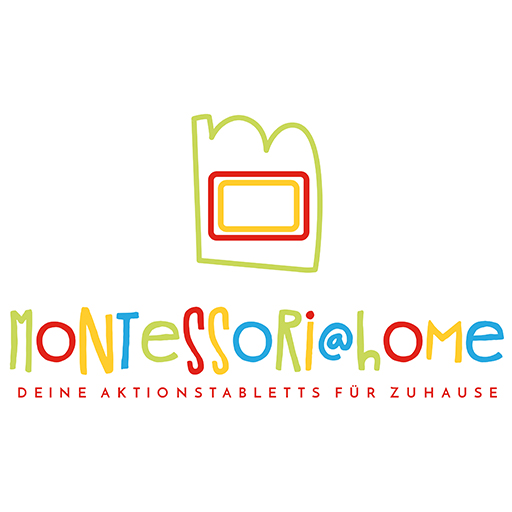
Stacking tower
Objective: Promote eye-hand coordination
Material: Stacking tower*
Preparation: All rings are taken from the stacking tower and placed to the left of the stick.
Execution: The child stacks all the rings on the tower. At this age, the order is not yet relevant. Older children then stack the rings in the correct order from large (bottom) to small (top) on the stick. Afterwards, the rings are taken off the stick again.
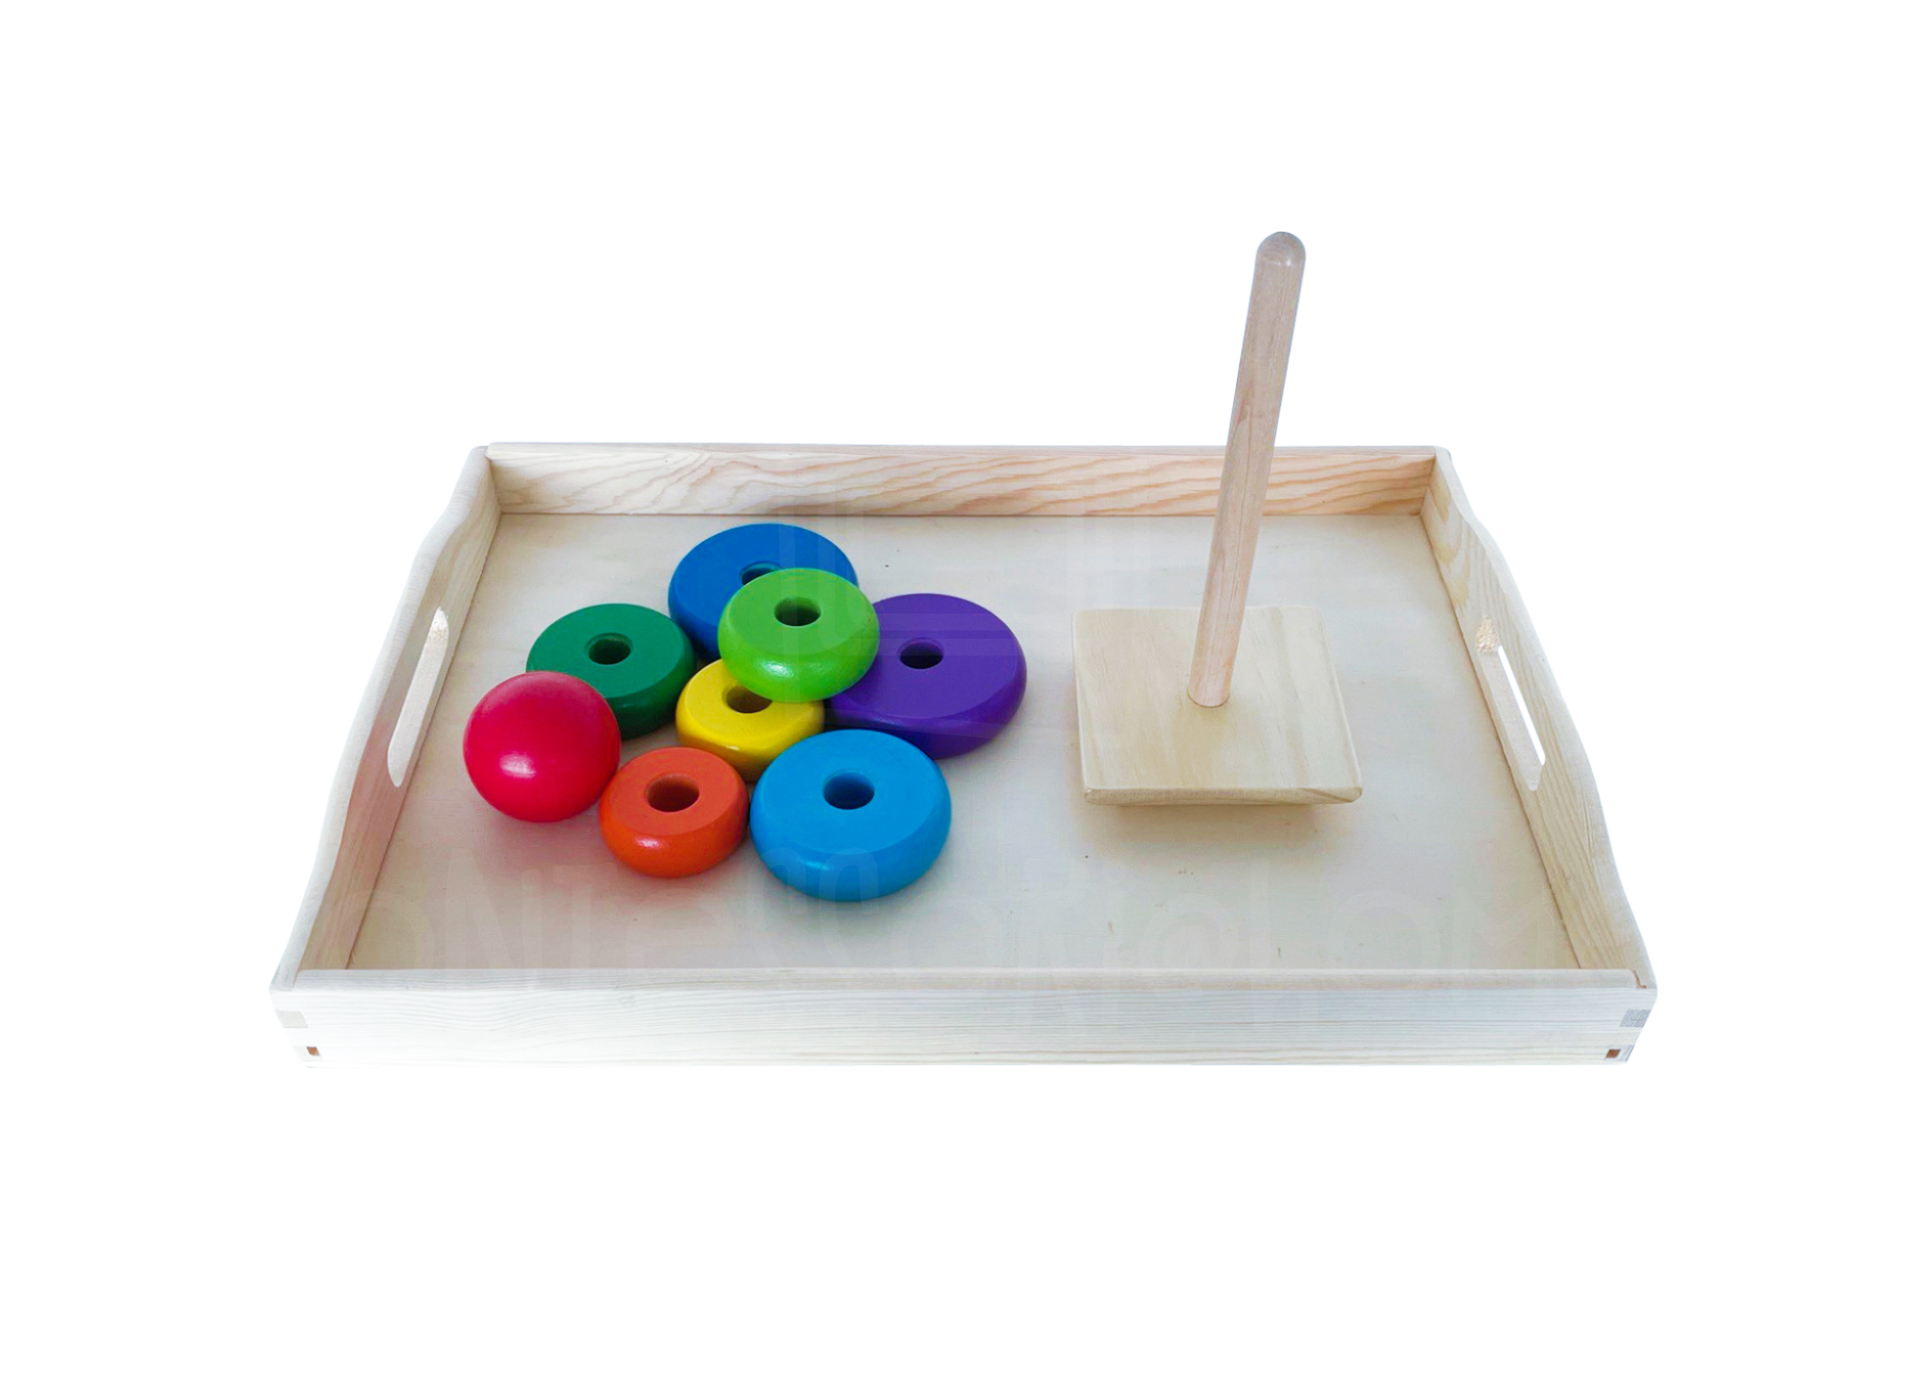
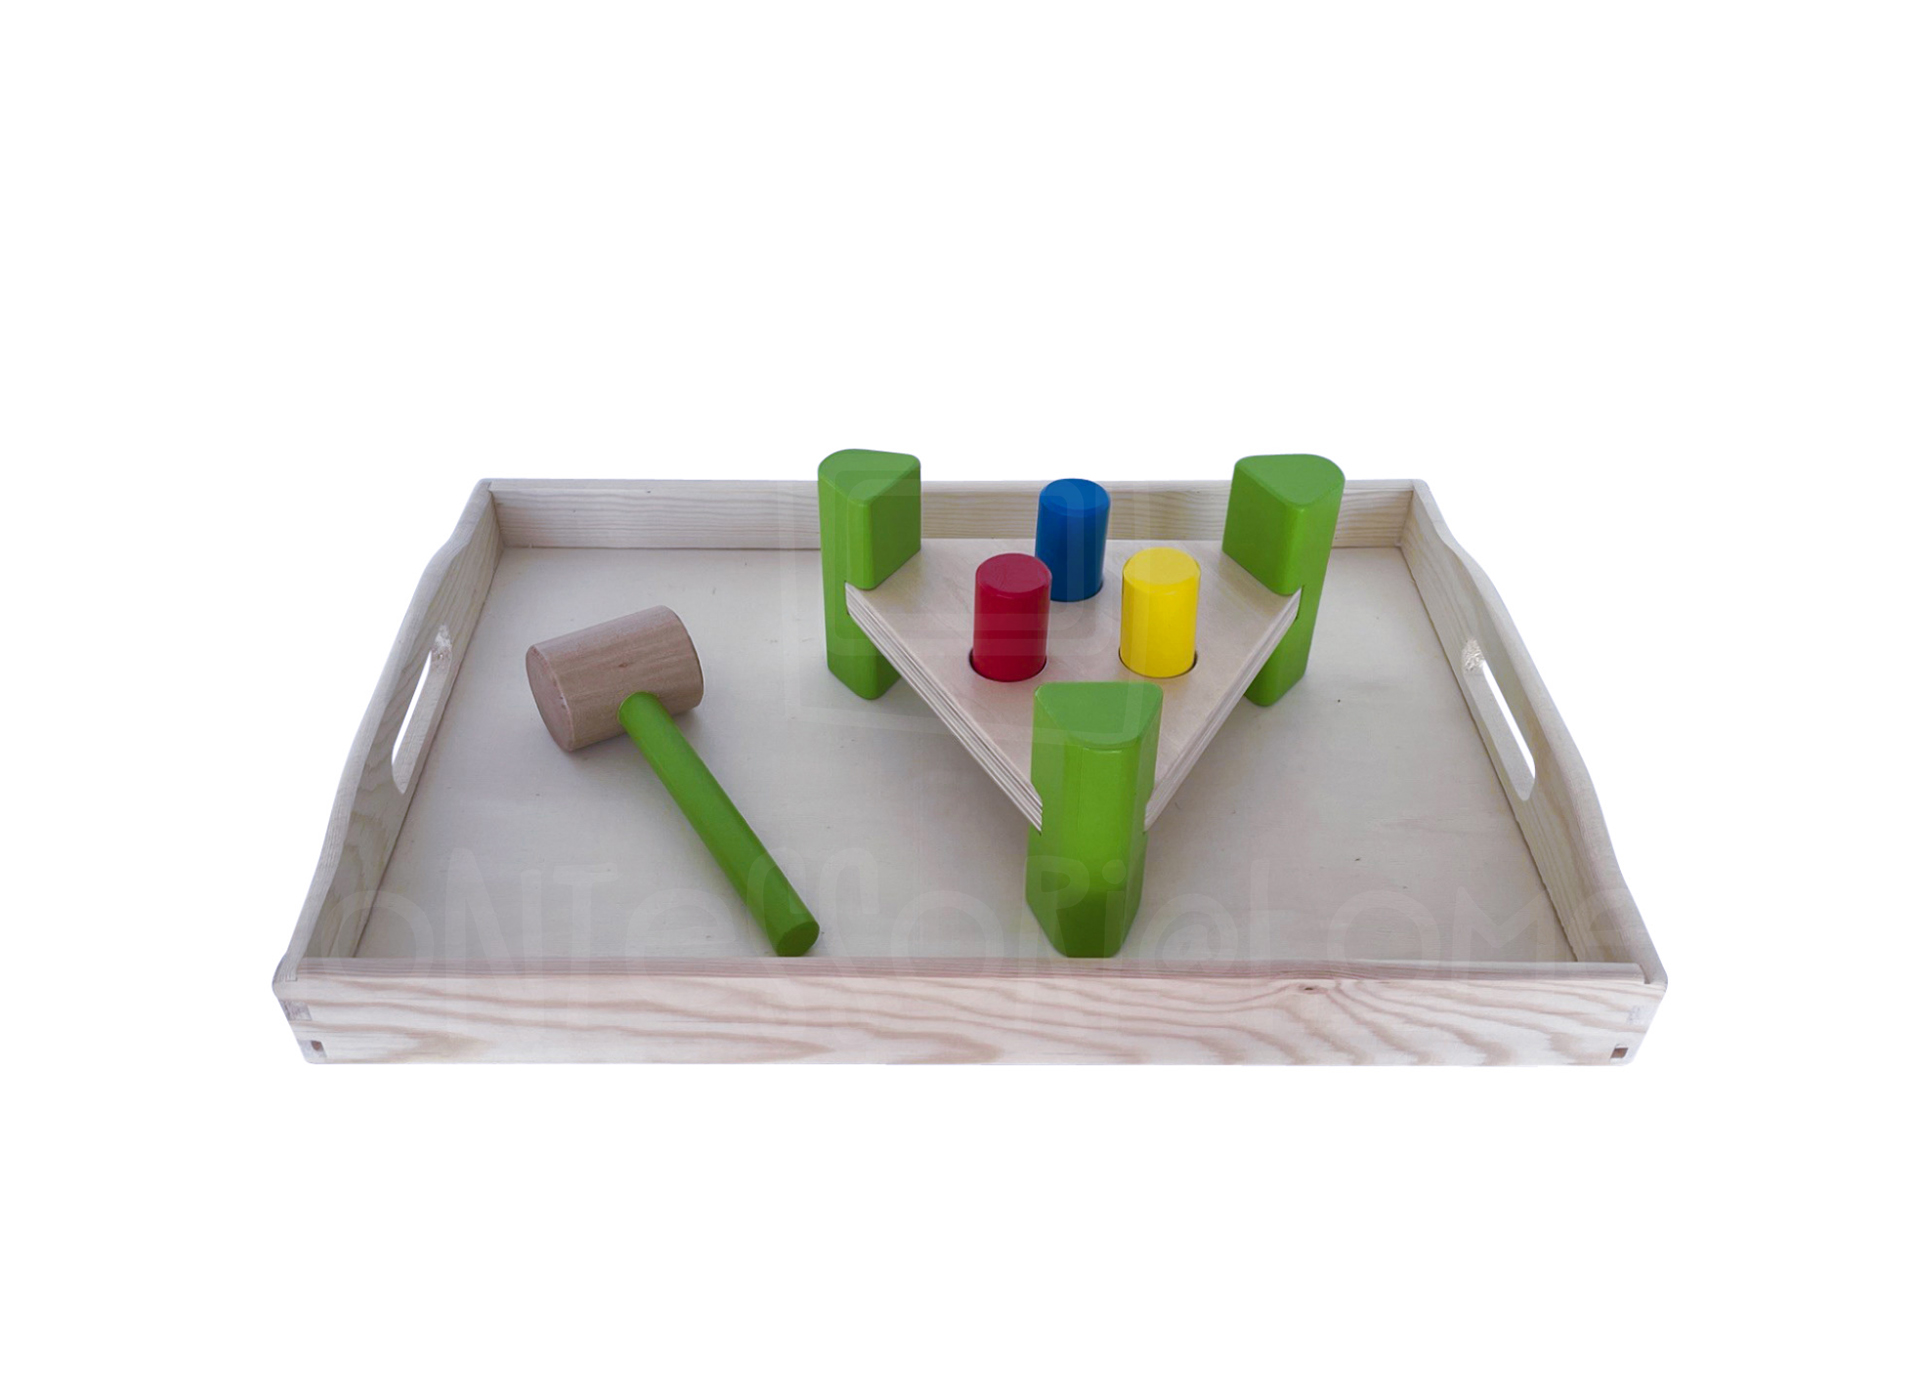
Pounding bench
Objective: Eye-hand coordination
Material: Pounding bench with hammer* (not exactly the one on the picture, but same function and we couldn’t find the one we have used on the US market)
Preparation: The pounding bench and the hammer are placed next to each other on the tray.
Execution: The child knocks with the hammer on the round blocks until they have reached the ground. Then the pounding bench is turned over and the child knocks on the blocks again with the hammer. This can be repeated infinitely.
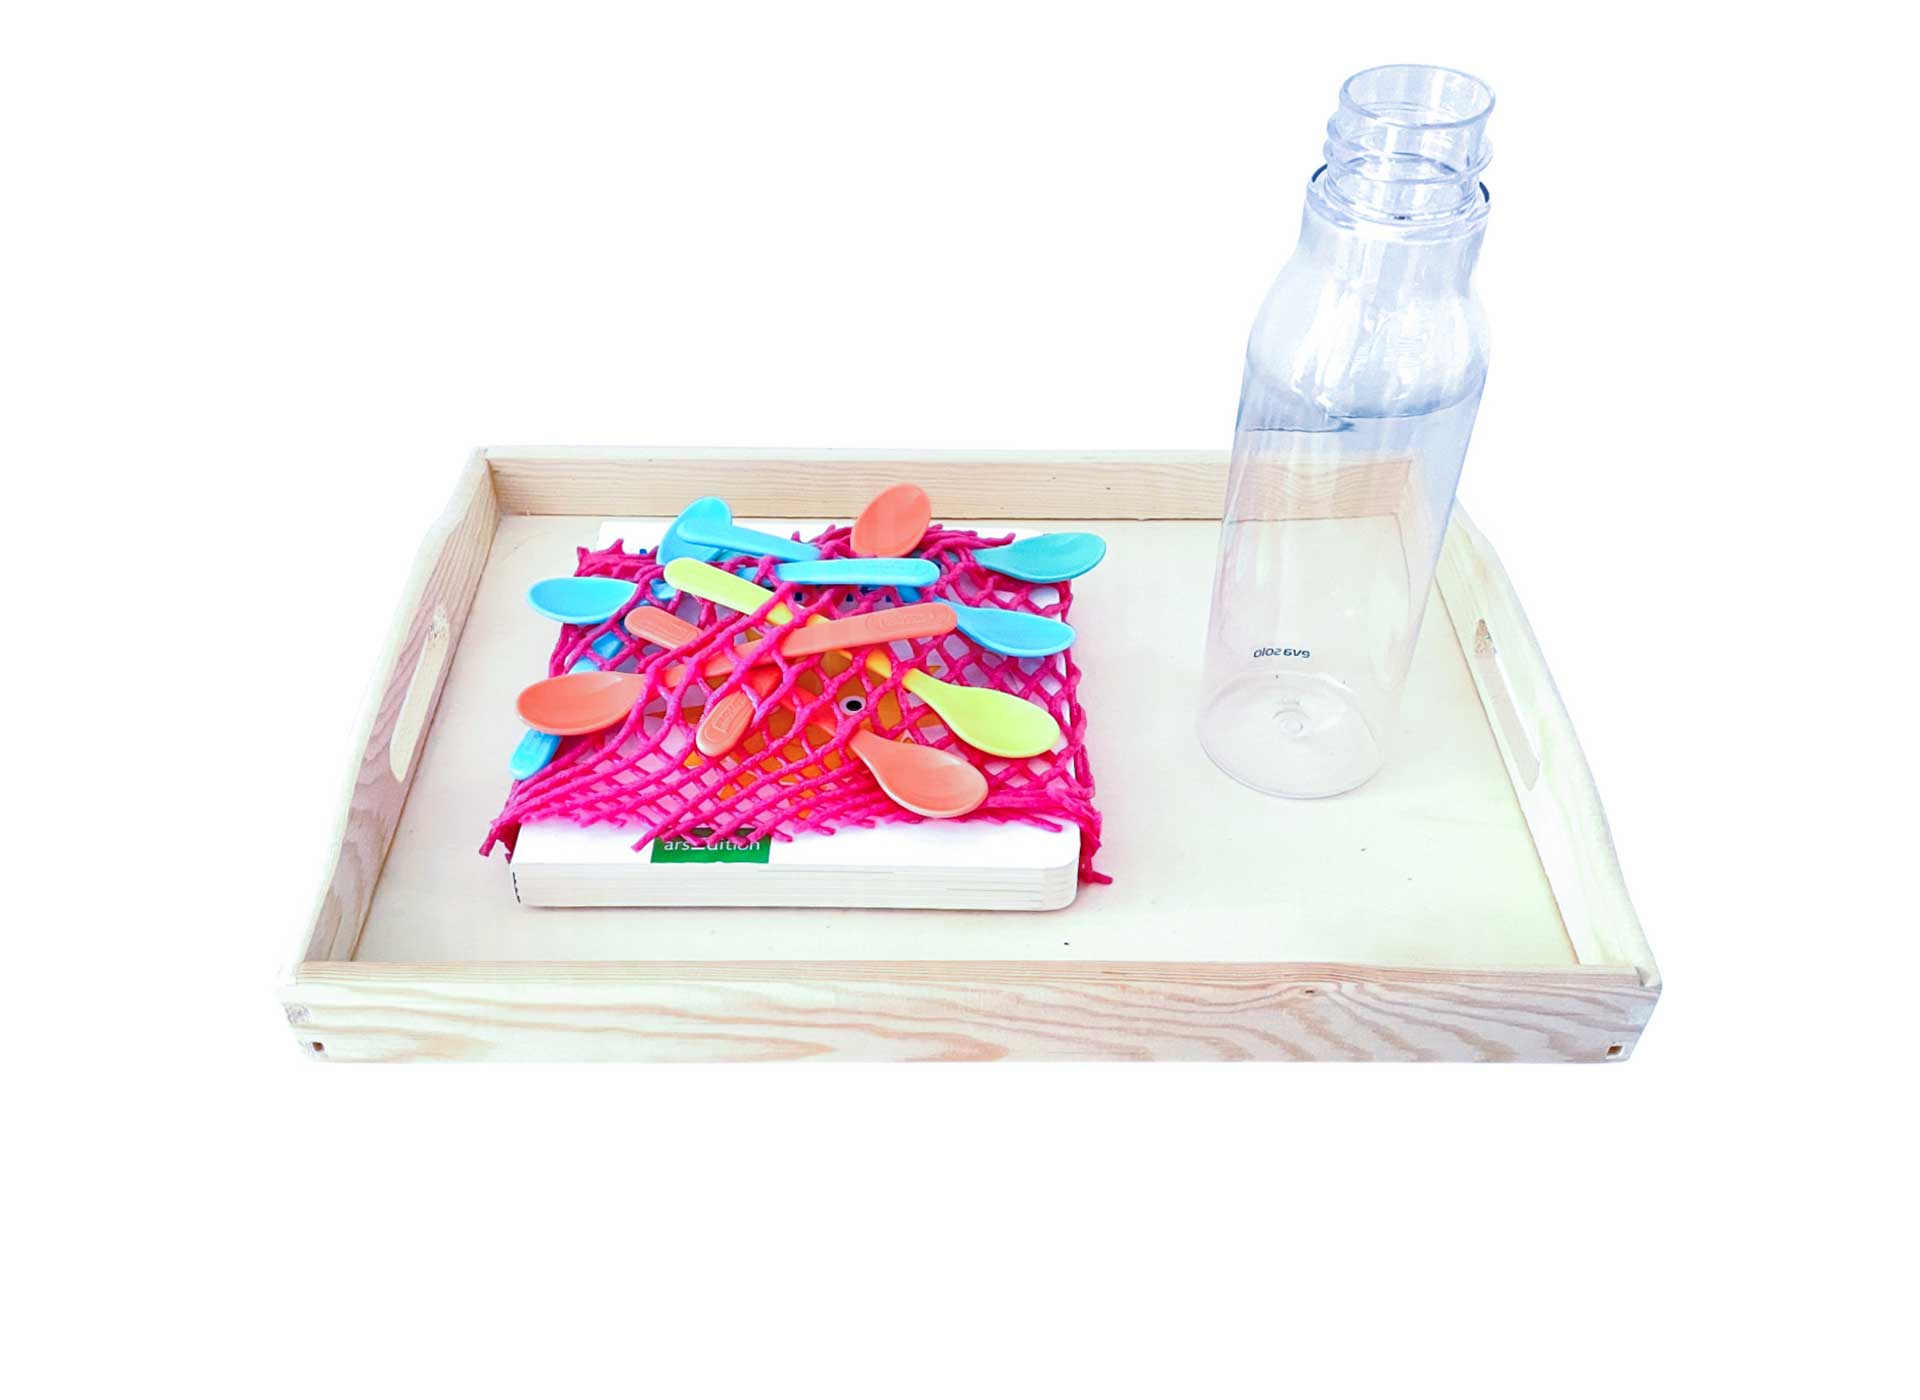
Spoon out
Objective: Promote eye-hand coordination
Material: Baby spoon, net, book, plastic bottle with large opening*
Preparation: The net is stretched over the book. Here, for example, a flying mango net. It should be ensured that the book is just large enough for the net to be stretched. The spoons are woven through the net randomly. The book is placed on the left side of the tray and the bottle is placed on the right side.
Execution: The child tries to pull the spoons out of the net and then put them into the bottle. When all the spoons are in the bottle, an adult helps to weave the spoons back into the net.
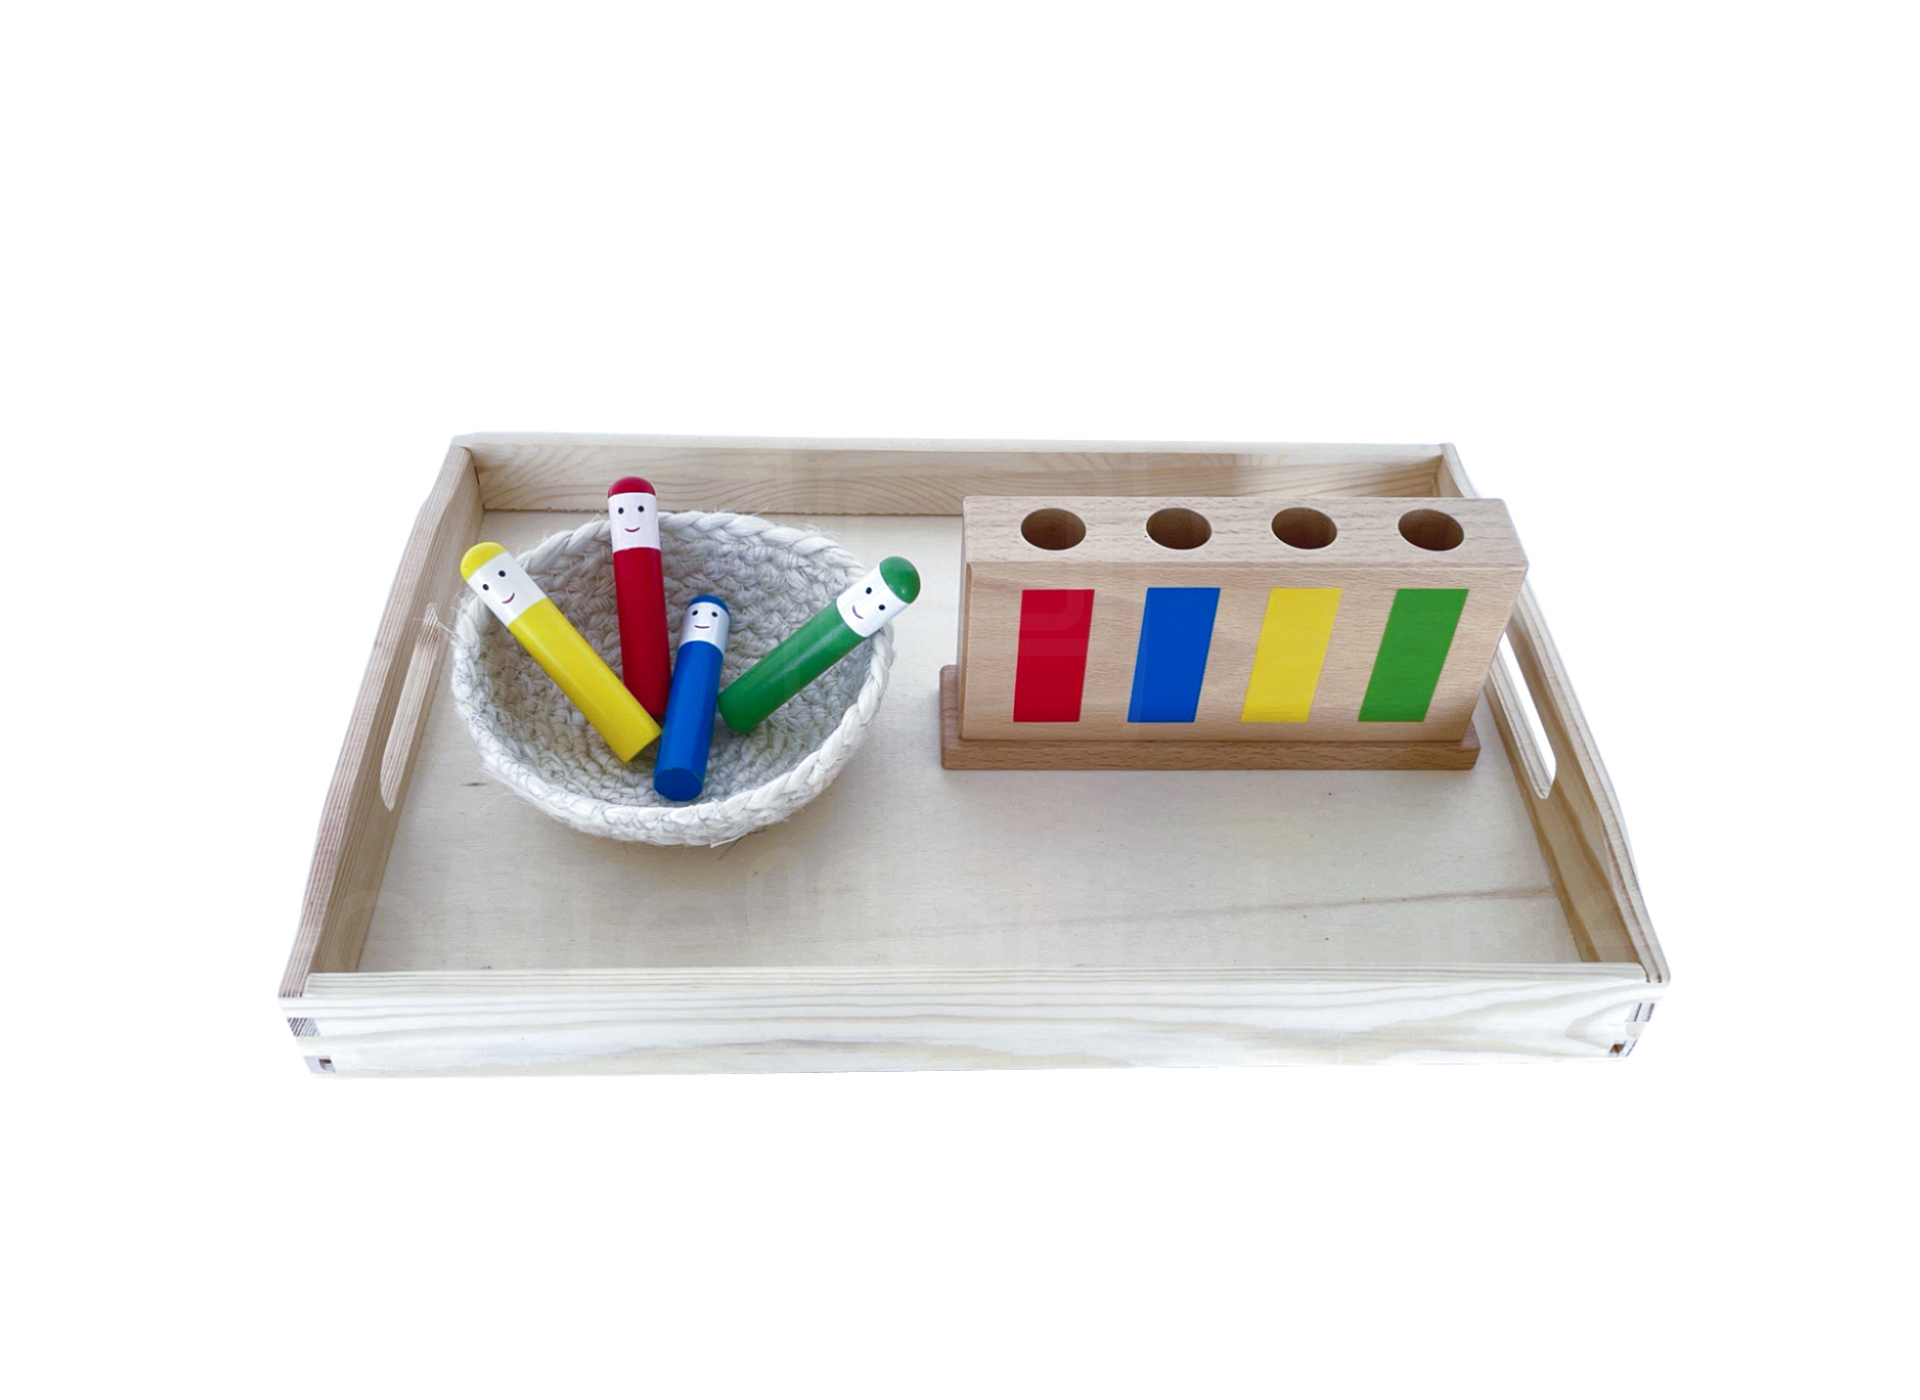
Man back
Objective: Eye-hand coordination
Material: Galt pop up toy*
Preparation: Put the sticks in the basket and place it on the left side of the tray. Place the wooden block on the right side of the tray.
Execution: The child takes the wooden sticks and puts them into the holes. Then all the sticks are put back into the basket. Older children, from 1.5 years sort the sticks according to color, and with face up in the correct hole in each case.
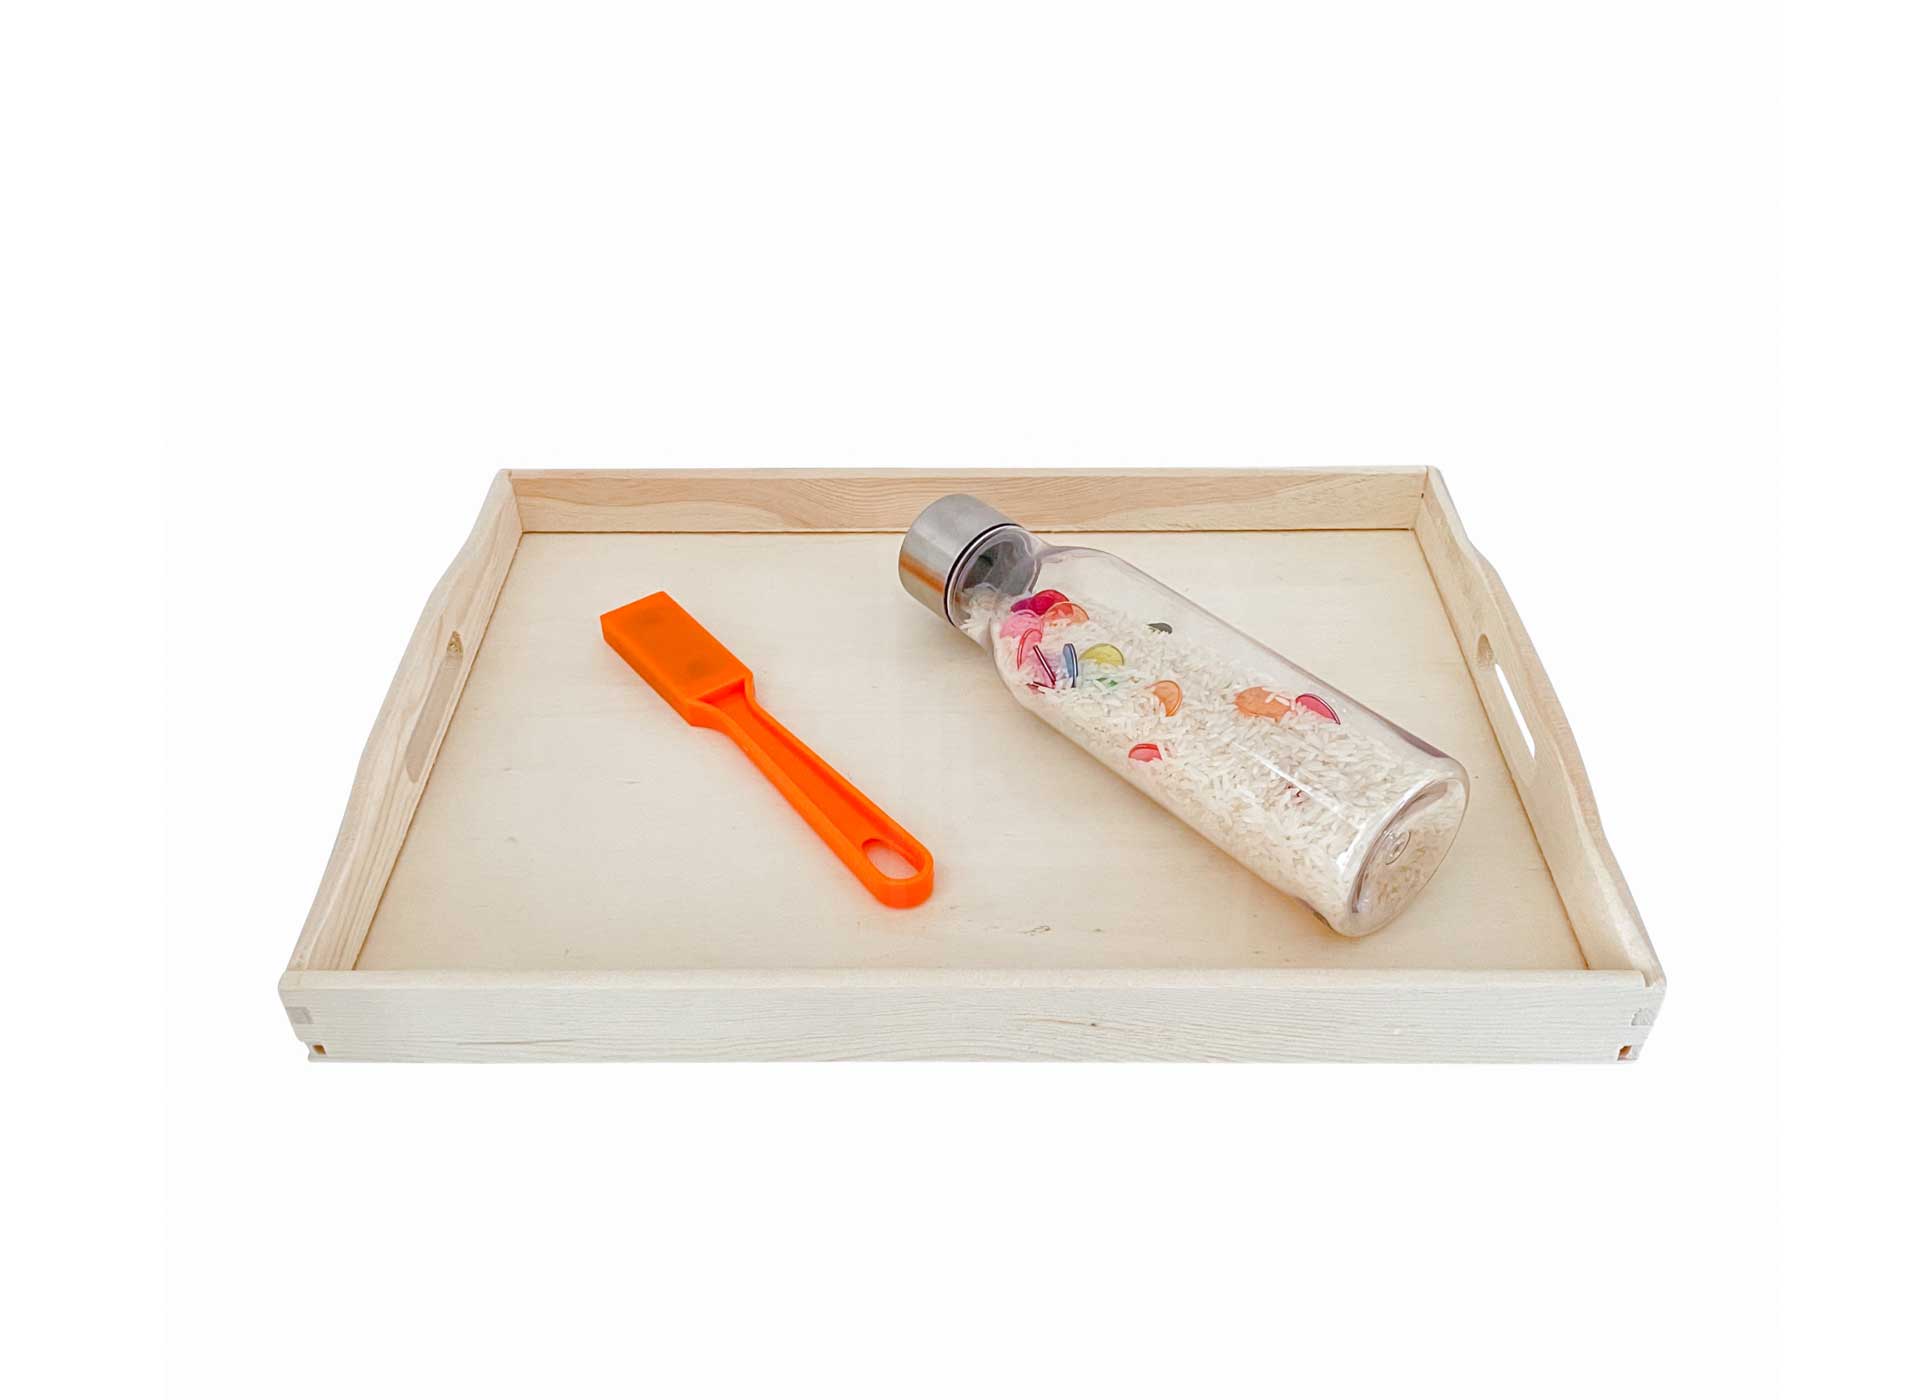
Magnetic bottle
Objective: Promote pincer grasp
Material: Bottle, magnetic parts and magnetic rod*, rice
Preparation: The magnetic particles are filled into the plastic bottle together with the rice. The bottle is then closed tightly. The magnetic rod is placed on the left side of the tray, the bottle on the right.
Execution: The child moves the magnetic rod along the bottle. The attracted colorful magnetic particles keep forming new fascinating shapes.
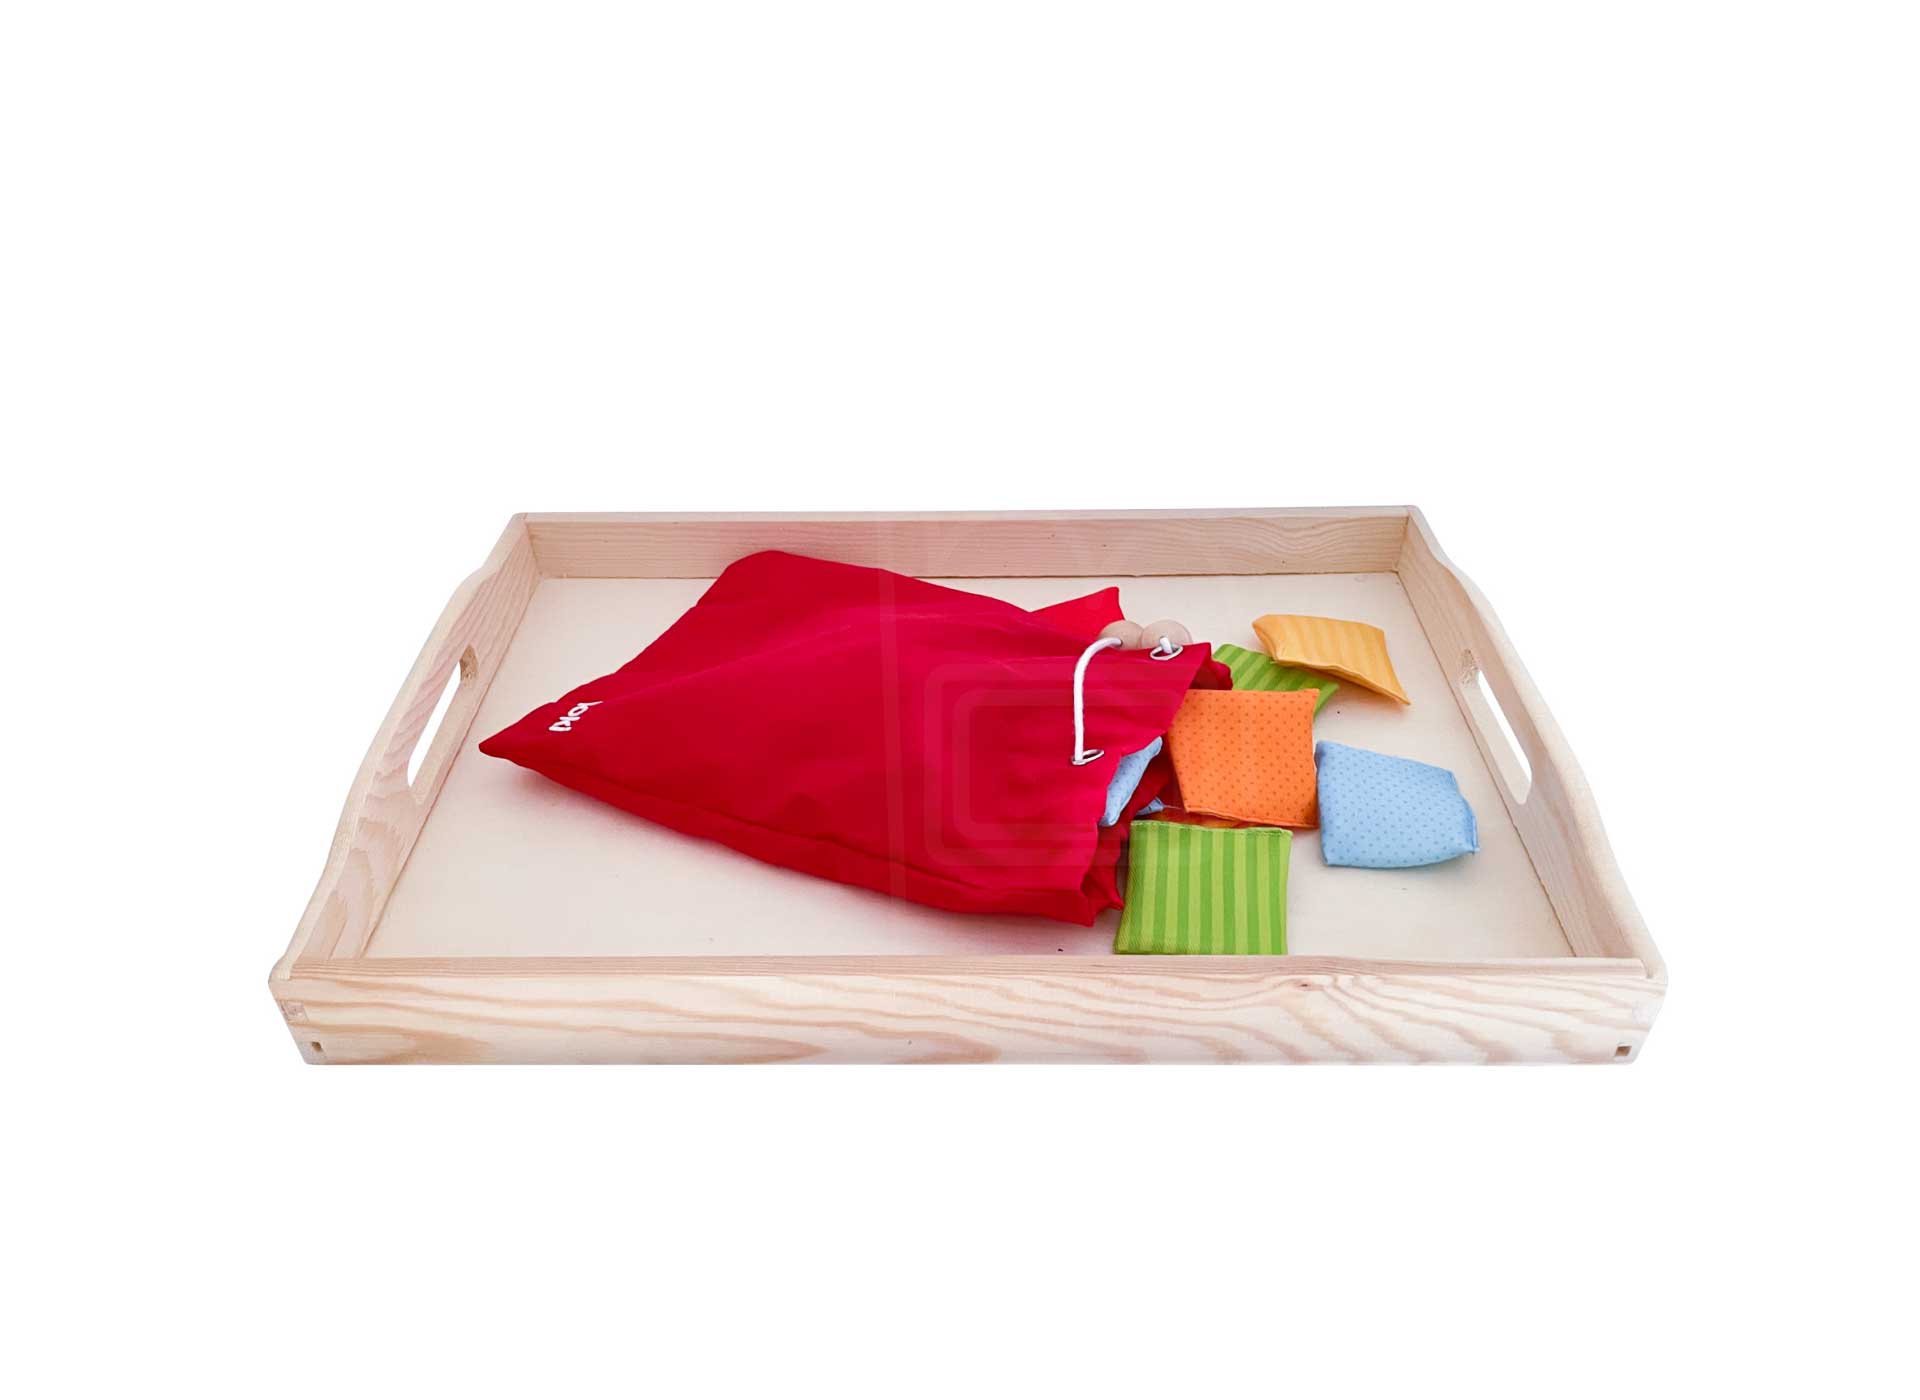
Out of the bag and back
Objective: Promote eye-hand coordination and pincer grasp
Material: Feeling memo*
Preparation: The pillows are put into the bag and the bag is placed on the tray or directly in the cupboard.
Execution: The child unpacks the pillows from the bag and puts them back in. By independently holding up the bag and putting it in and out, not only the eye-hand coordination but also the tweezer grip is promoted.
The material serves not only the promotion of motor skills but also the promotion of tactile perception.
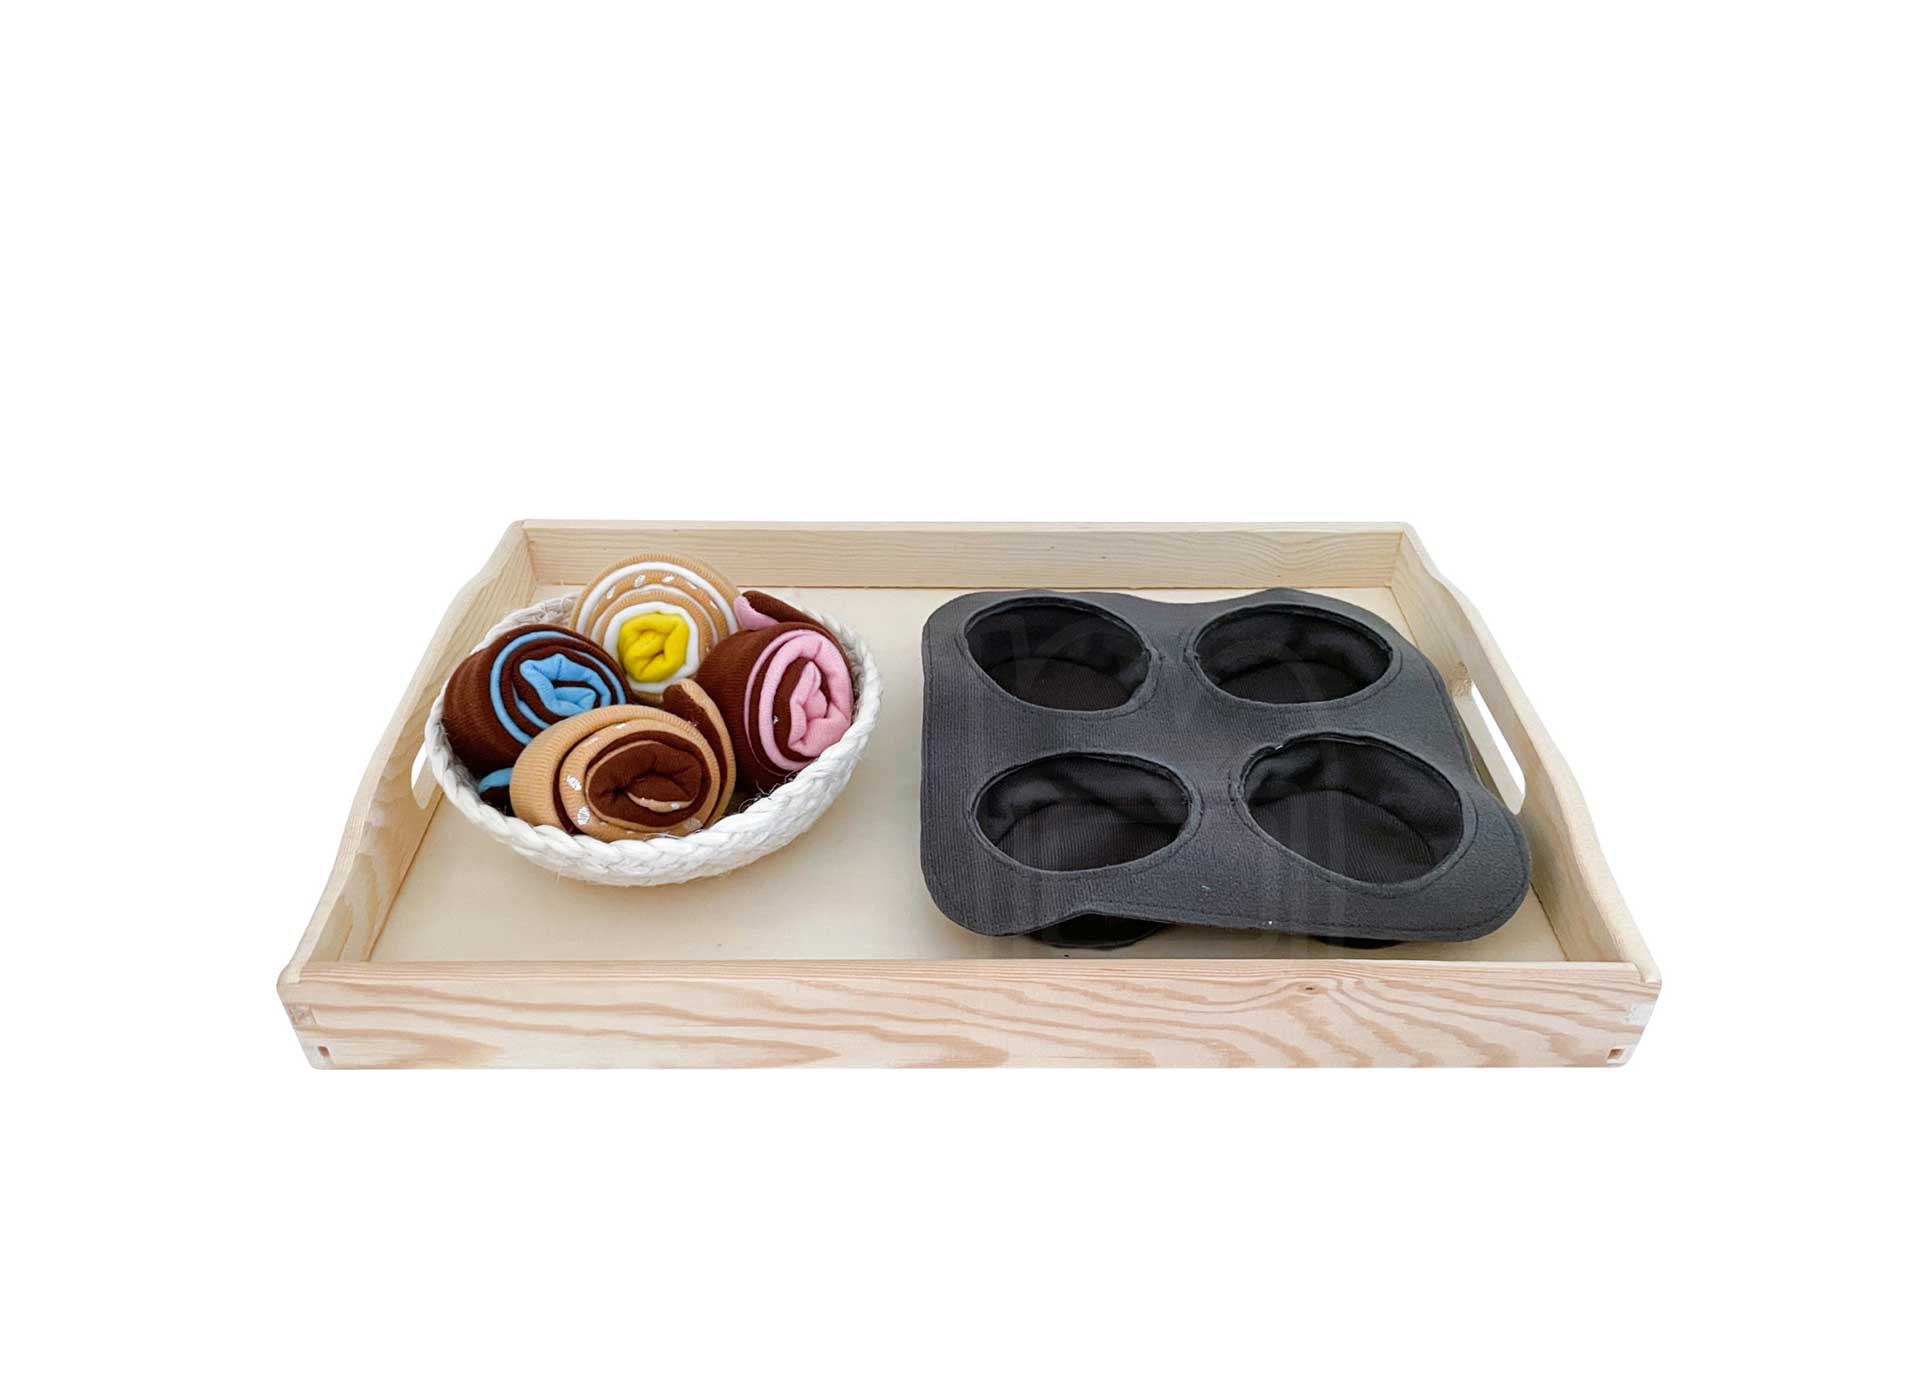
Wrap cinnamon buns
Objective: Promote eye-hand coordination
Material: Cinnamon buns for play kitchen from Ikea, basket
Preparation: The cinnamon buns are rolled up and placed in the basket. This is placed on the tray to the left and the empty baking pan to the right.
Execution: The child takes one cinnamon bun at a time from the basket and places it in an empty baking dish. This process is repeated 4 times until all the cinnamon buns are in the mold. They are then placed back in the basket.
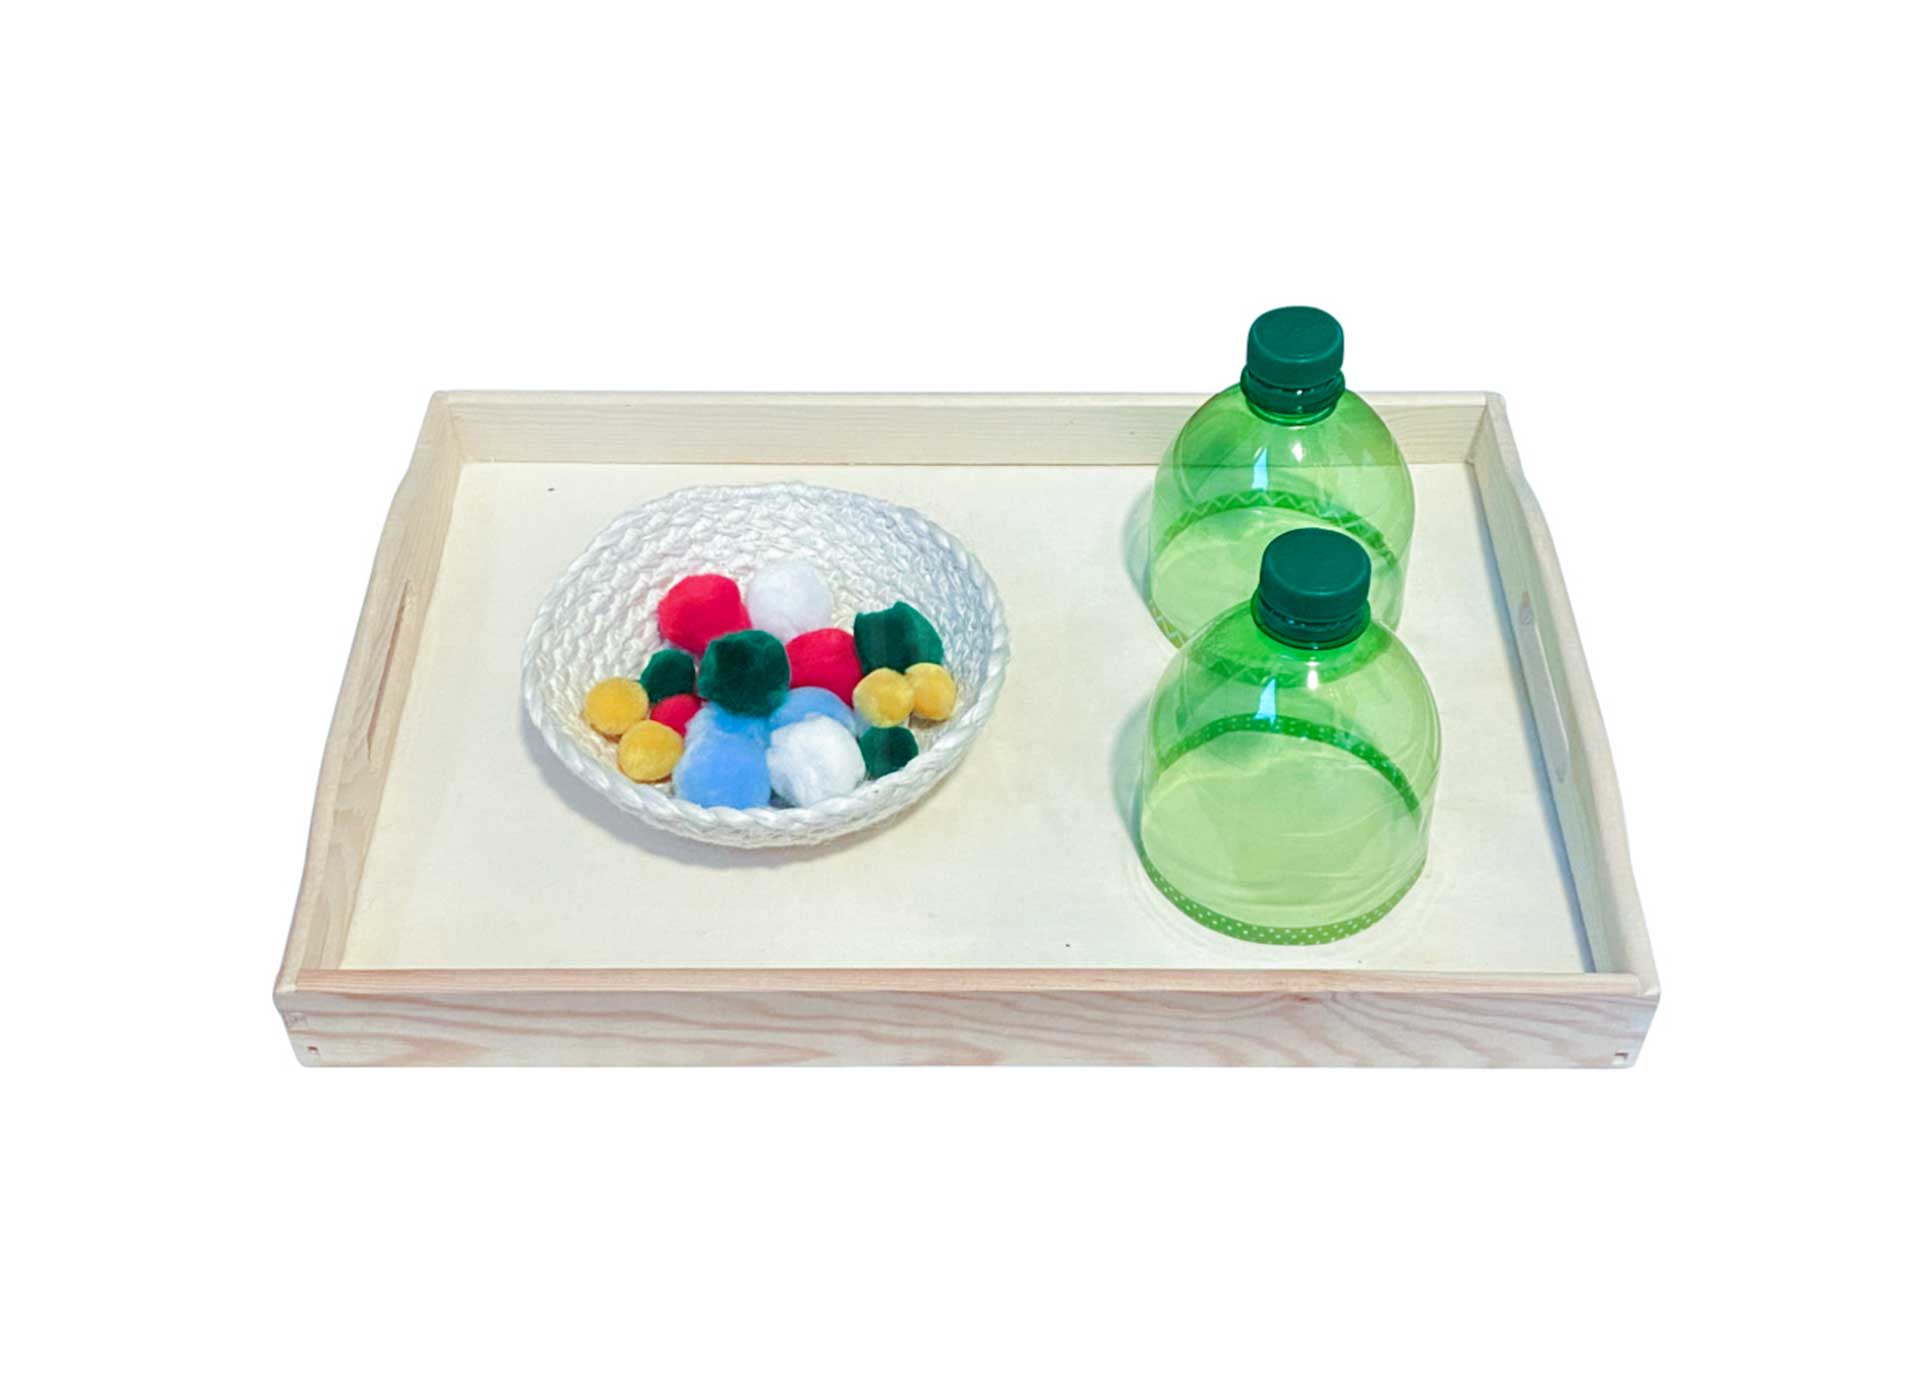
Down the neck of the bottle
Objective: Promote fine motor skills and pincer grasp
Material: Pompoms*, basket, plastic bottles, scissors, Washi Tape*
Preparation: The pompoms are placed in the basket. The plastic bottles are cut with scissors or a knife and the black edges are taped with the washi tape so that the child cannot hurt him or herself. The basket is placed on the left side of the tray, the bottles on the right.
Execution: The child opens the bottles and then puts the pompoms into the bottles. For small children, the bottles are placed on the tray without lids. Then the balls are put back into the basket.
Caution: Both the lids of the plastic bottles and the pompoms are small parts that can be swallowed, so the child should not handle them without adult supervision.
The material serves not only to promote motor skills but the unscrewing of the bottles can also be seen as an exercise in everyday life.
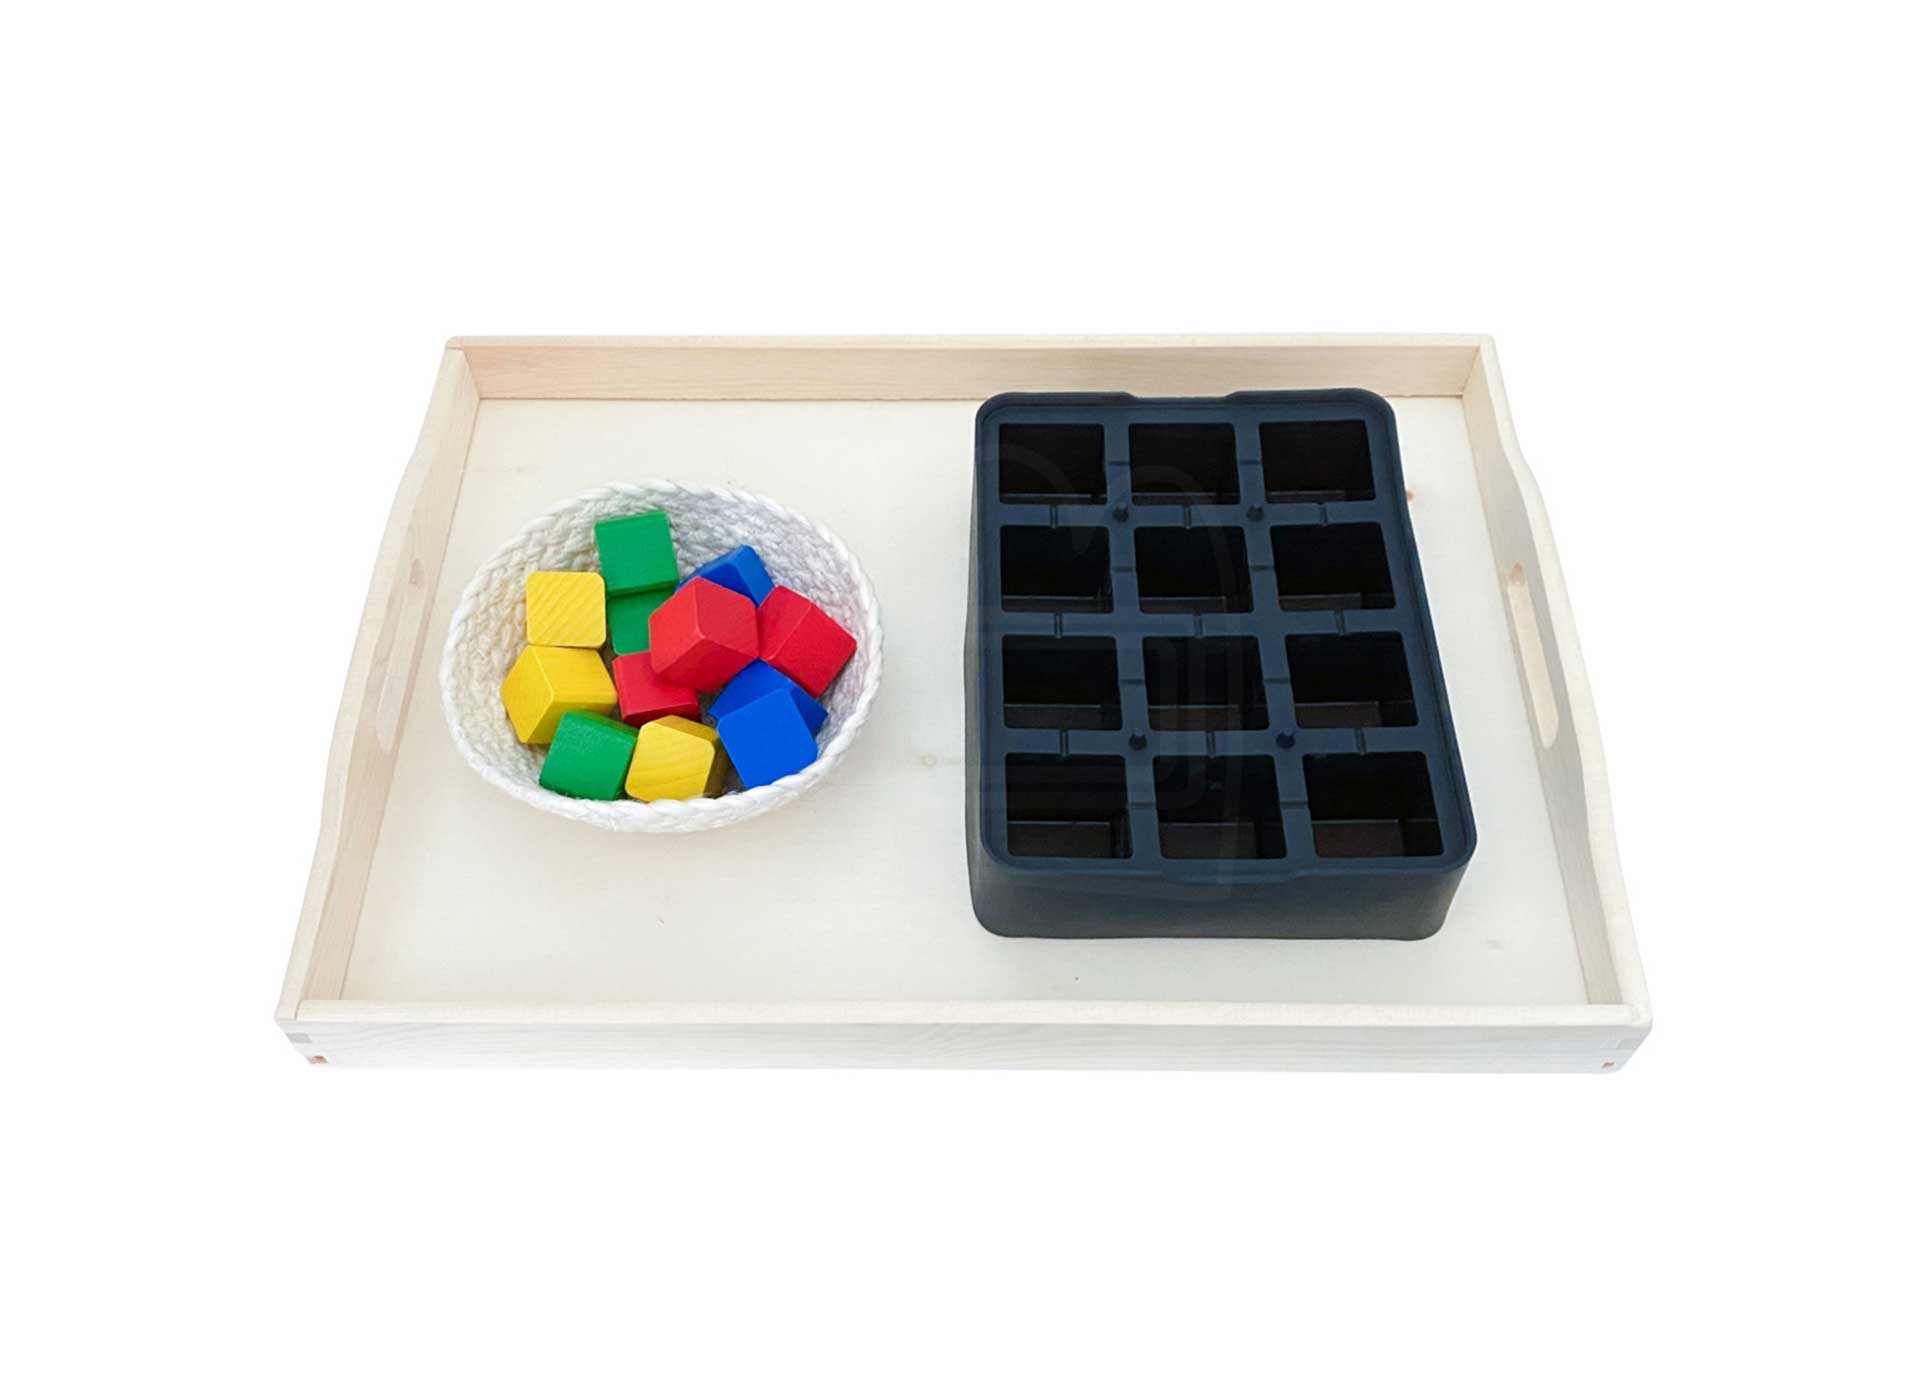
Sorting blocks
Objective: Promote eye-hand coordination
Material: Cube-shaped wooden blocks*, ice cube mold*, basket
Preparation: The appropriate number of wooden blocks for the ice cube mold (here 12) are placed in the basket so that each building block can find its place in the ice cube mold. The silicone mold and basket are then placed on the table.
Execution: The child takes a wooden block and places it in a free space of the silicone mold. This process is repeated until all the wooden blocks are in the silicone mold and all the squares are occupied. The blocks are then placed back into the basket. For older children, a colored template can also be painted so that the blocks must be placed in the mold sorted by color.
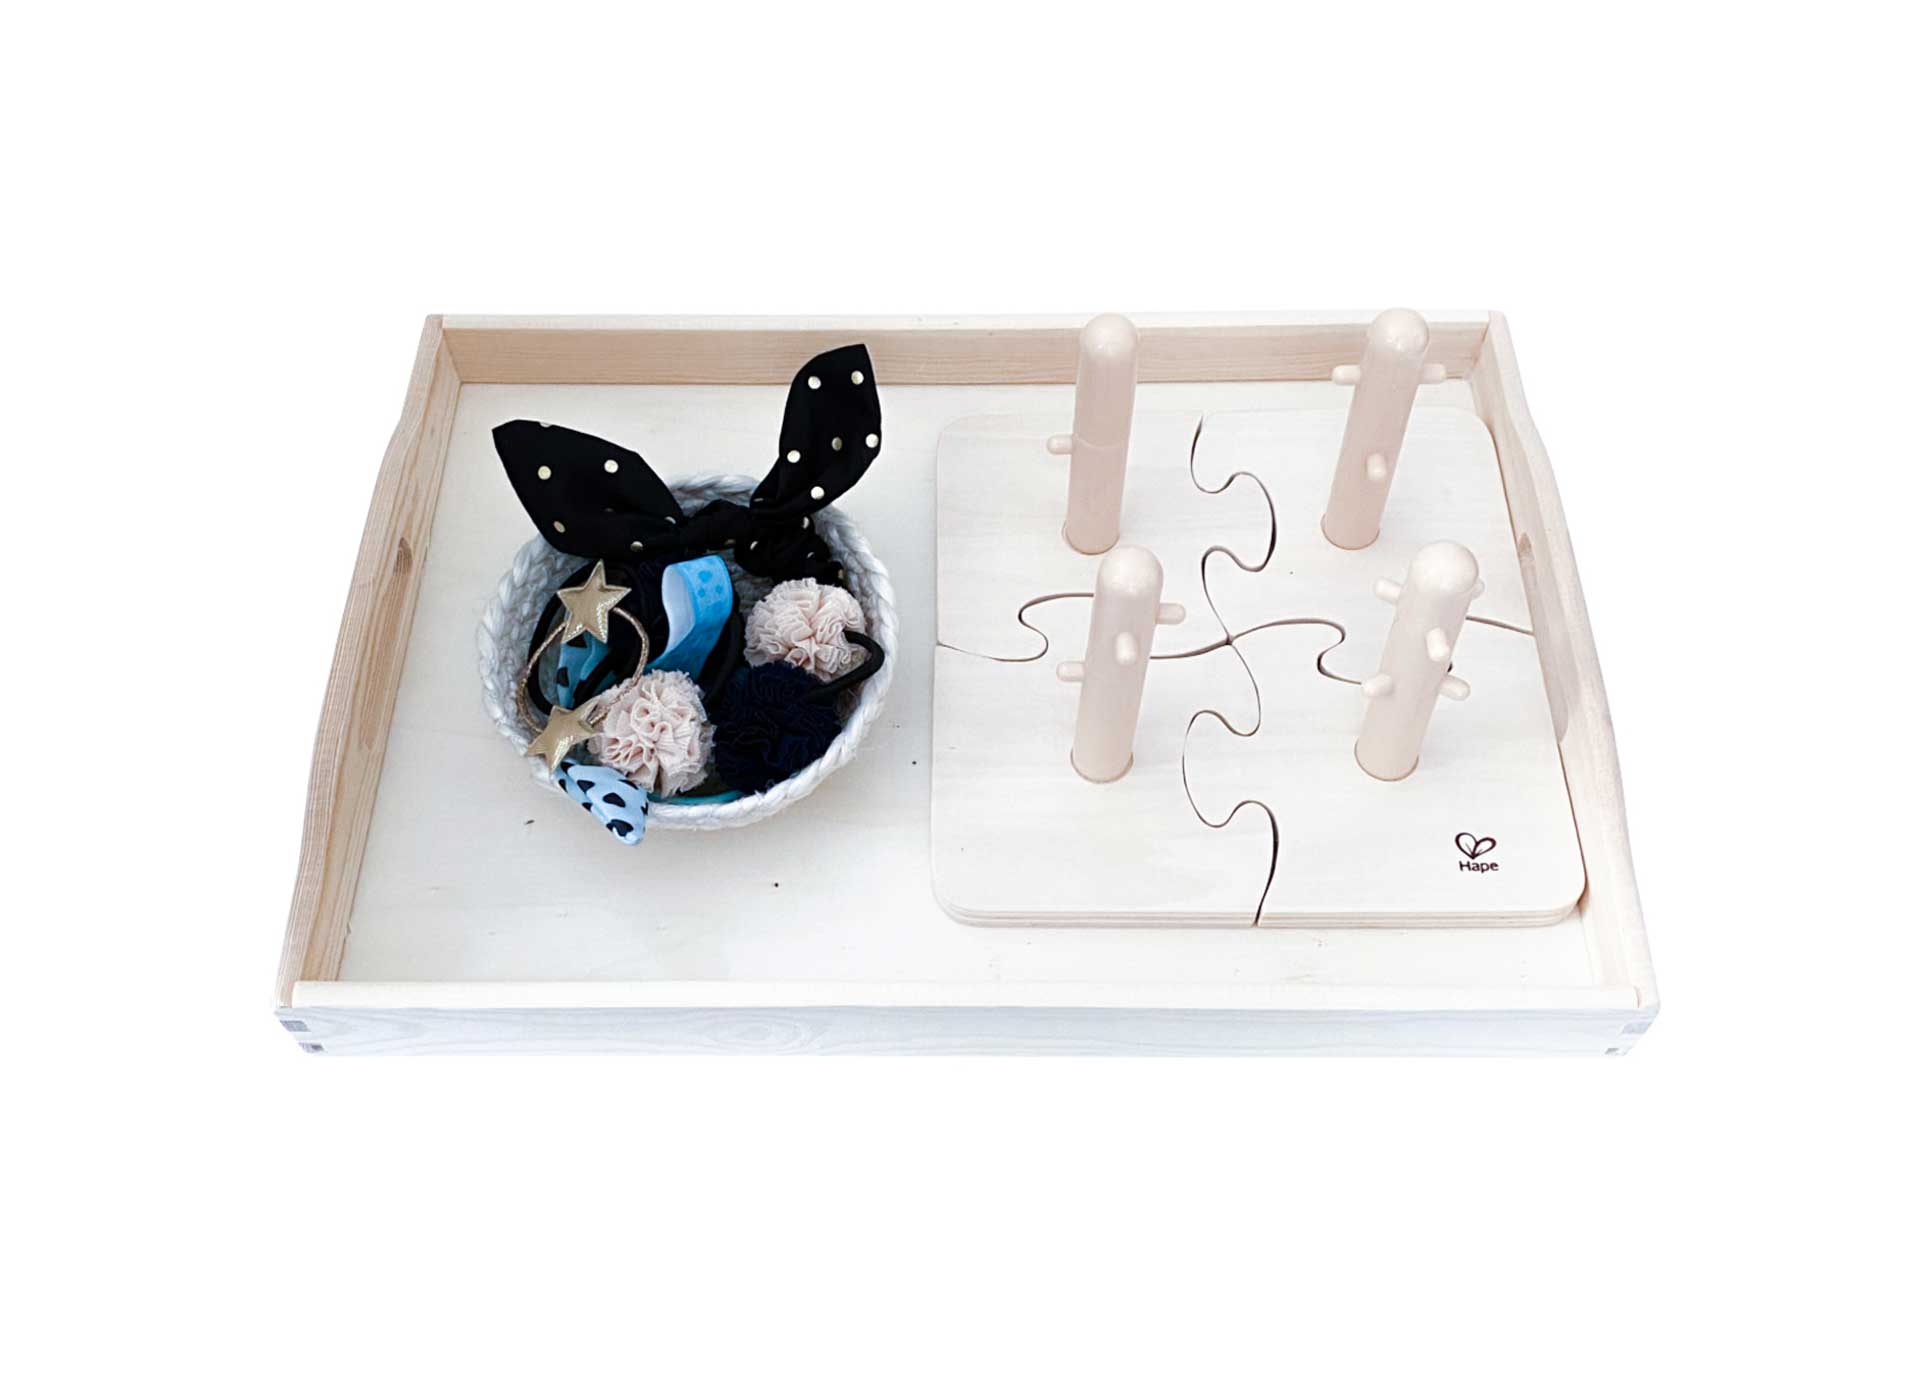
Stacking hair ties
Objective: Promote eye-hand coordination
Material: Hape sticking game*, basket, hair ties
Preparation: Different hair elastics are placed in the basket. The basket is placed on the board and the empty game is placed next to it.
Execution: The child takes a hair tie from the basket and puts it on one of the sticks. This process is repeated until all hair ties have found a place on a stick. Then all the hair ties are returned to the basket.
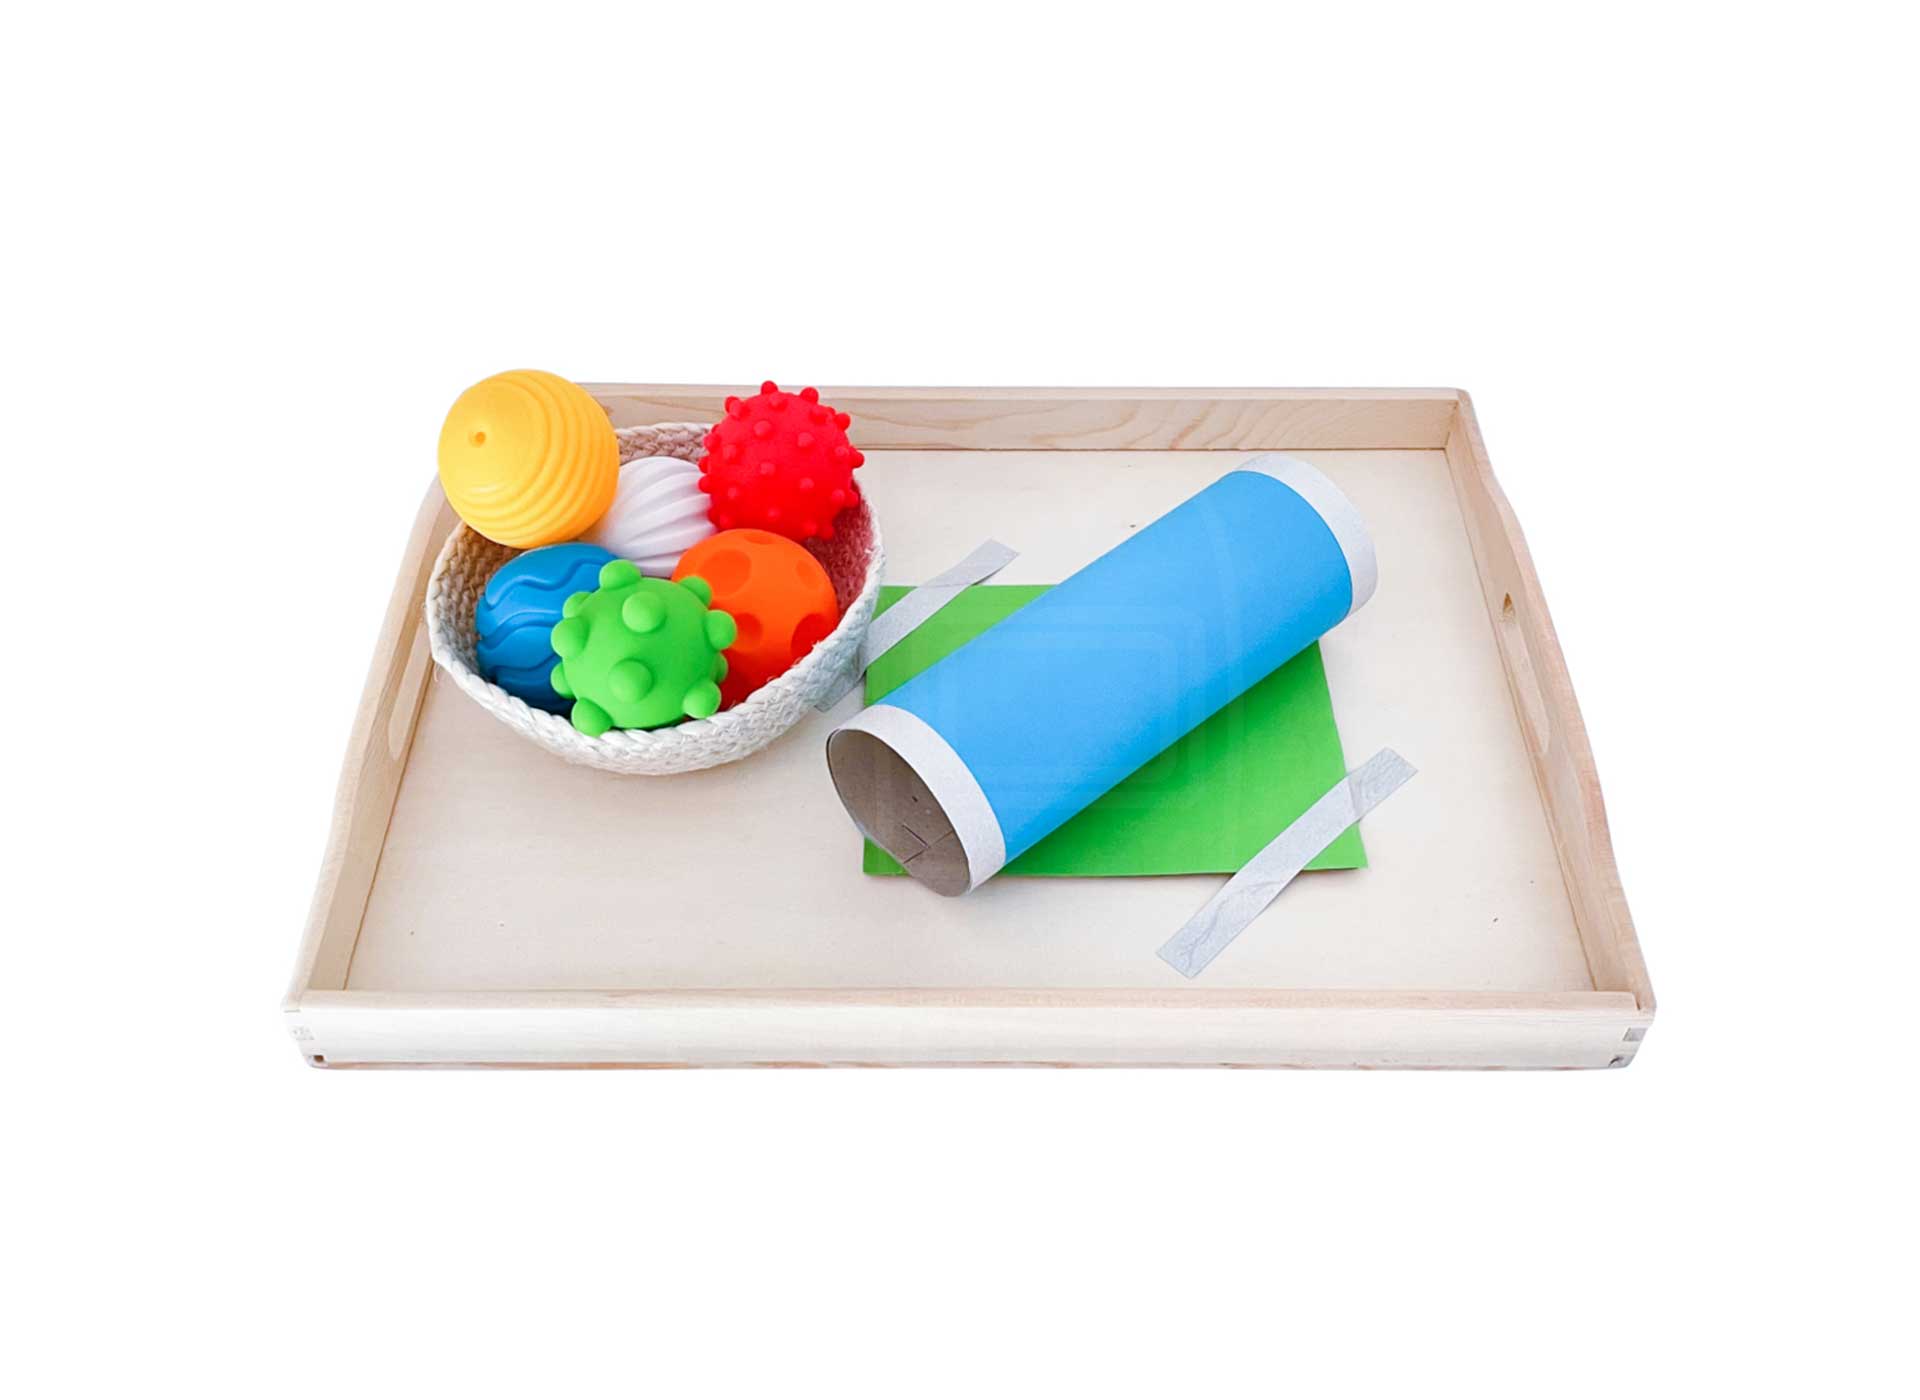
Ball tube
Objective: Promote eye-hand coordination
Material: Sensory balls*, colorful cardboard, basket, scissors, glue, Washi tape*, adhesive tape
Preparation: A sturdy tube is formed from a colorful piece of cardboard and taped together. The tube can be colorfully decorated as needed, for example, with washi tape. Then glue this tube to another piece of cardboard. And then attach the cardboard to the tray with tape. The sensory balls, or another type of large ball that fits through the tube, are placed in the basket on the left side of the tray.
Execution: The child takes a ball and puts it into the tube. Then he/she takes another ball and puts it into the tube. At some point, the first ball comes back out the front and can be put back in the back of the tube. When the child is finished, all the balls can go back into the basket.
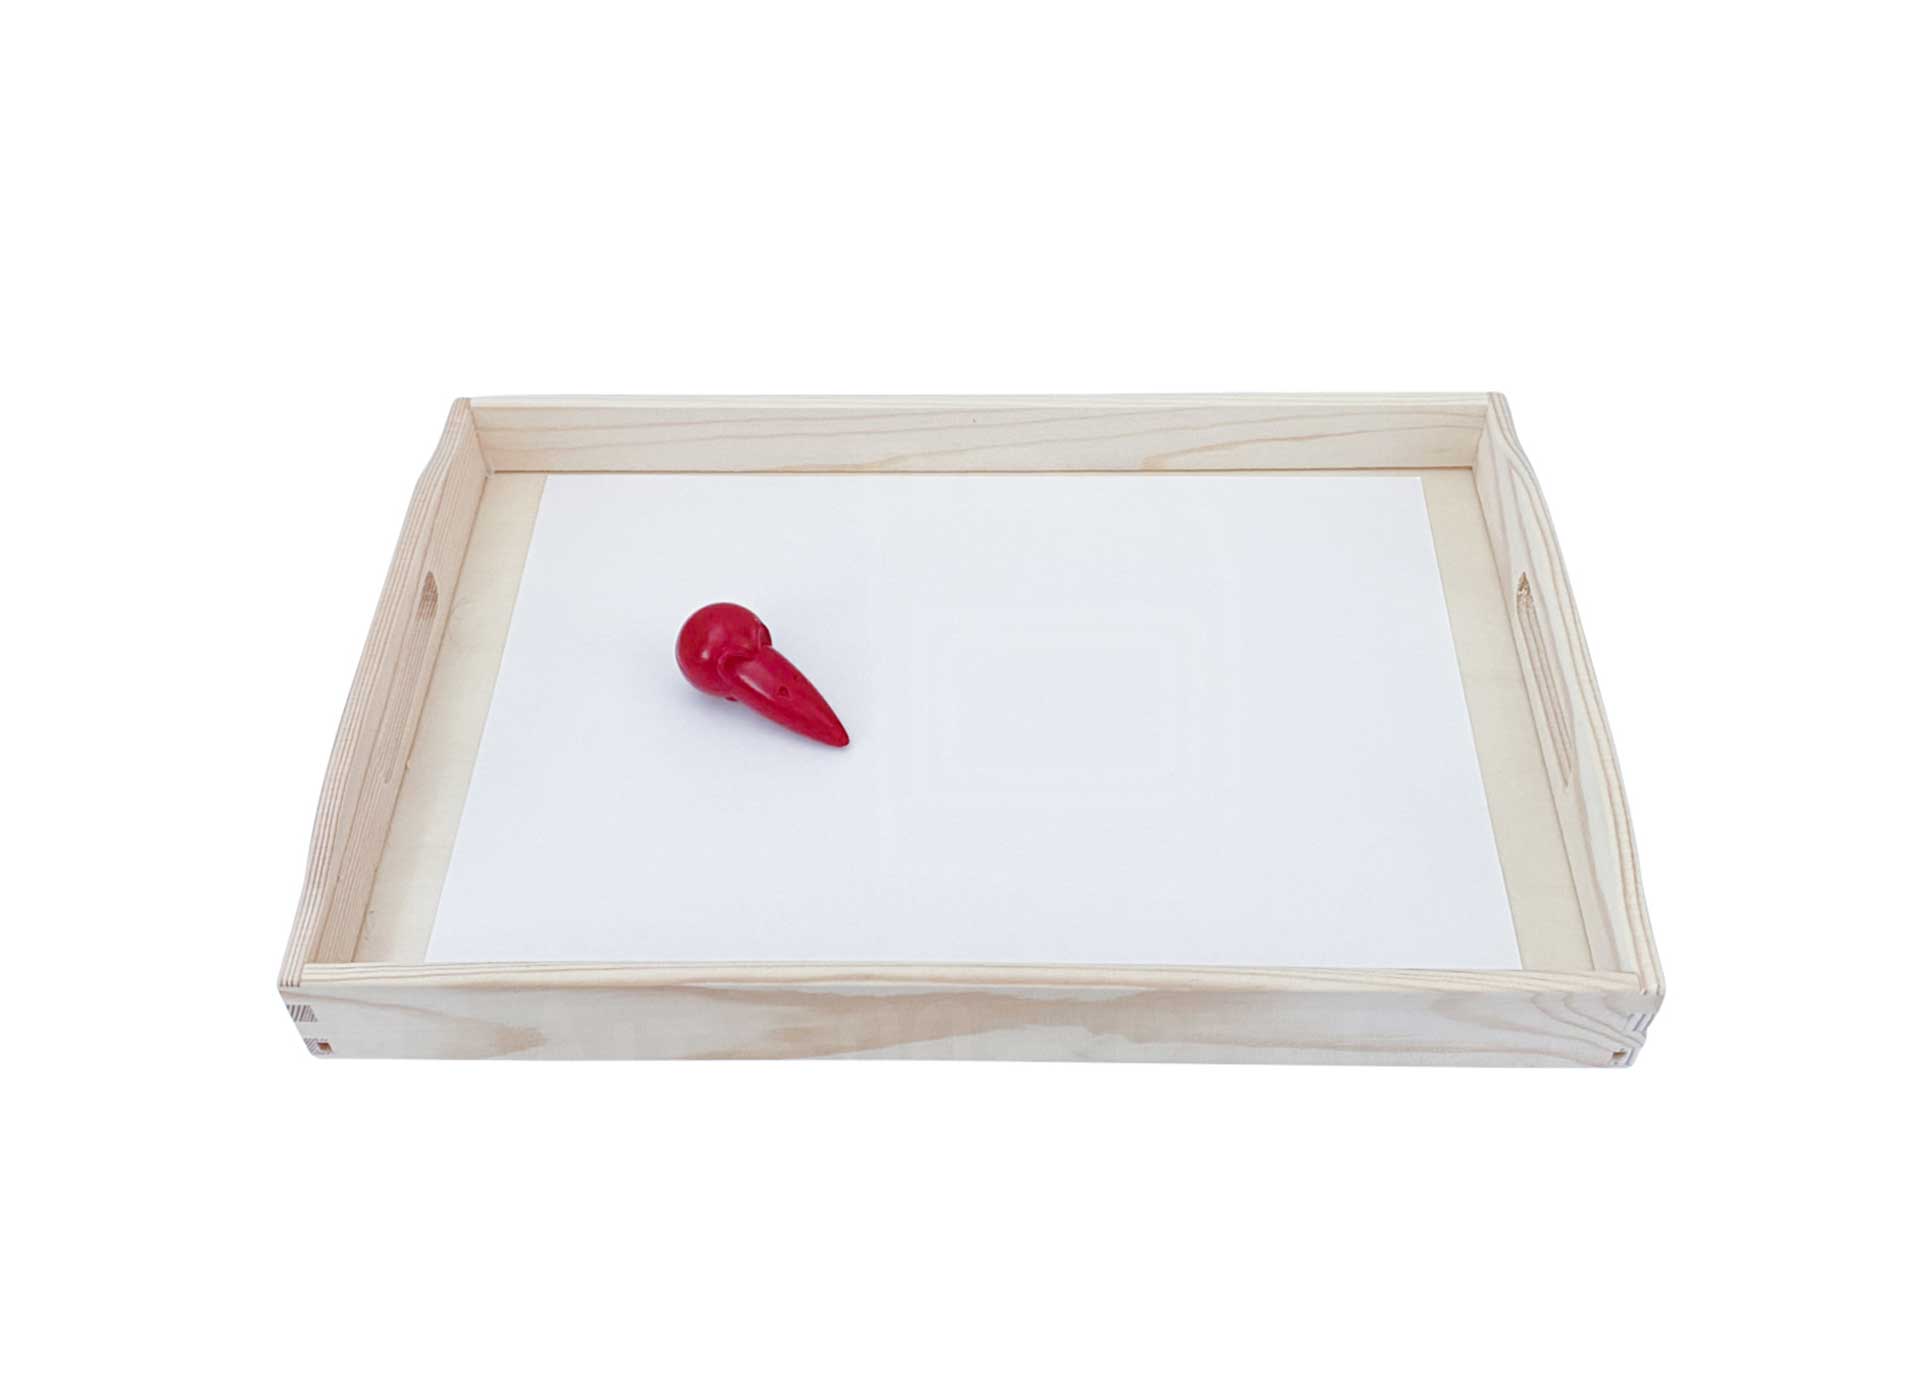
First painting
Objective: Promote pincer grasp and fine motor skills
Material: Crayons*, paper
Preparation: A wax crayon mouse is placed on a tray together with the paper.
Execution: The child paints with the mouse on the paper. For this purpose, only one color is provided at first, which is sufficient to gain initial painting experience.
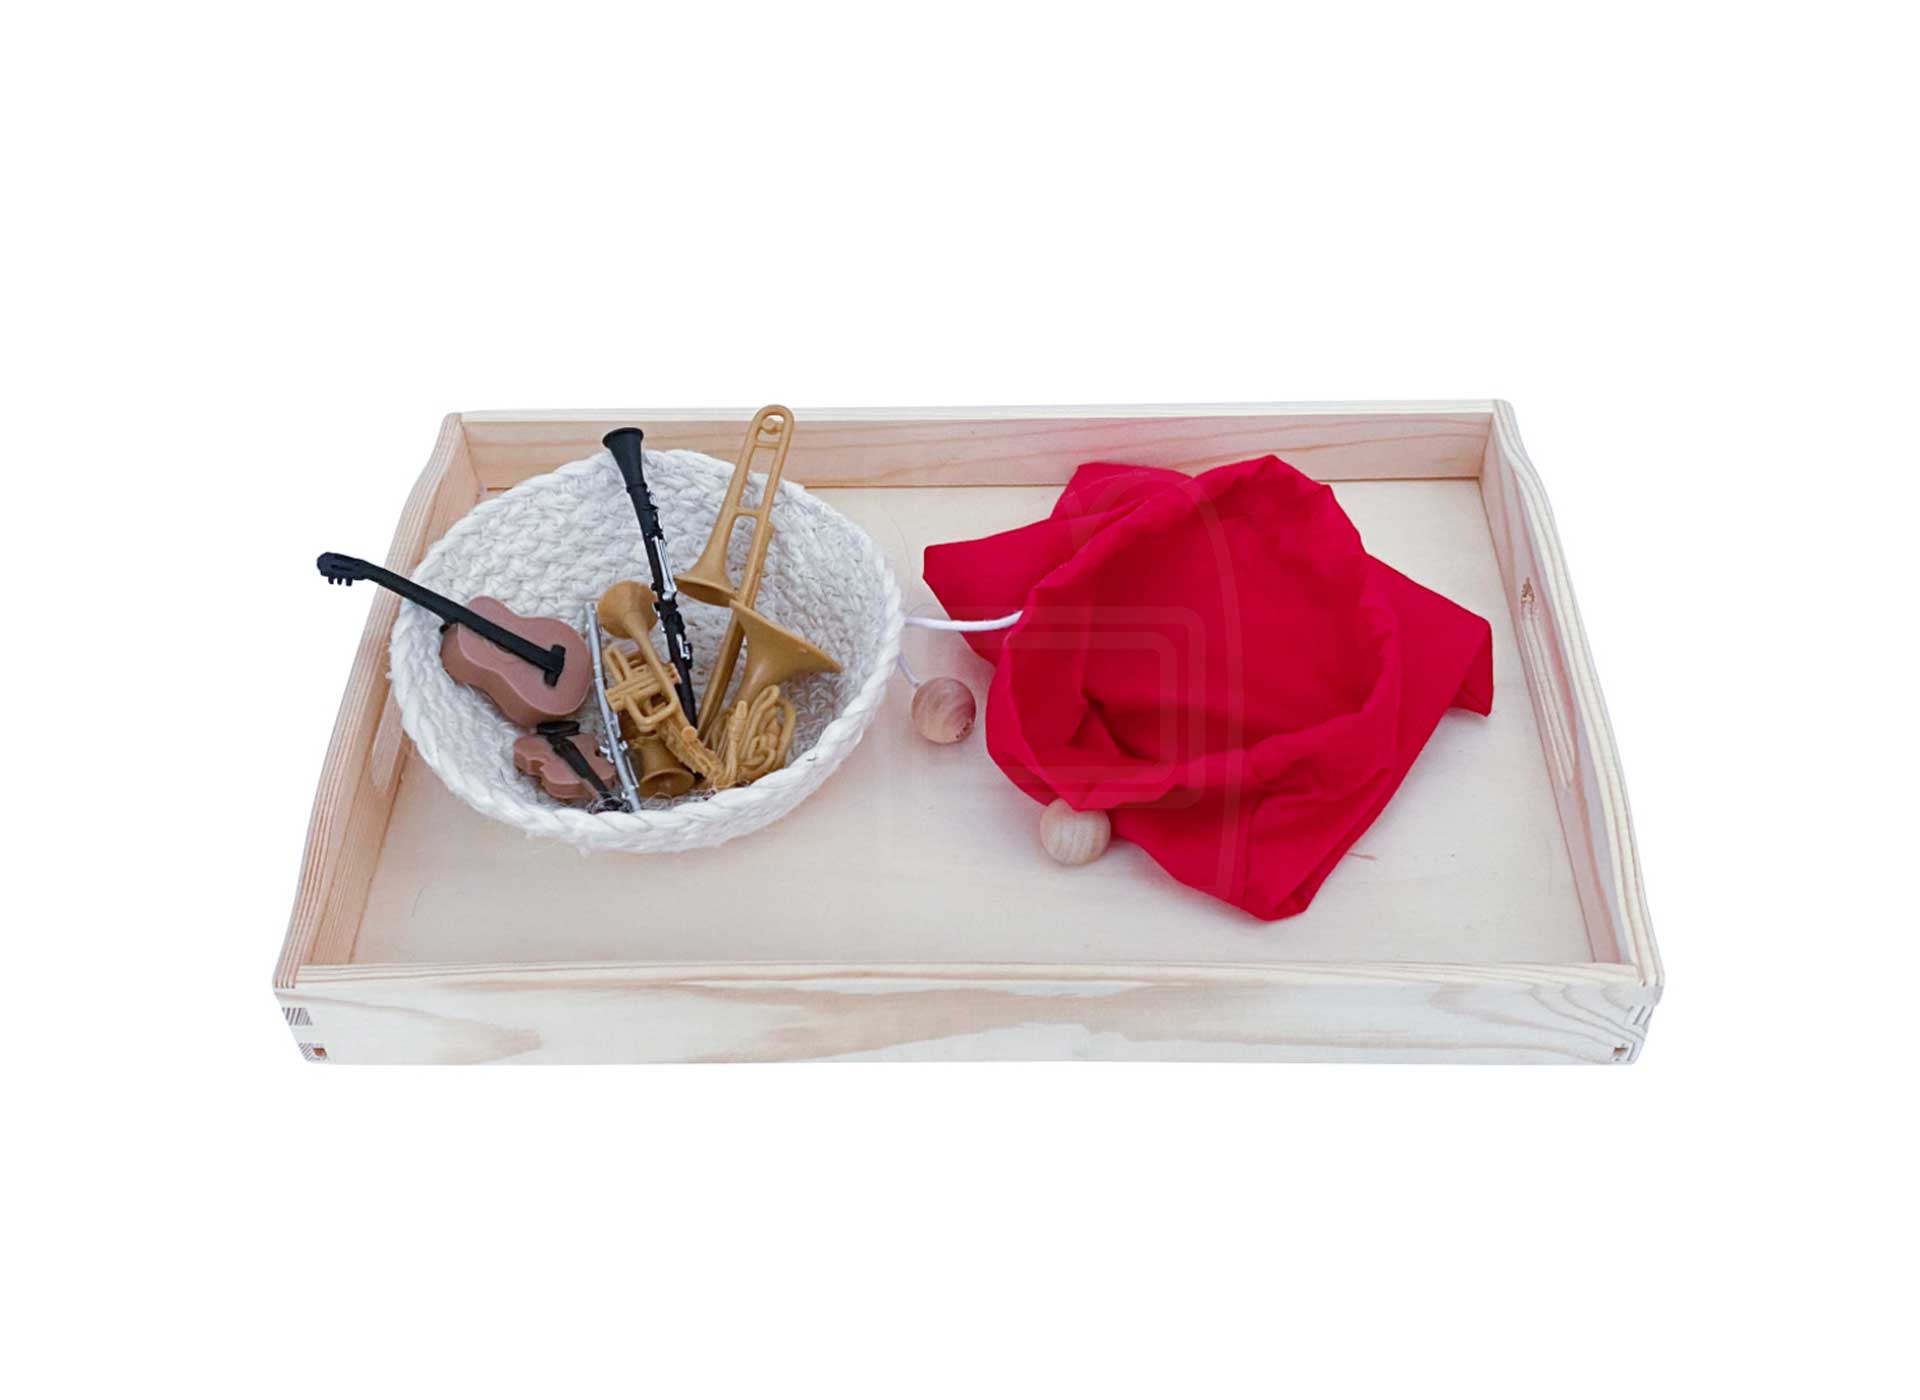
Off into the bag
Objective: Promote eye-hand coordination and pincer grasp
Material: Miniature musical instruments*, basket, small bag
Preparation: All musical instruments or other objects are placed in the basket, which is placed on a tray together with the bag.
Execution: The child takes one musical instrument at a time and places it in the bag. The difficulty here is to hold the bag with one hand and put the instrument into the bag with the other hand. When all the instruments are in the bag, they are put back into the basket. An adult may have to help here.
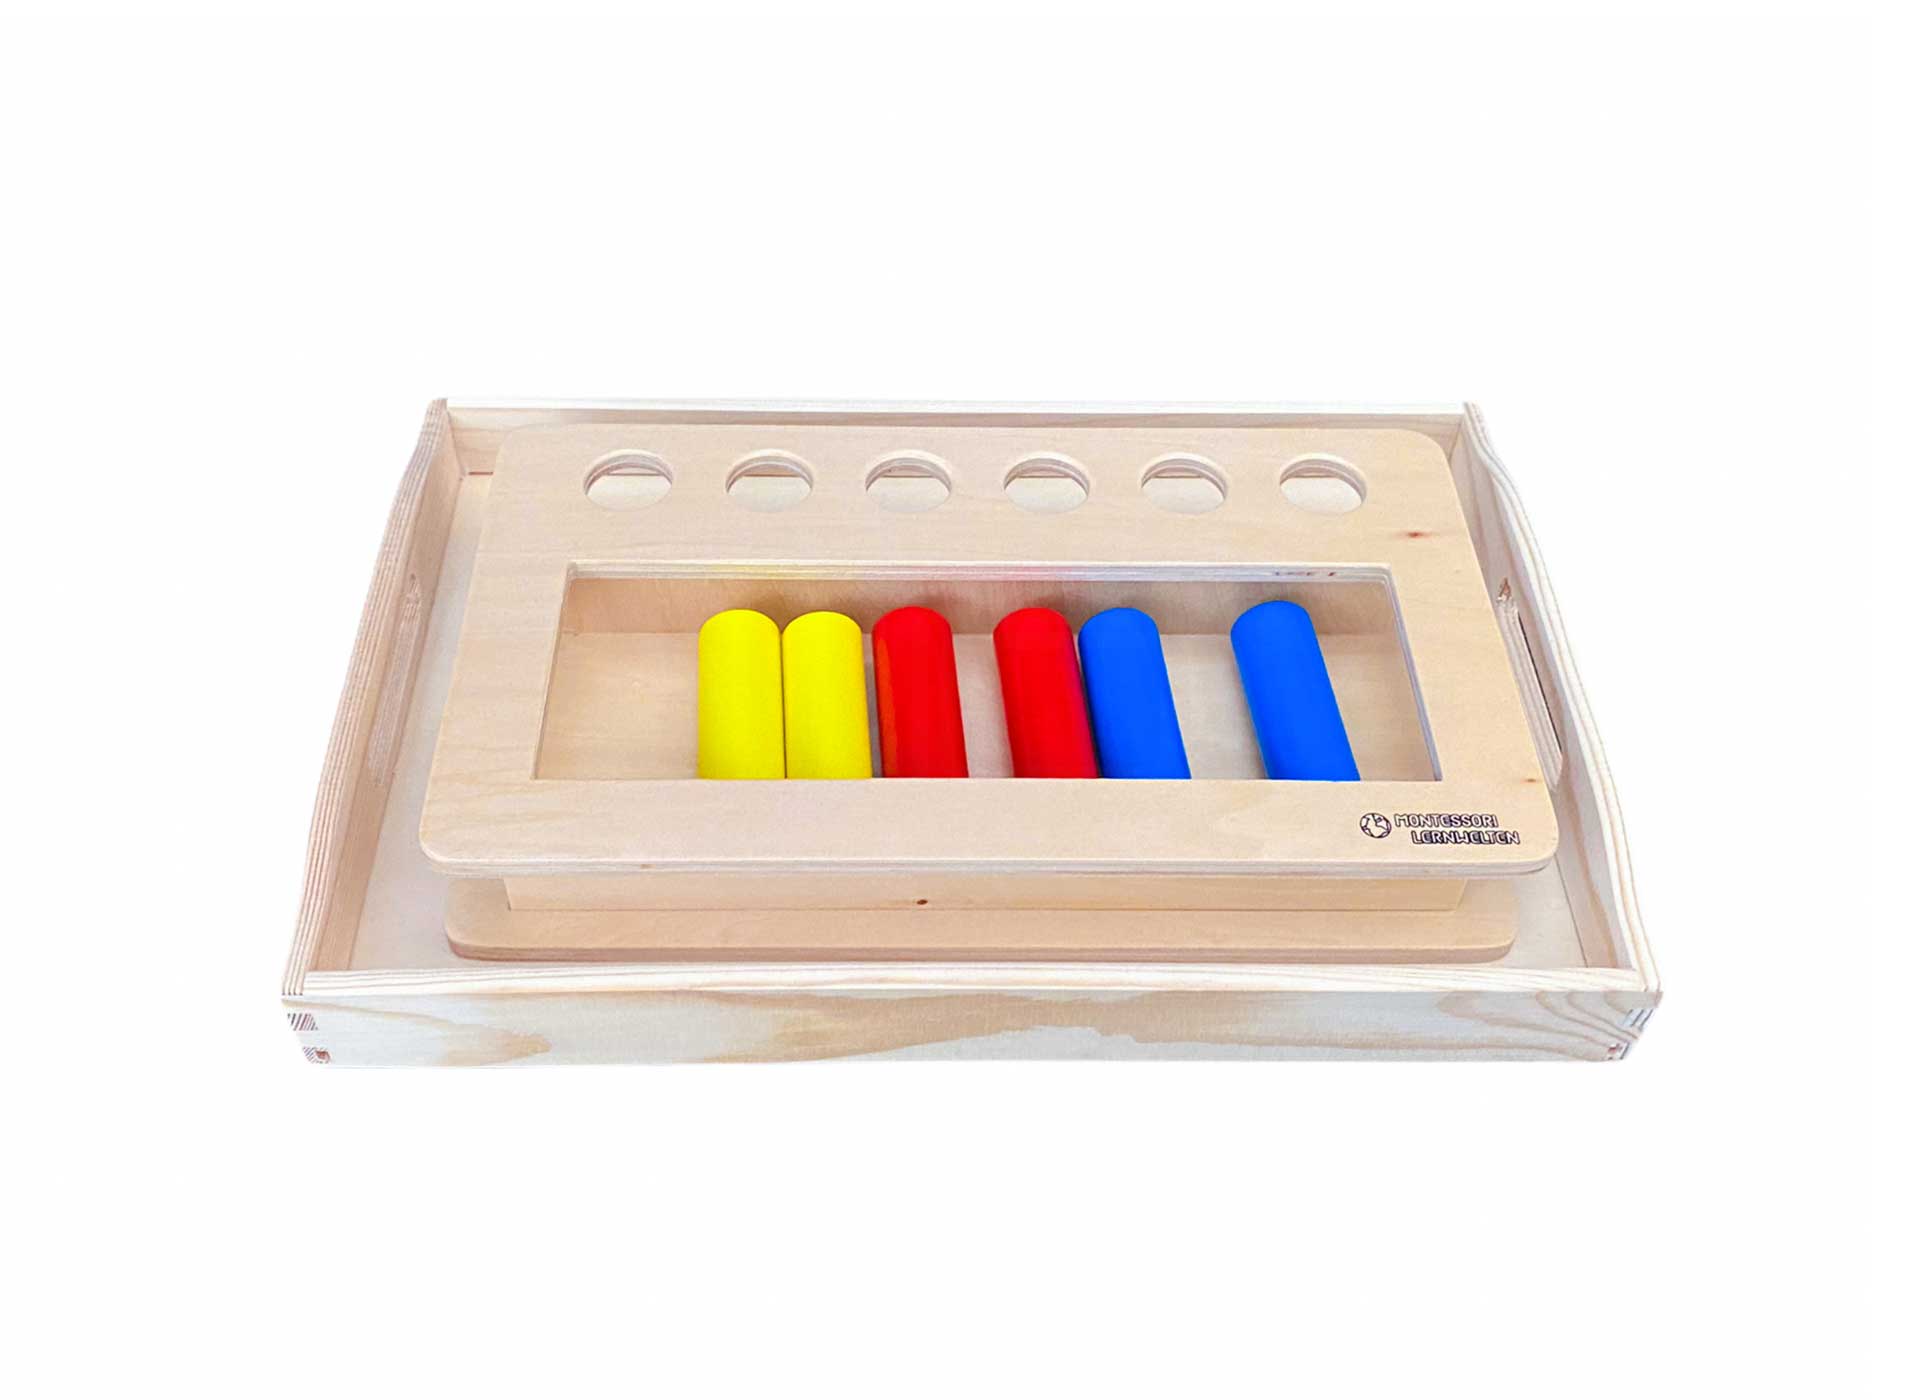
Imbucare box
Objective: Promote eye-hand coordination
Material: Imbucare box*
Preparation: All wooden sticks are placed in the box and the box is placed on a tray or directly in the cupboard.
Execution: The child takes one wooden stick after the other and puts it into the provided holes. The child practices not only inserting them into the hole, but also grasping them correctly, turning them 90 degrees, and then inserting them into the hole. At the beginning, only a few sticks, for example 1-2 of the same color, can be provided so that the child is not overwhelmed with the selection. Later, not only can all the sticks be used, but they can also be sorted by color and put into the holes.
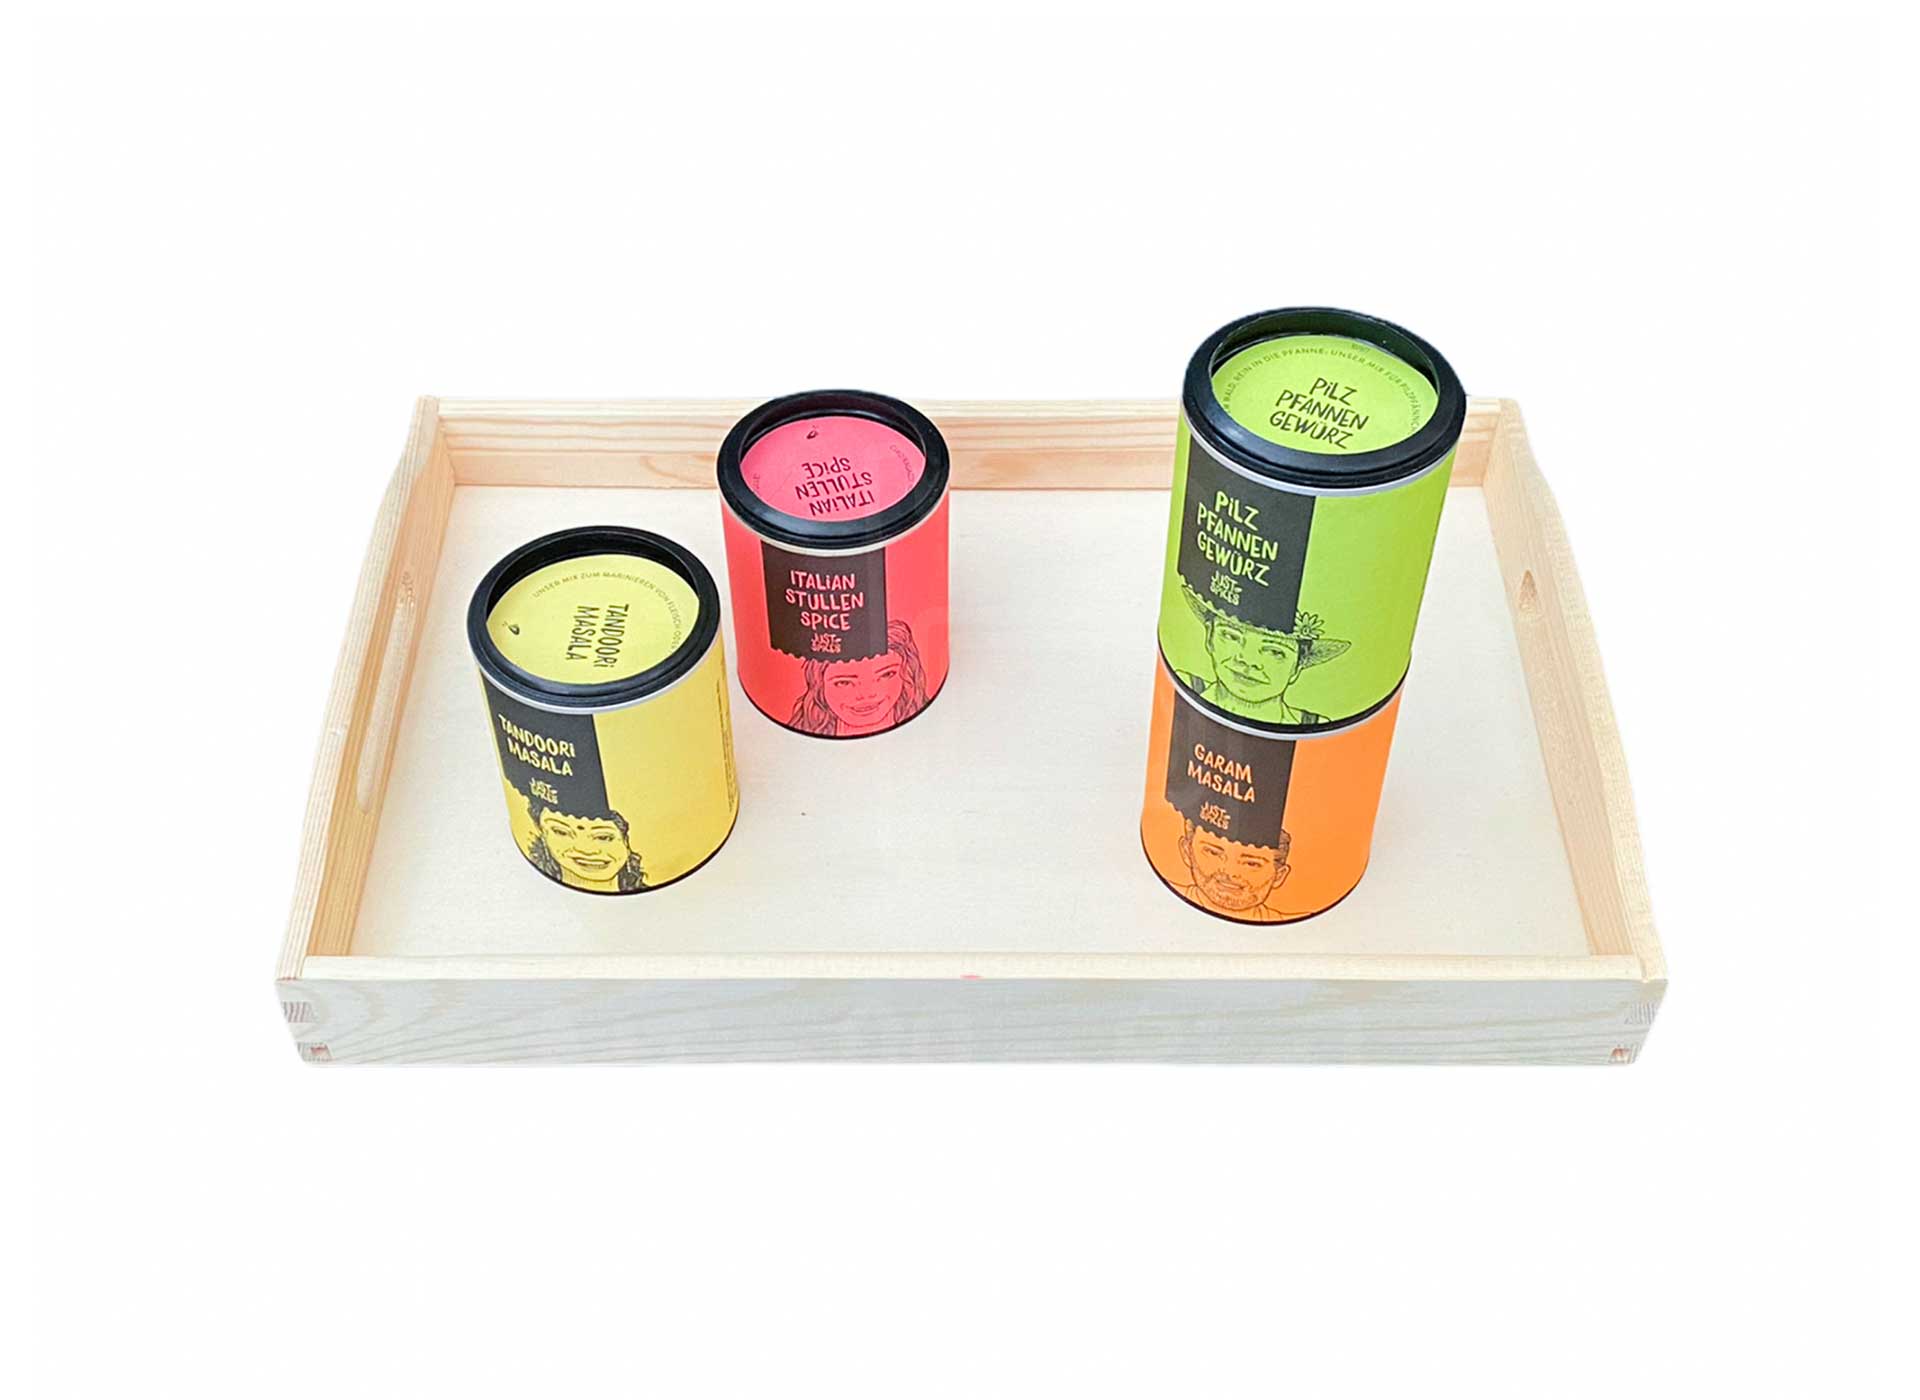
Colorful can stacking
Objective: Promote eye-hand coordination
Material: Just Spices spice cans*
Preparation: All cans are placed on the tray. It is recommended to have 4 or 5 cans so that the child is not visually overwhelmed.
Execution: The child takes the cans and stacks them on top of each other and then dismantles the tower. The cans from Just Spices are particularly suitable here, as they are a good size for small hands and hold very well on top of each other.
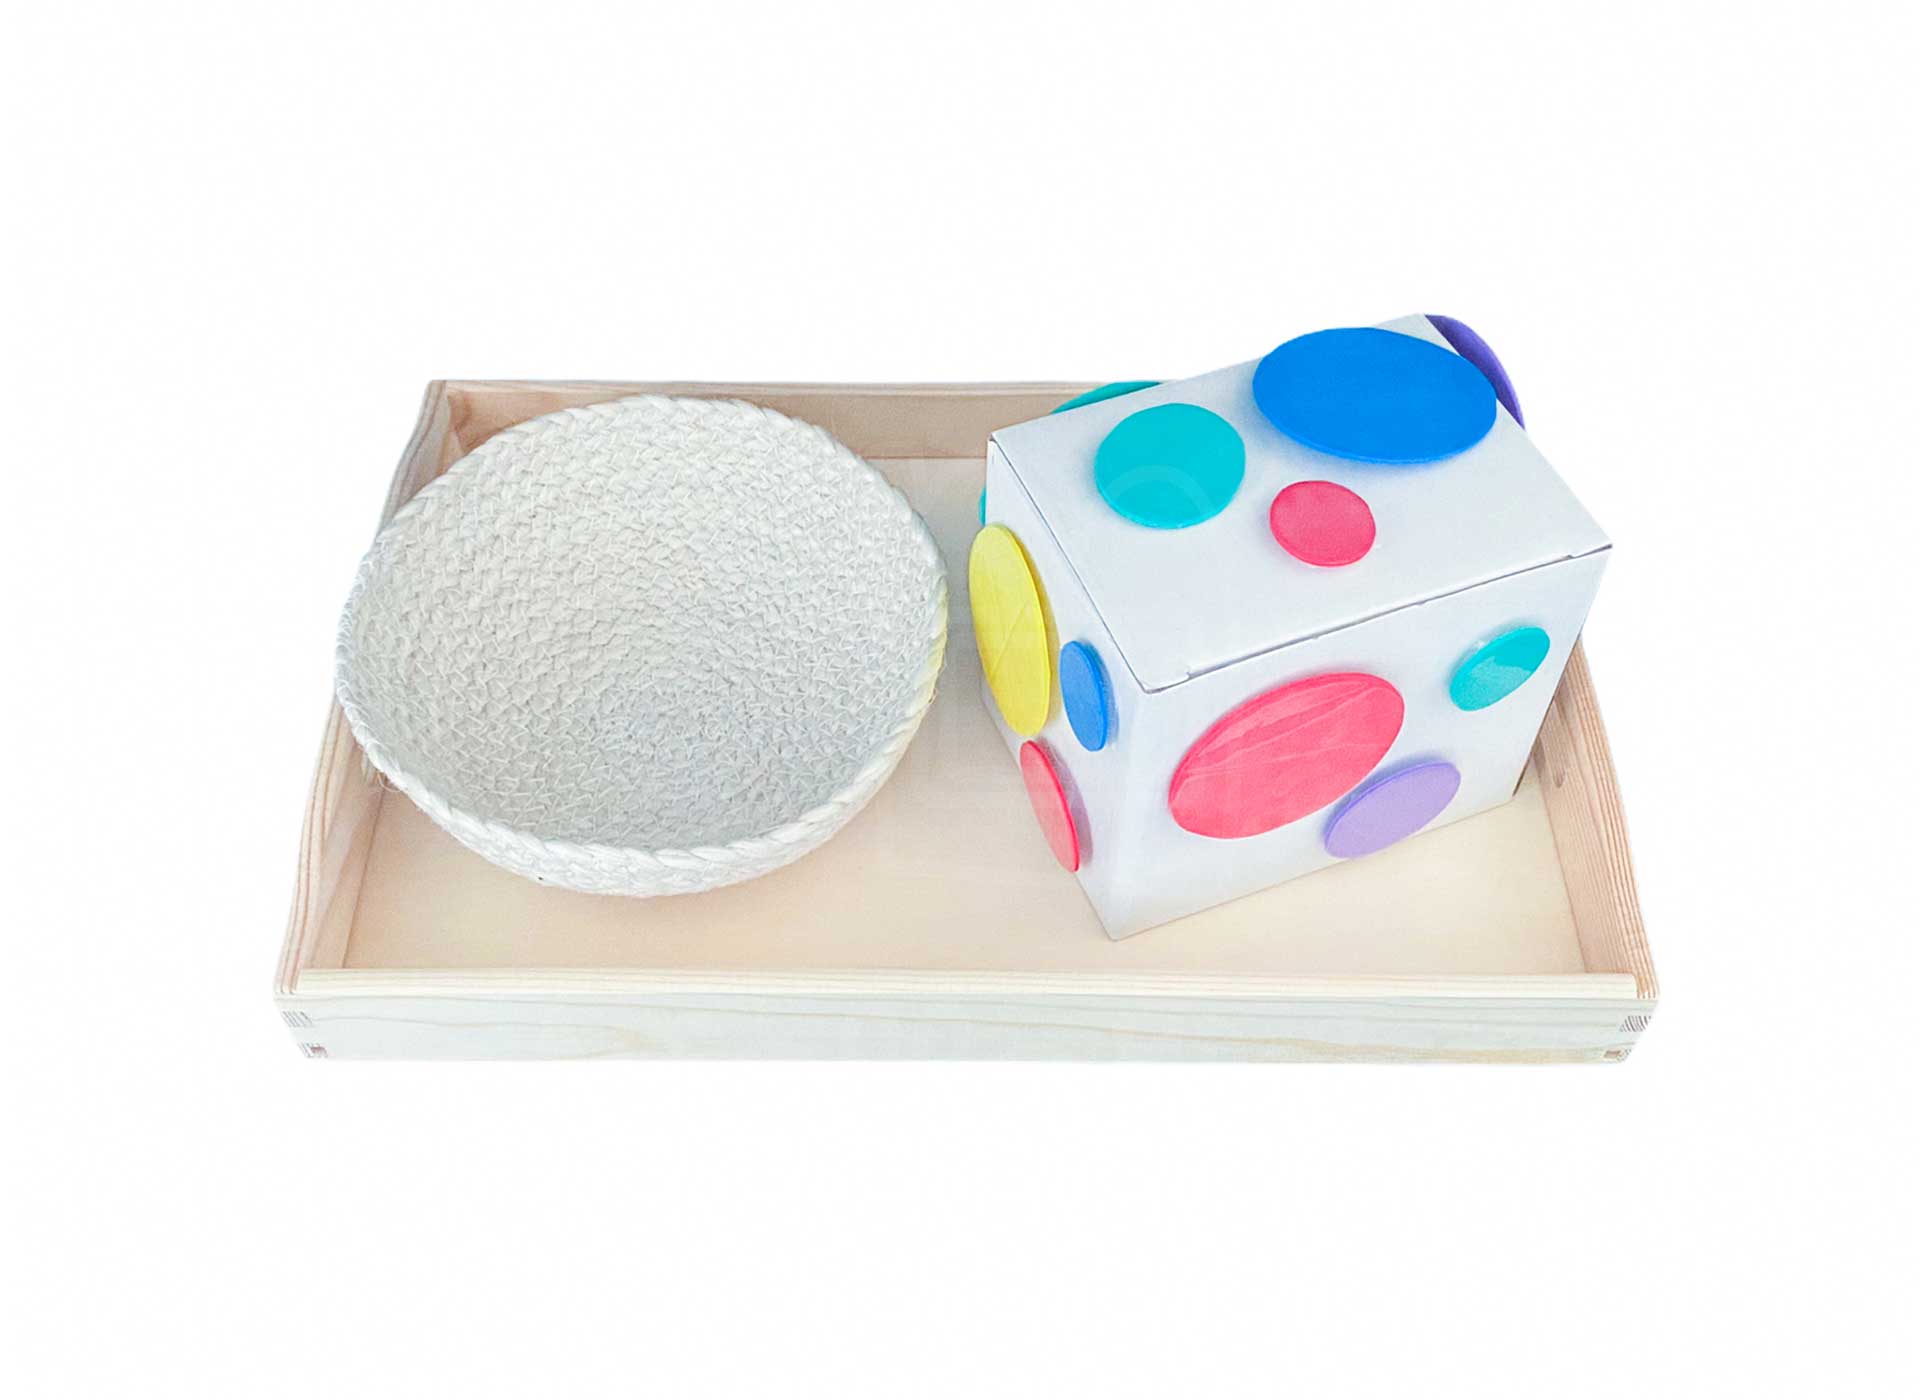
Colorful Velcro circles
Objective: Promote eye-hand coordination and pincer grasp
Material: Basket, box, foam rubber stamping pieces*, laminator, self-adhesive Velcro*
Preparation: Laminate the desired number of foam rubber circles. Then cut out and attach to the box with self-adhesive Velcro. Place the box and the empty basket on the tray.
Execution: The child removes the circles from the box and places them in the basket. Older children can also attach the circles to the box again independently. This exercise promotes eye-hand coordination and tweezer grip on the one hand, and an understanding of Velcro on the other.
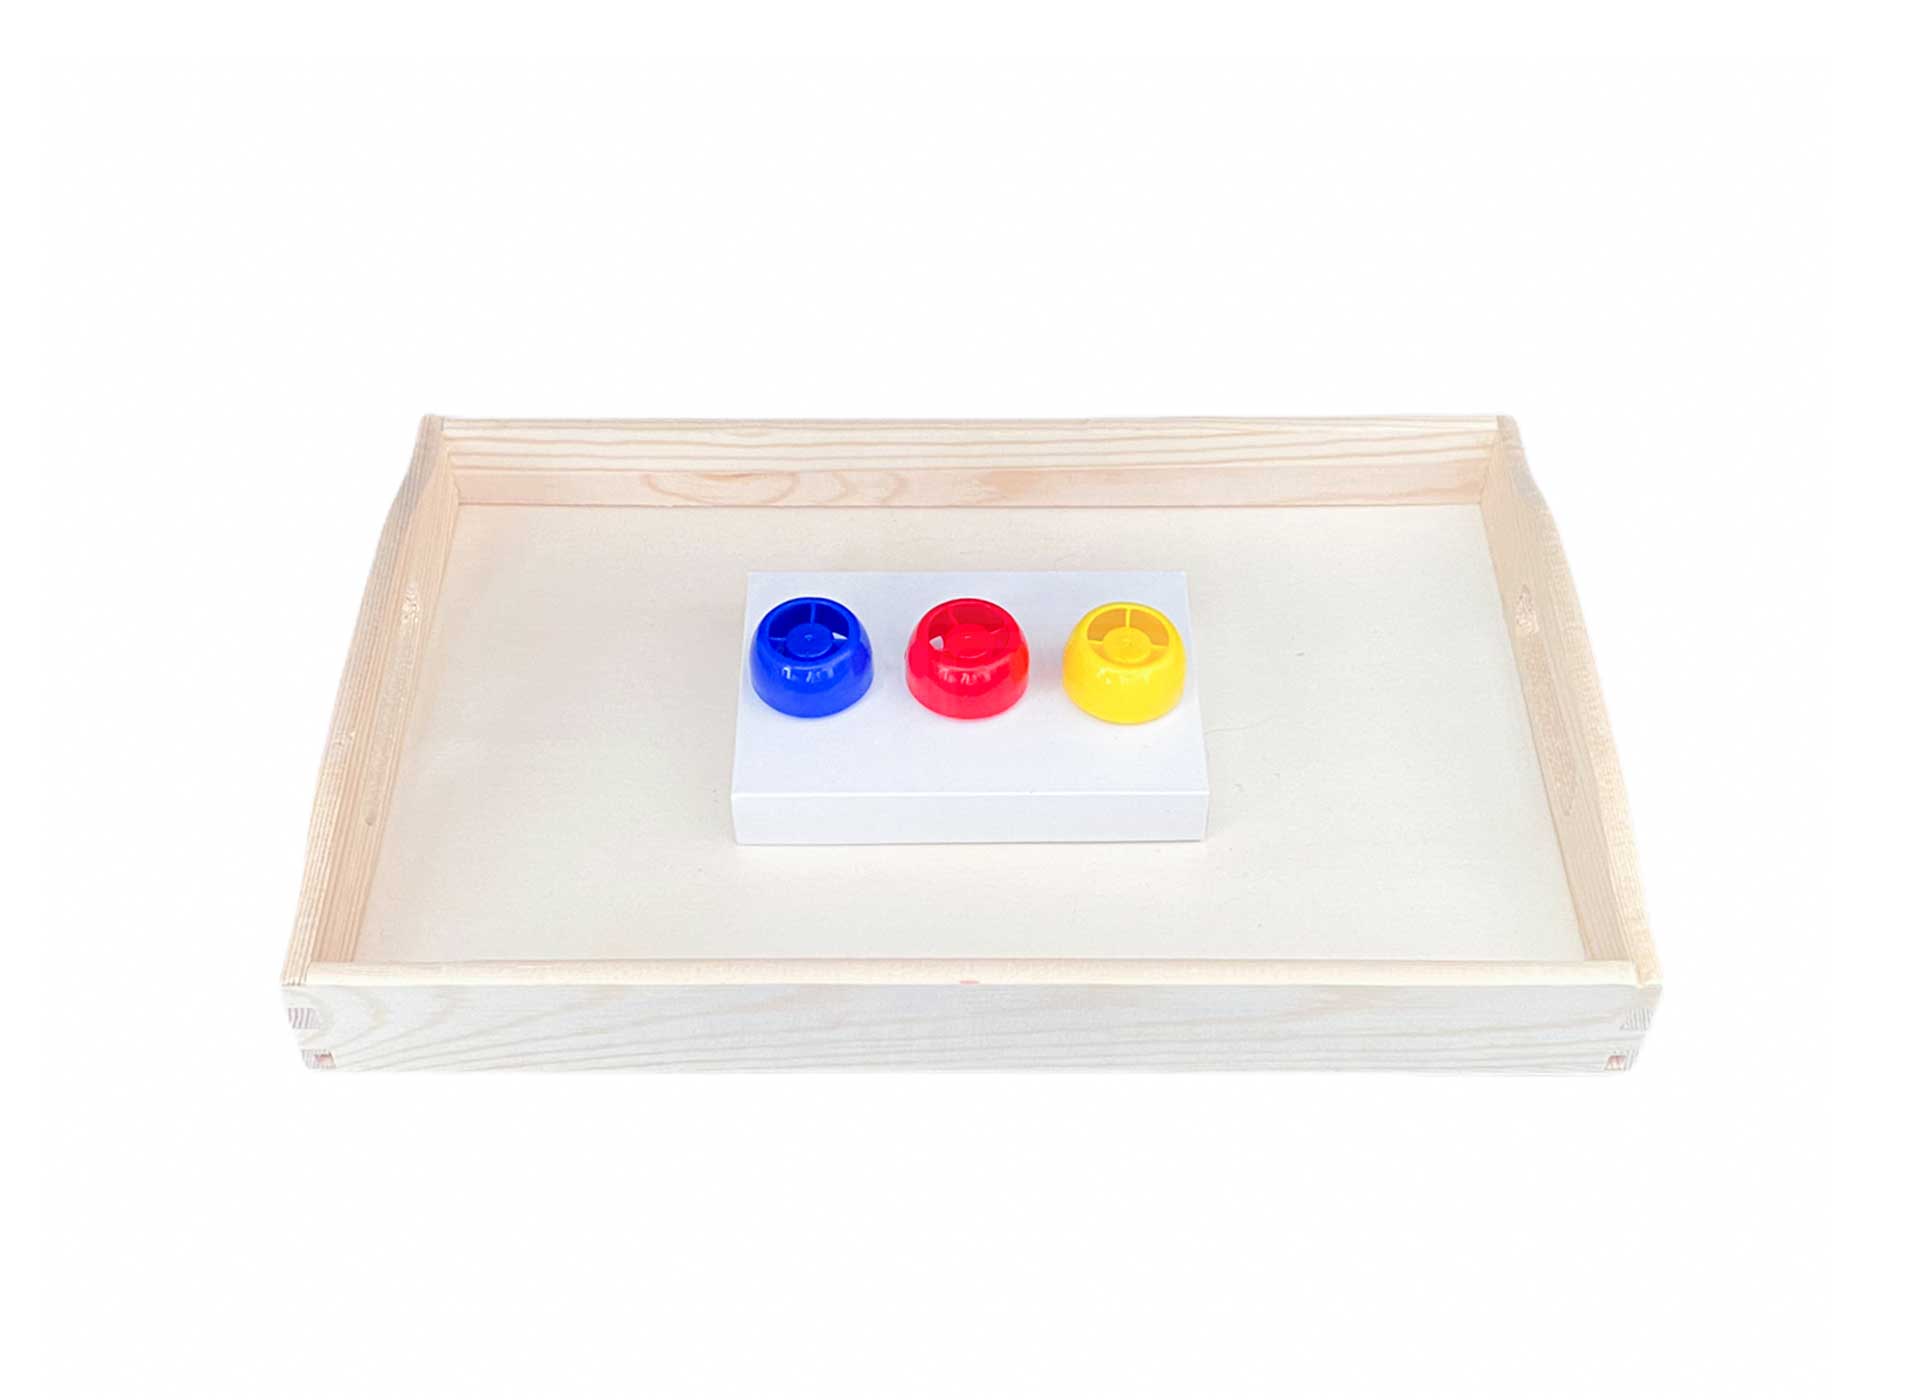
Squeeze lid screws
Objective: Promote eye-hand coordination
Material: Squeeze lid, box, scissors, melt glue gun*
Preparation: Three holes are punched in the box with scissors or another tool. The lids and screw caps of the squeezeies are carefully cut off and washed well. The screw parts of the squeezies are pushed through the holes from below and glued well with the hot glue gun. Then the lids are twisted onto the caps from above and everything is placed in the cupboard or on a tray.
Execution: The child unscrews the lids and, depending on age, screws them back on. From about 18 months, the child can also try to correctly match the colors of the lids to the screw caps again.
* Links, welche mit einem Sternchen (*) versehen sind, stellen Amazon Partnerlinks dar (Affiliate-Links / Provisionslinks). Wenn du über diese Links etwas kaufst, erhalten wir eine kleine Provision, denn von etwas müssen wir ja auch leben. Dir entstehen dabei aber keinerlei zusätzlichen Kosten.
